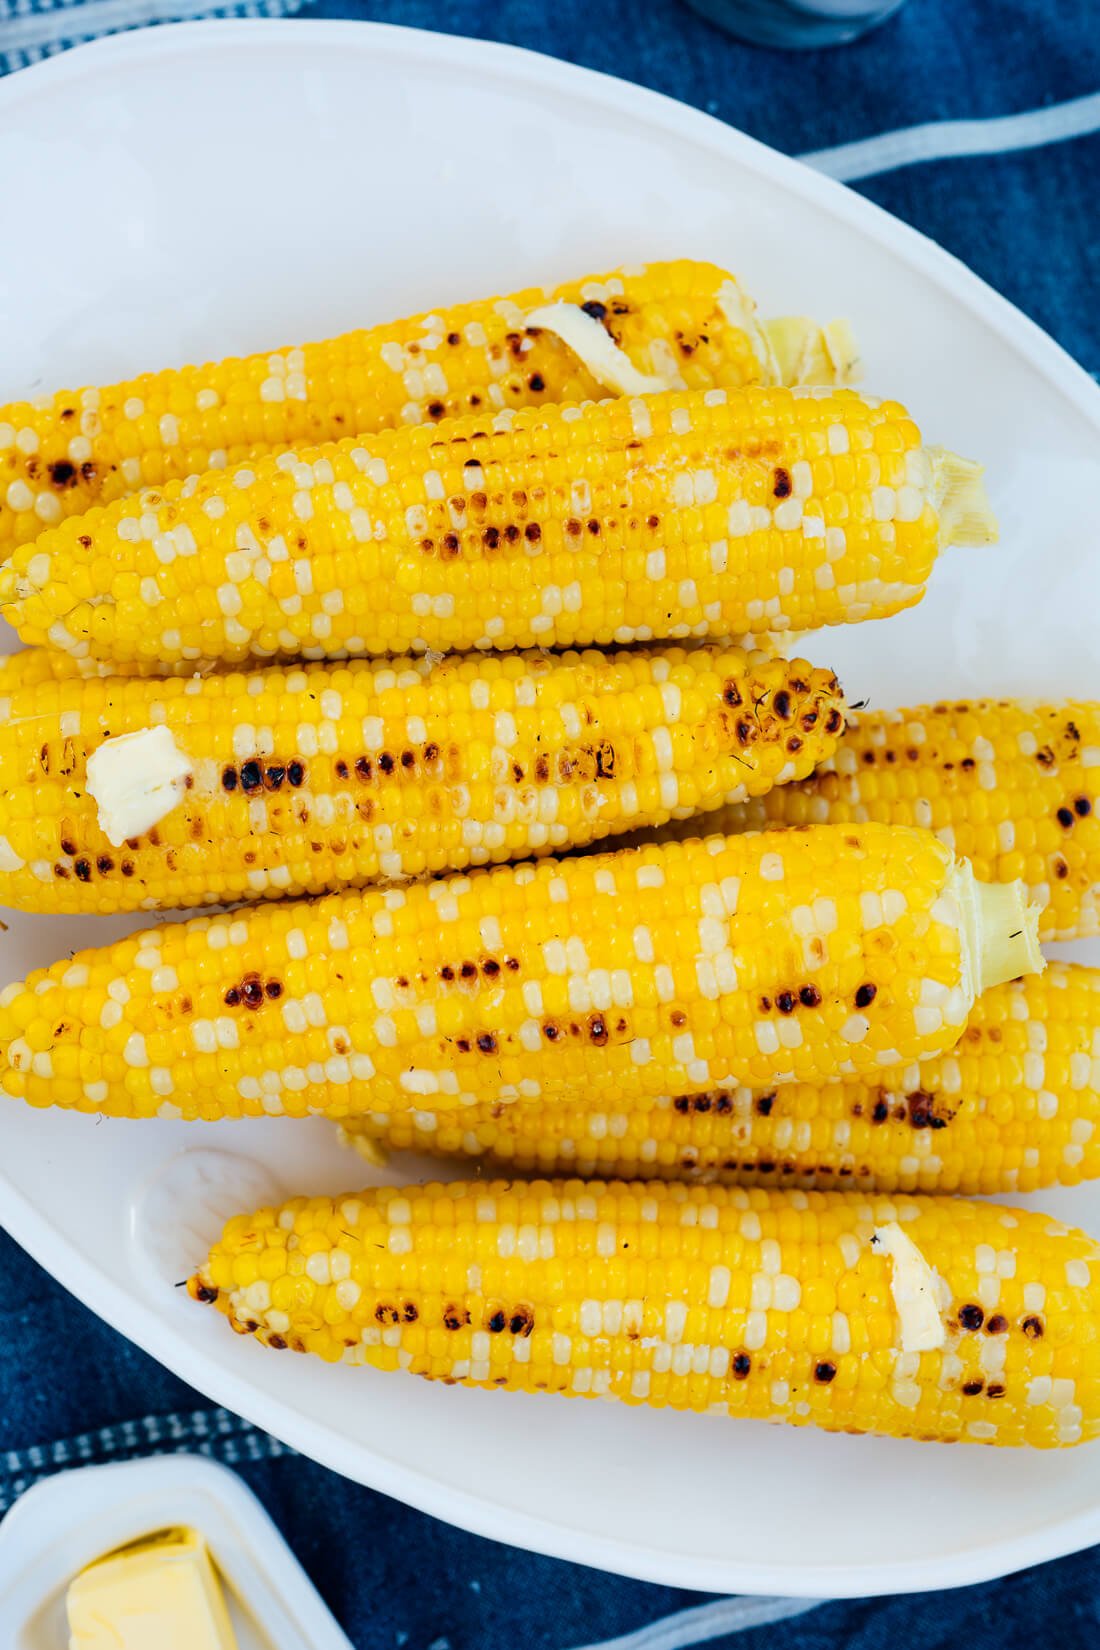
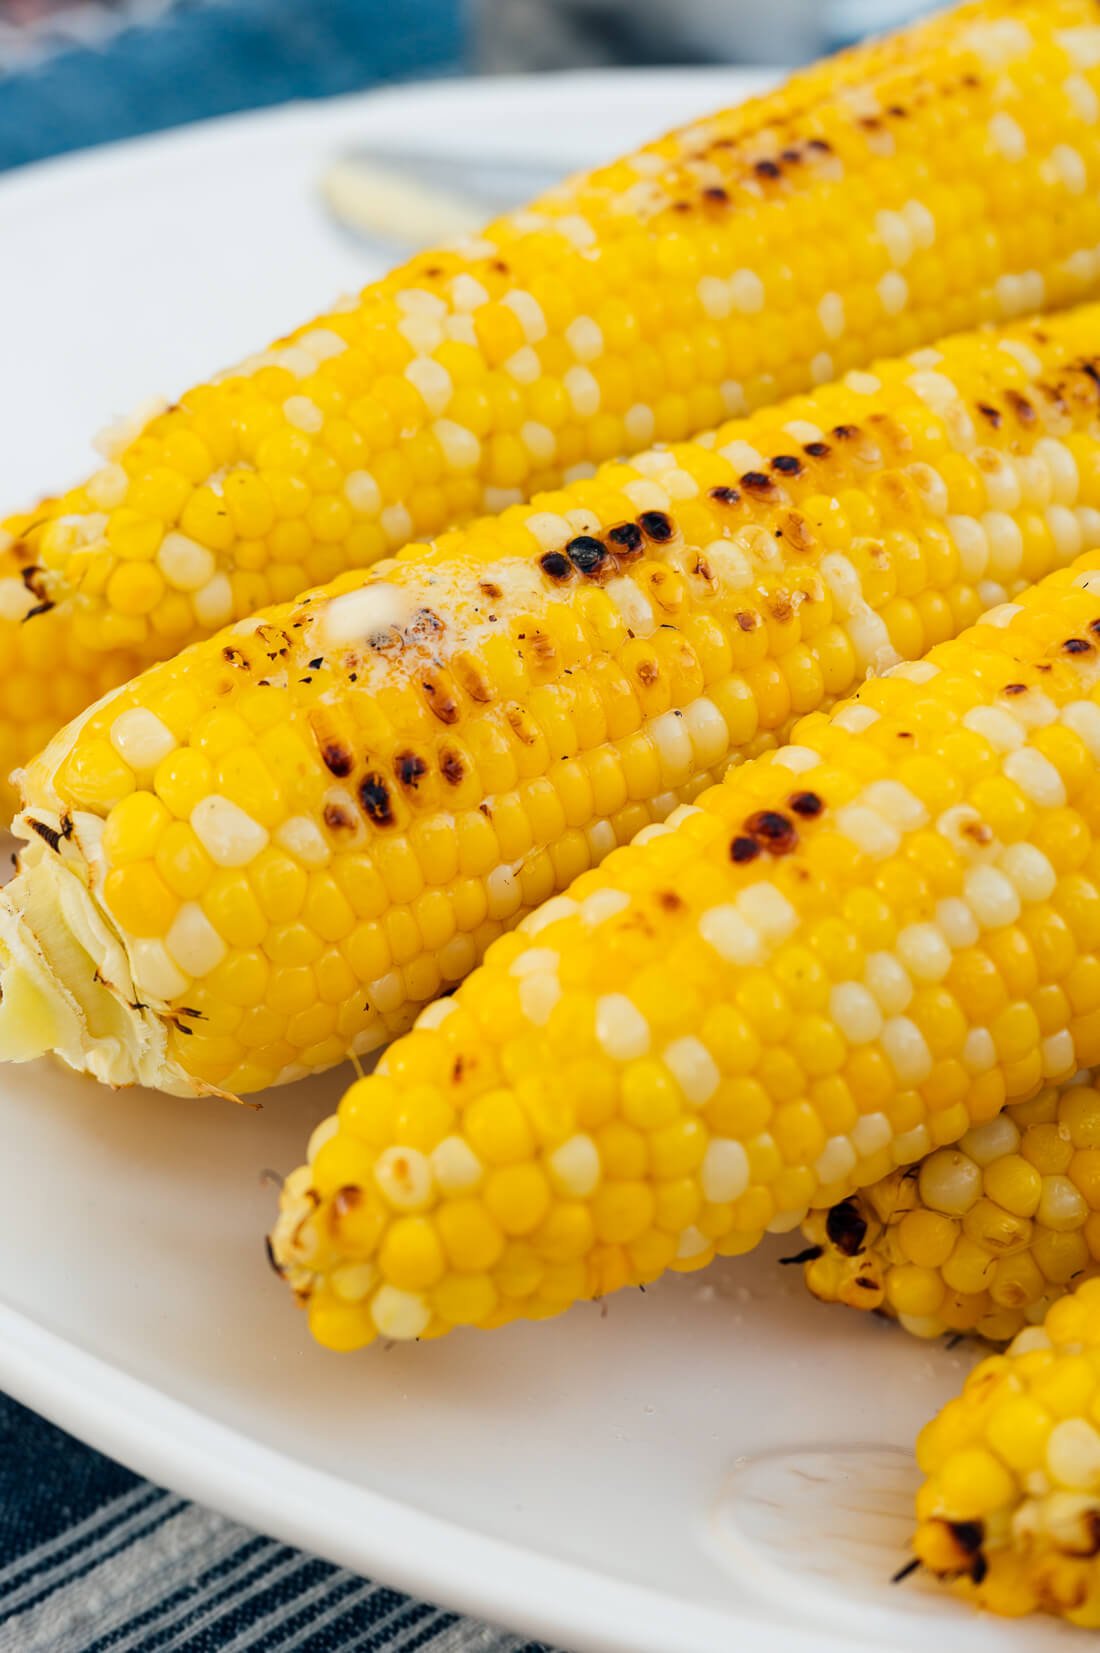
It’s corn season, and I’ve had a hankering for some great corn on the cob. You know the corn I’m talking about—golden and plump kernels with some irresistible, caramelized grill marks. Slathered with real butter and sprinkled with salt, there’s not much better.
Last summer, our family and friends gifted us a gas grill for our wedding. Now that I finally have access to one, I’ve had fun learning how to use it. Over the past few weeks, I’ve tried all the corn grilling methods out there and come up with my own. This recipe yields perfect grilled corn on the cob, every time!
Corn Grilling Techniques & My Test Results
While the corn was edible with any of these methods, I knew it could be better. Some other methods entail soaking the corn in water or salt water, which is truly unnecessary if you’re using fresh corn.
Grilled with the husks on: This technique yields steamed corn on the cob, with no char marks or real “grilled” flavor (at least, not on my gas grill). Grilled after shucking: This technique yields some nice caramelized kernels when the heat is cranked up high enough. However, by the time the kernels were warmed through and golden yellow, they were also dried out and chewy. Grilled after partially shucking: Some methods suggest pulling back just a few leaves before grilling in order to achieve some grill marks. This never really worked for me, because husks tend to unravel when you start messing with them. Grilled after removing the silks and then recovering with the husks: This was tricky to do. The husks burned before the corn was sufficiently cooked. The tops were nicely charred, but once again, the corn wasn’t as juicy and tender as it could be.
Watch How to Make Grilled Corn on the Cob
How to Grill the Best Corn on the Cob
After testing grilled corn every which way, I came up a hybrid technique that is easy and foolproof. You’ll find the full recipe below, but here’s a summary:
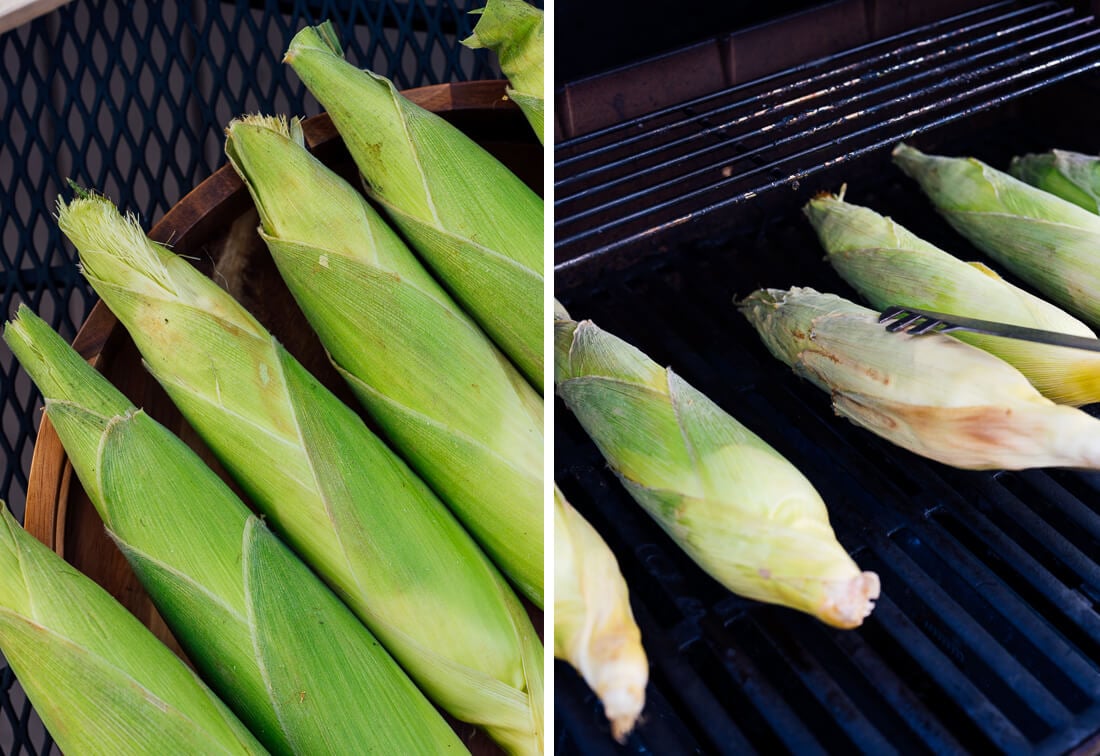
1) Grill the corn with the husks on for 15 minutes.
The husks provide the perfect steaming environment, yielding golden, juicy, plump kernels.
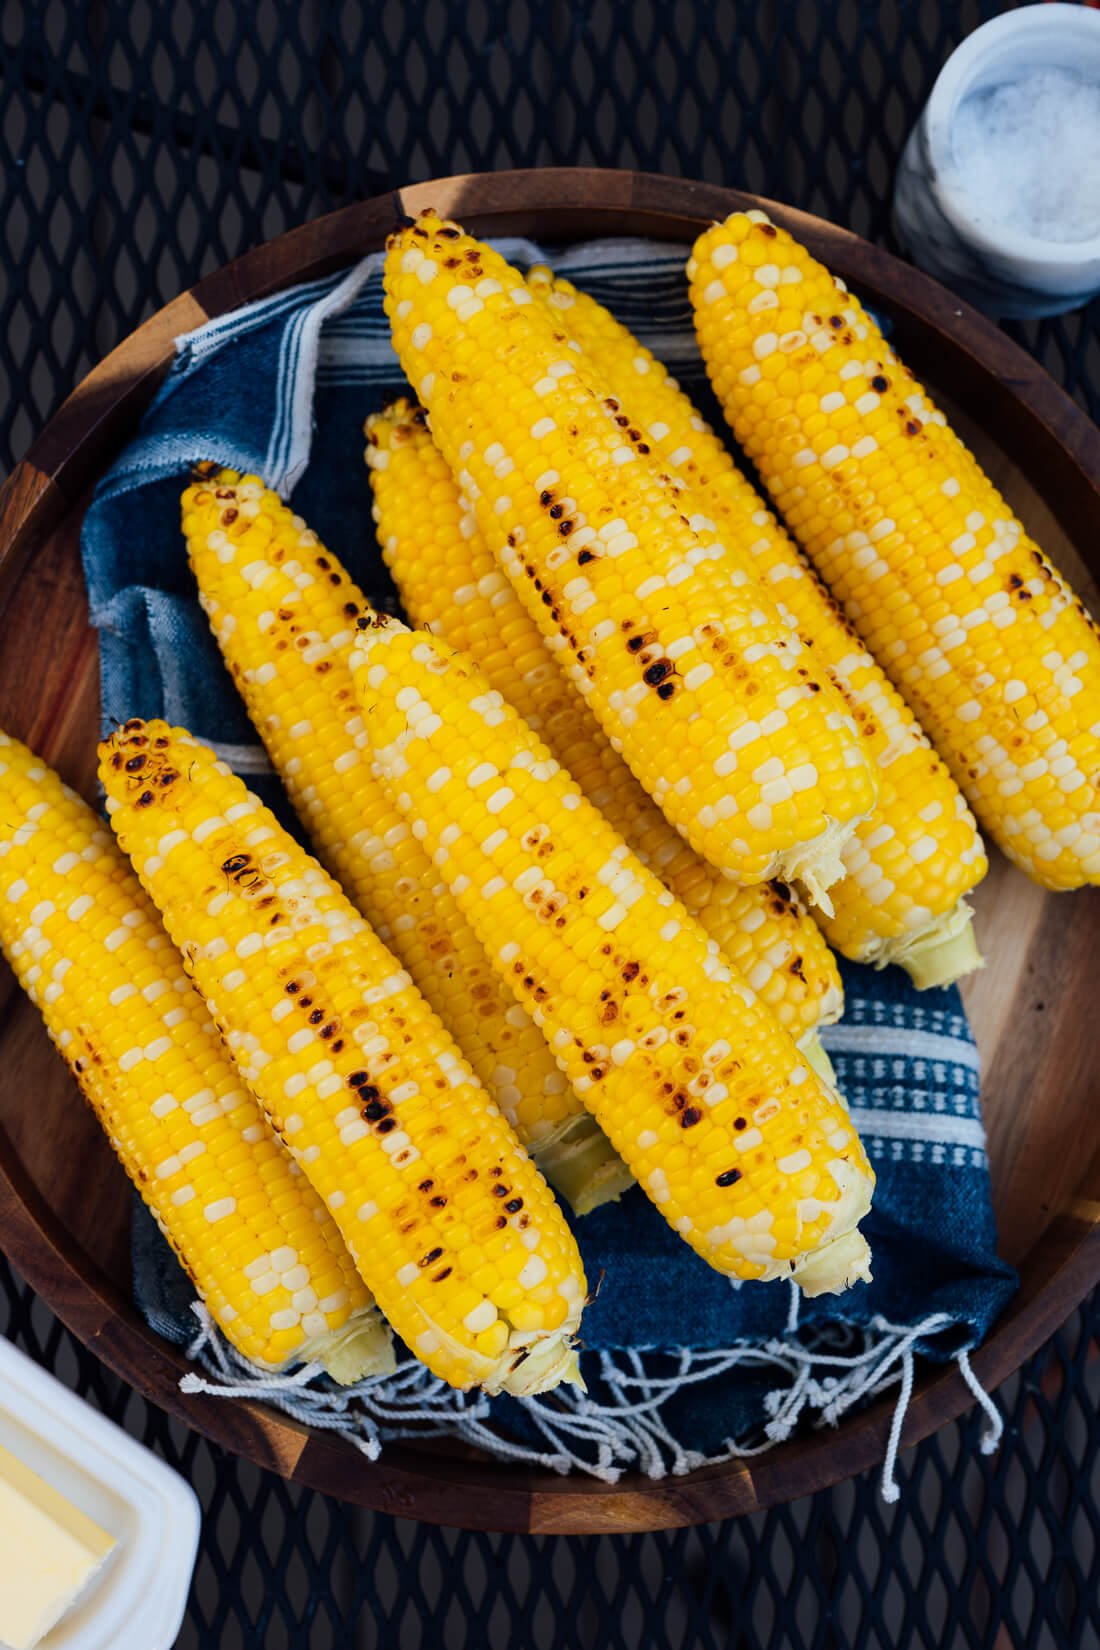
2) Shuck the corn.
Bonus? It’s easier to remove the husks and the silks after cooking the corn, rather than before.
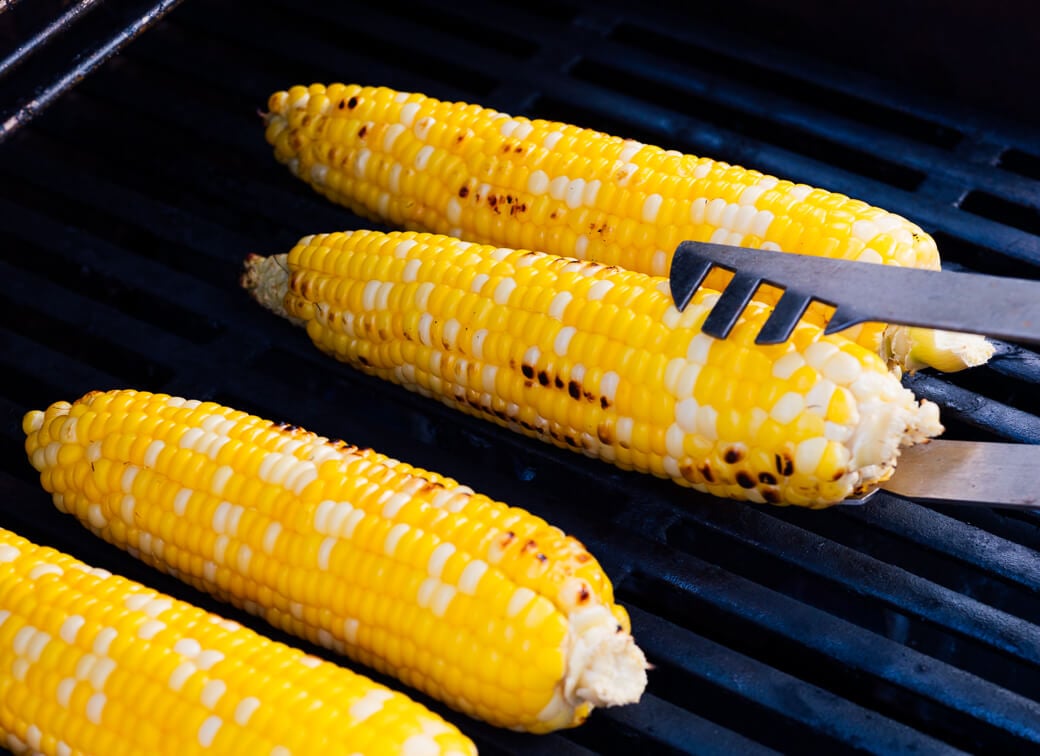
3) Crank up the heat and grill for 5 more minutes.
This step helps us achieve some caramelized bits that offer extra-sweet, condensed corn flavor. So delicious!
Grilled Corn Tips & Tricks
Buy the best corn you can find and cook it as soon as possible. The fresher your corn, the more hydrated the kernels will be, and the sweeter the corn will taste. That’s because the naturally-occurring sugars in corn convert to starch over time. Before grilling, trim off the “tassels” (the silks hanging off the end of the cob) and any bits of husk that are jutting away from the cob. Otherwise, those parts can catch fire in the grill. Let the corn cool enough to handle before you shuck it. Ouch! To be extra safe, wrap a clean tea towel around the base and pull off the husk and silks with your other hand. Then, use the towel to wipe off any stubborn pieces of silk. Keep a paper grocery bag handy to contain all of the husks and silks. The shucking process goes by quickly when you have help, so put your people to work! Pull the husks all the way off the cobs, rather than just down around the base. Keeping the husks on can look cute and rustic, but the corn takes up more space on the grill this way and becomes more difficult to turn. Plus, the husks are liable to burn before the corn is done.
More Fresh Corn Recipes to Enjoy
Elote (Mexican Street Corn) Fresh Corn Salsa Garden-Fresh Corn Salad Southwestern Corn Chowder Vegetarian Succotash
Make it dairy free/vegan: Choose a vegan butter, such as Miyoko’s Creamery, or get creative with your toppings. I think Cilantro Hemp Pesto would be nice. Recommended equipment: We have the Weber Spirit II E-310 Grill (affiliate link) and love it.