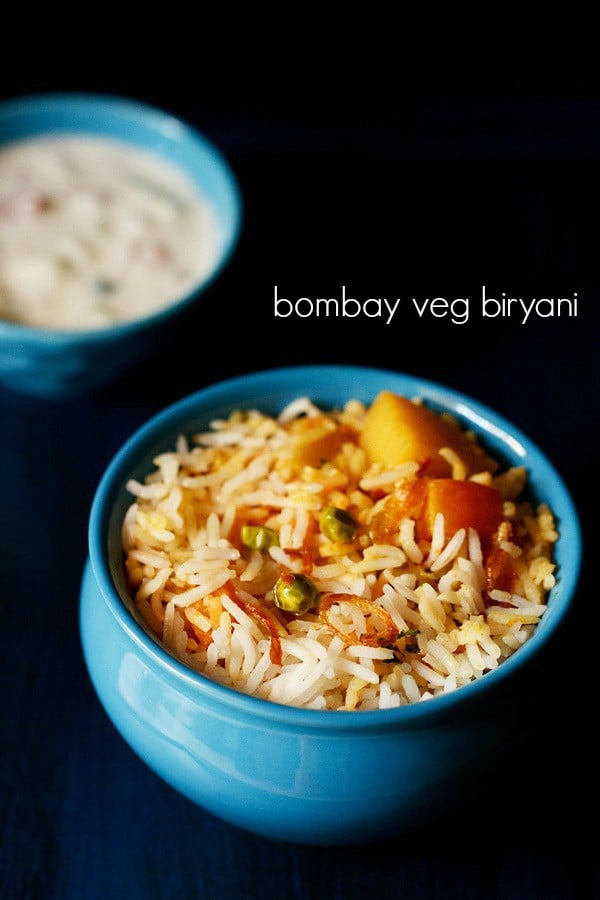
As the name suggests Bombay biryani has originated from Mumbai aka Bombay. The non-vegetarian version of Bombay biryani is popular. Here I am sharing a vegetarian version of this biryani. The biryani is fragrant and spiced and really good. Good amount of tomatoes and potatoes along with spices are added in this biryani. Potatoes are fried and added, but I just cooked them together with the veggies. Birista or fried onions are also added in the biryani. Dried plums are also added. If you have dried plums then you can add them. This Mumbai biryani also does not have dry fruits in it. For the color, I used natural orange color extract. If you want, you can use some saffron dissolved in milk to give some color. As always with any mixed veggie recipe, you can add your choice of veggies to the biryani. Like all biryanis, this is a dum cooked biryani. You can tightly seal and cook the Bombay biryani on stovetop or in the oven. I do both on occasions. When it is a small amount I cook on the stovetop. And when its a lot of biryani, I cook in the oven. You can choose the option which suits you. Biryani is a favorite dish at home. I do go extra lengths in preparing biryanis as firstly we love biryani and secondly, I just need to make simple raita with biryani. I have already posted many Biryani varieties like: I cook biryanis often at home, especially when we have guests or for get-togethers. I can proudly say that after cooking biryanis for so many years now, I have become good at making them. I will be sharing more biryani varieties in the near future.
How to make Bombay biryani
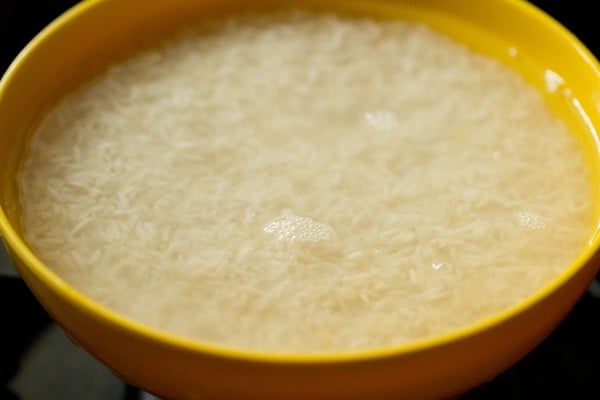
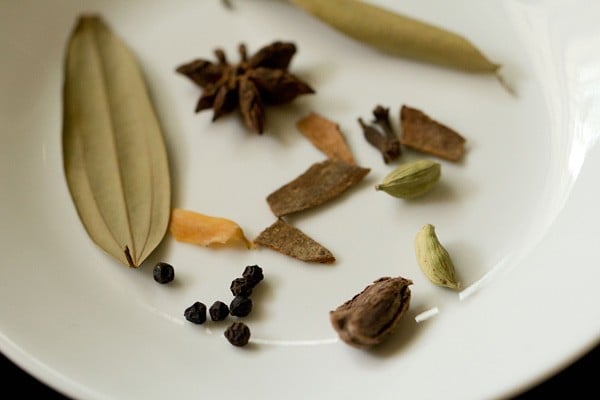
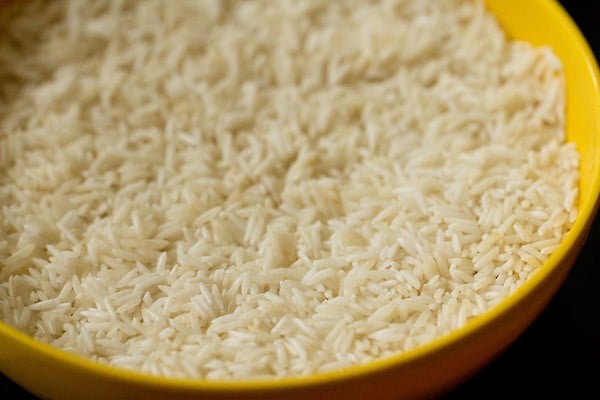
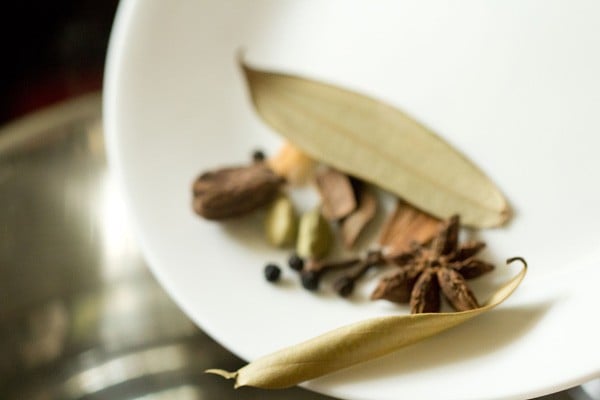
1. Rinse 1.5 cups basmati rice (or 300 grams) very well in fresh water. Soak the rice in enough water for 30 minutes. You can use any good quality of basmati rice. I used organic basmati rice. 2. When the rice is soaking, chop all the veggies and keep them aside. Take all the spices and keep them aside. Below is a pic of spices that we will add to the rice – green cardamoms, black cardamom, black pepper, one strand of mace, tej patta, star anise and cloves. 3. After 30 minutes drain the water from the rice. Cooking rice 4. Heat 5 cups of water in a pan and bring to a boil on medium to high heat. 5. Add the whole spices or garam masala listed below:
4 to 5 whole black pepper1 star anise (chakriphool)1 inch cinnamon2 cloves2 green cardamoms1 black cardamom1 large tej patta or 2 small to medium tej patta (indian bay leaf)2 single strands of mace
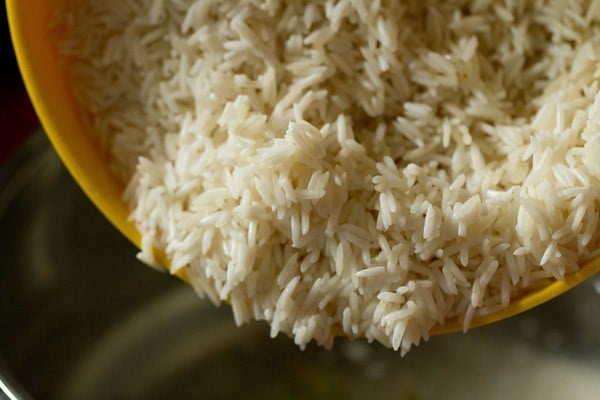
- Add rice.
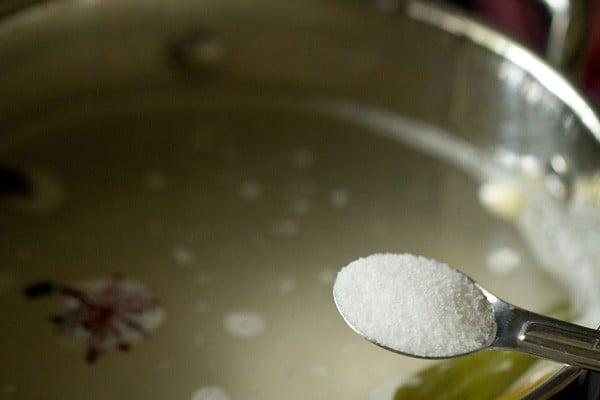
- Season with ¾ to 1 teaspoon salt or add as required.
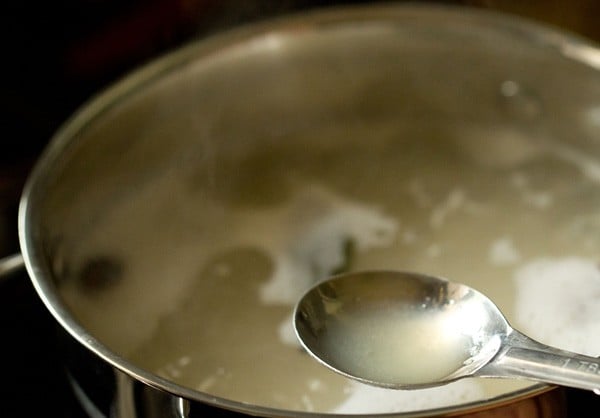
- Add ½ tablespoon lemon juice.
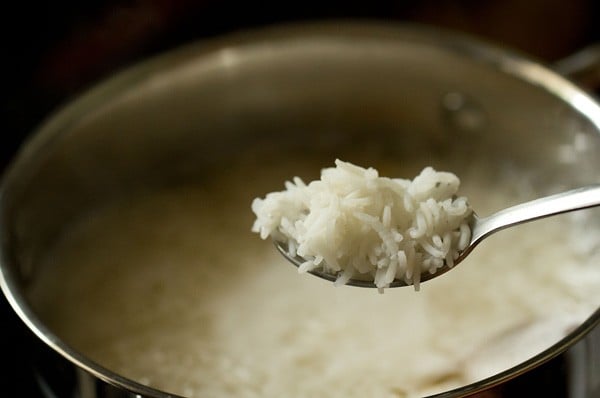
- On the same heat, simmer the rice till the grains are ¾th cooked.
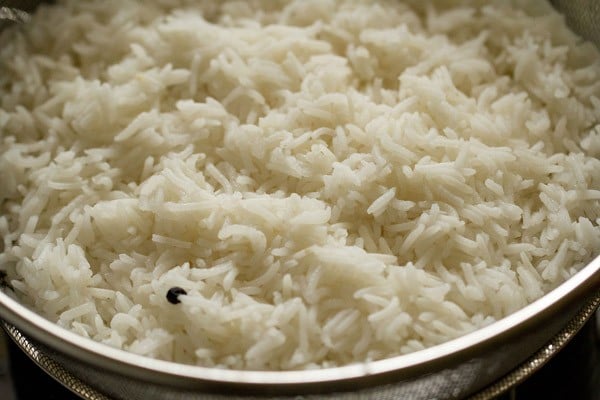
- Drain the cooked rice in a colander and keep it aside. Preparing birista
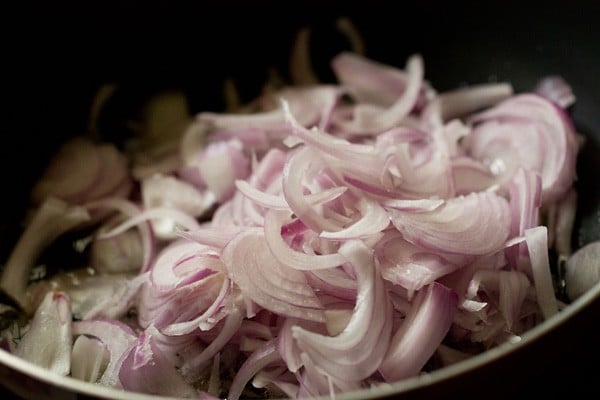
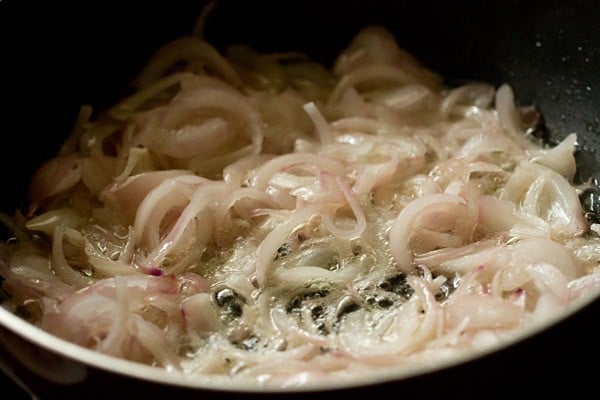
- Heat 7 tablespoon of oil in a pan. Add 2 cups of thinly sliced onions. 12. Stir.
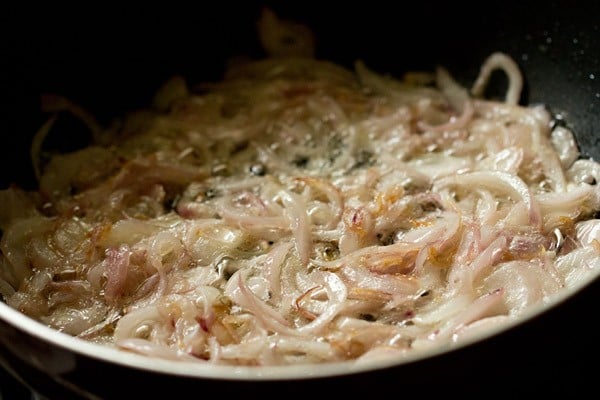
- Saute the onions stirring often till they turn golden. Add a pinch of salt to hasten the cooking process.
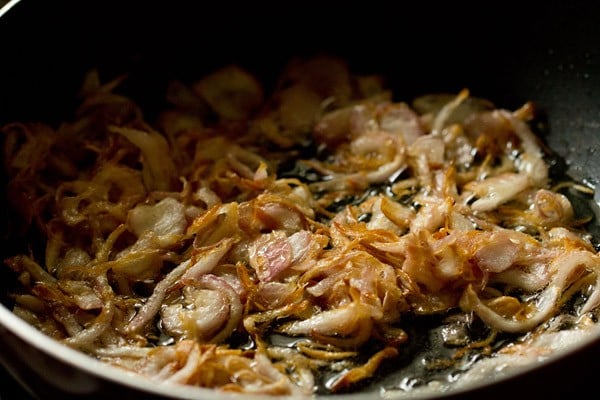
- Stir often and saute till the onions become golden.
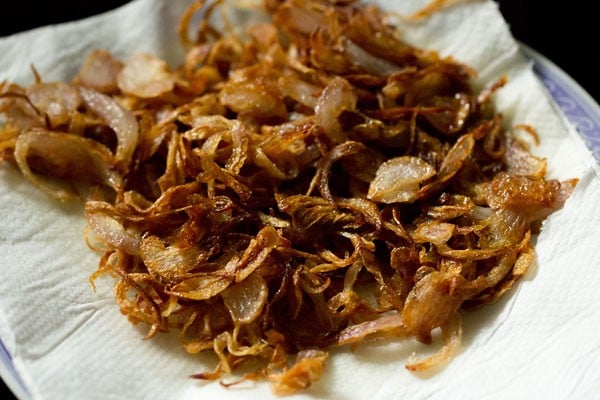
- Remove the crisp fried onions or birista with a slotted spoon and place them on kitchen paper towels. From 2 cups of sliced onions, you will get about 1 cup of birista. We will use ½ of the birista in the gravy and the remaining ½ in the layering. Preparing vegetable gravy
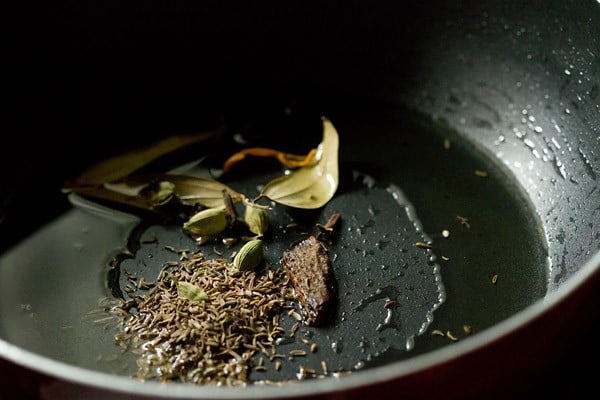
- In the same pan, add the following whole spices for the gravy:
1 teaspoon shahjeera (caraway seeds)1 inch cinnamon4 green cardamoms4 cloves2 single strands of mace2 all spice (kabab chini) – optional1 large tej patta or 2 small to medium tej patta (indian bay leaf)
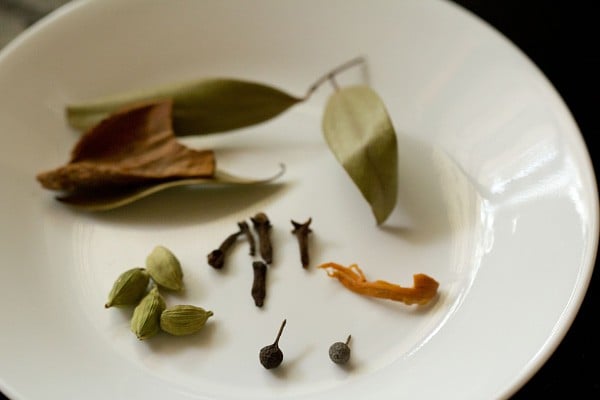
- Here’s a closeup pic of the spices. In clockwise order – tej patta (Indian bay leaf). Strands of mace, allspice (optional), green cardamoms, cinnamon and cloves. Caraway seeds or shah jeera is not shown in this below photo.
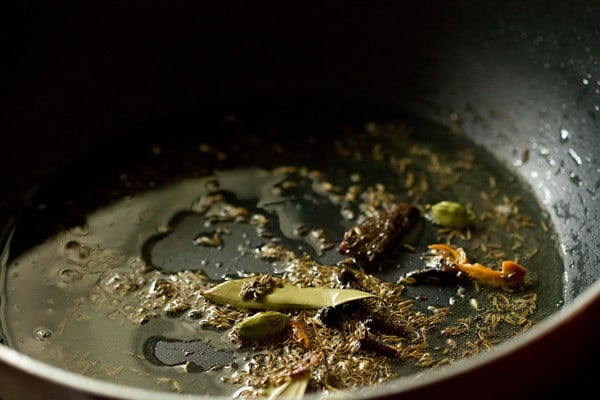
- Stir and saute till the spices become fragrant.
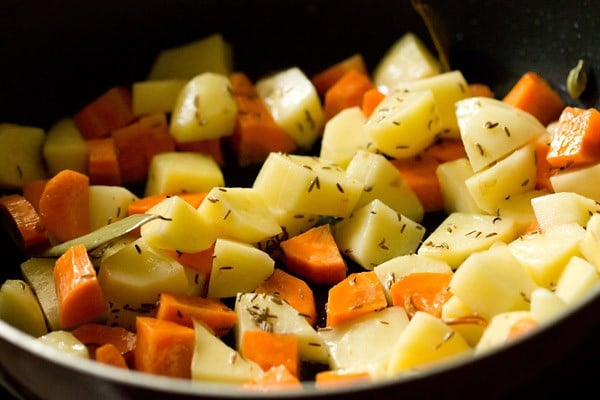
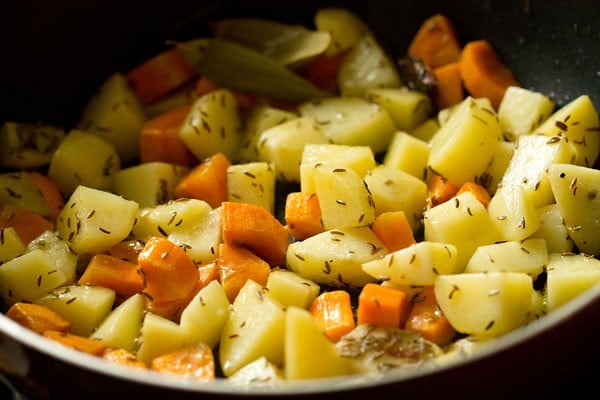
- Now add diced or chopped potatoes (about 1.5 cups diced potatoes) and carrots (about 1 cup chopped carrots).
- Stir and mix well.
- Saute the potatoes and carrots for 5 to 6 minutes.
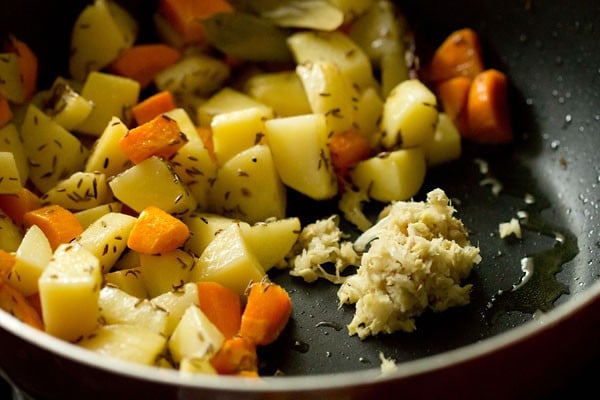
- With a spoon, bring them to the sides and add 1 tablespoon ginger-garlic paste. Saute the ginger-garlic paste in the same place for some seconds or till their raw aroma goes away.
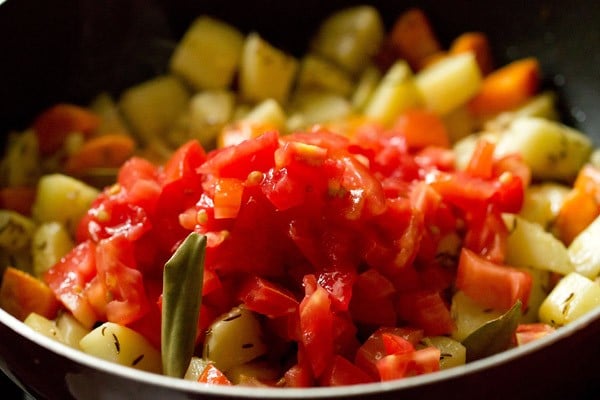
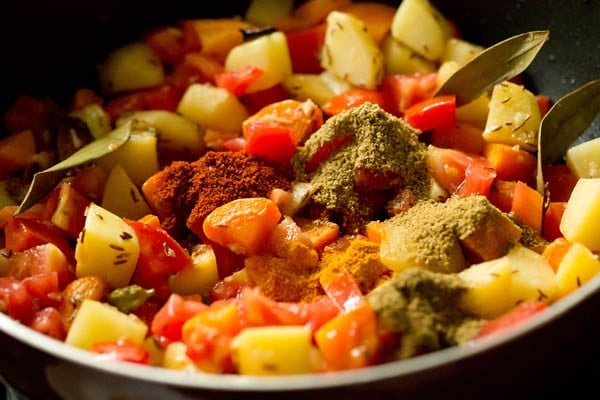
- Now add 1.25 cups chopped tomatoes.
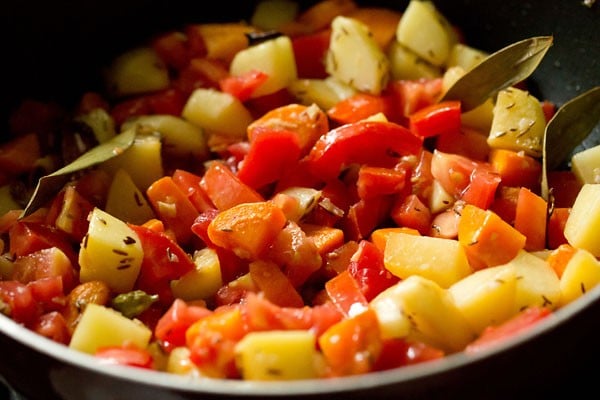
- Stir and mix very well.
- Add the following spice powders:
½ teaspoon turmeric powder1 teaspoon red chili powder1 teaspoon coriander powder1 teaspoon cumin powder1 teaspoon garam masala powder. Also, add prunes or dried plums if you have them. About 4 to 5 dried plums.
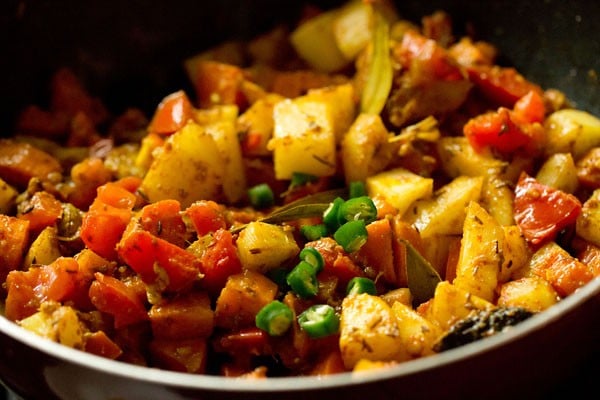
- Add 1 chopped green chili. Stir and mix well. Saute for a minute.
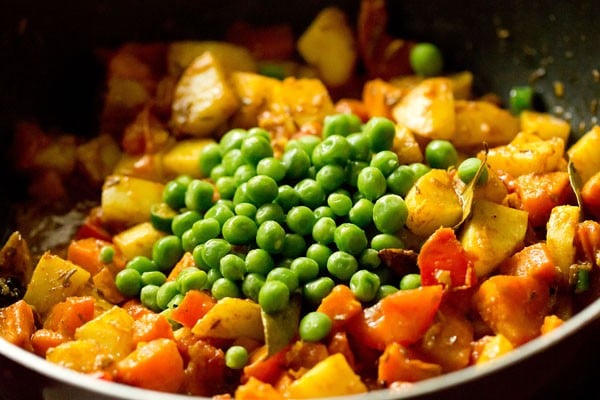
- Add ⅓ cup tightly packed fresh or frozen green peas. Stir again.
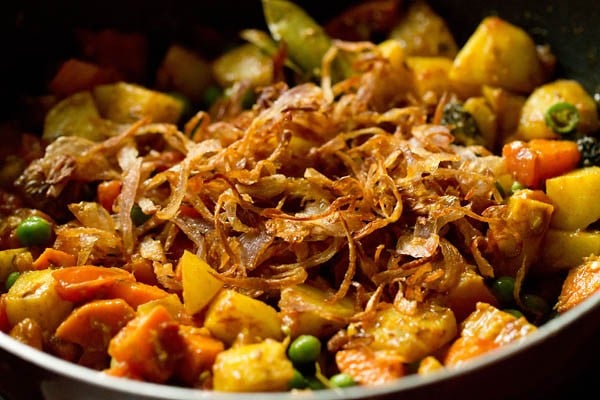
- Now add ½ of the birista or fried onions.
- Season with 1 teaspoon salt or add as required. Stir again.
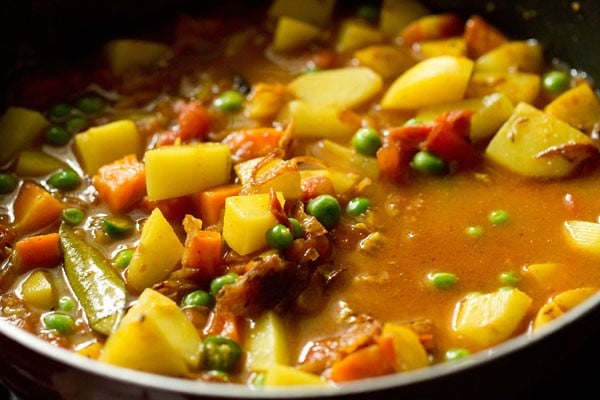
- Add 1 cup of water.
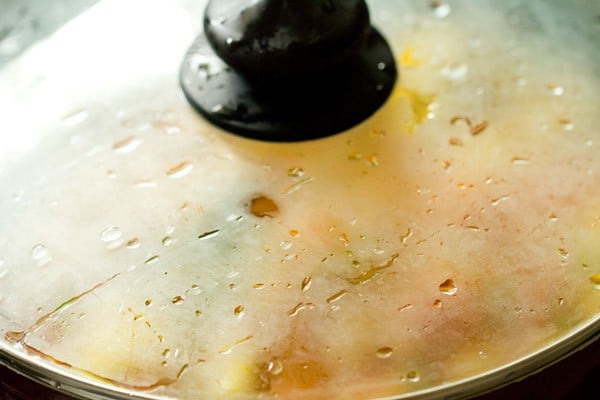
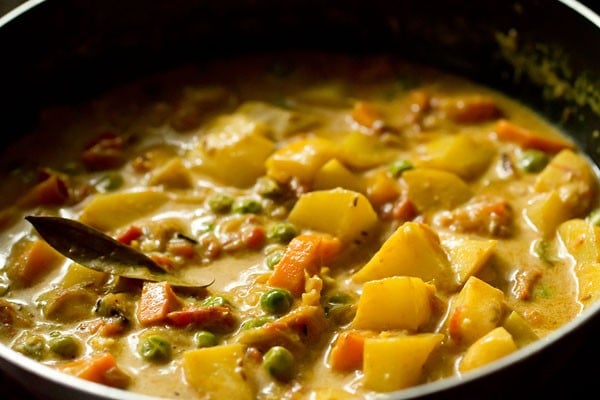
- Stir very well. Cover with the lid and cook on medium heat till the veggies are cooked. You can also use a stovetop pressure cooker for the cooking of the veggies. Just add less water, about ⅔ to ¾ cup if cooking veggies in a stovetop pressure cooker and cook for 1 whistle.
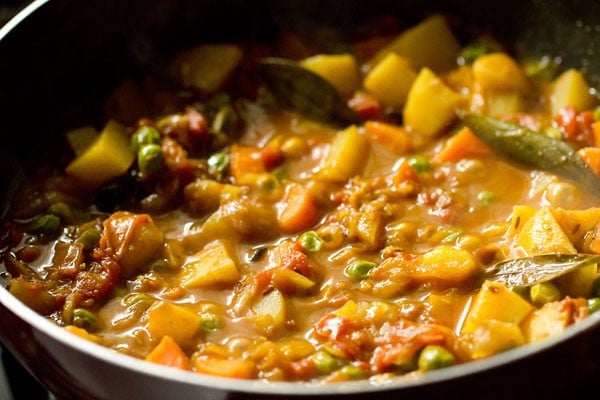
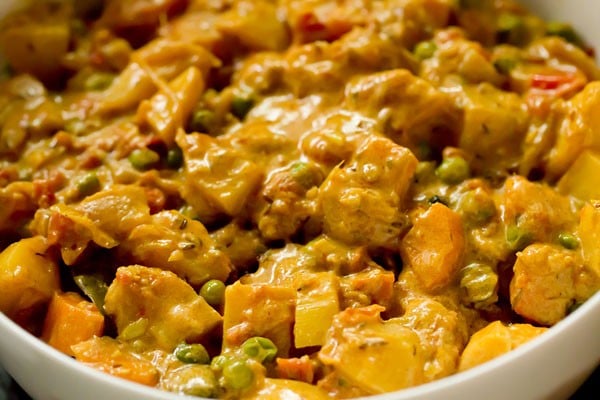
- The veggies have to be cooked well but should retain their shape. The gravy should also thicken and should not be of watery consistency.
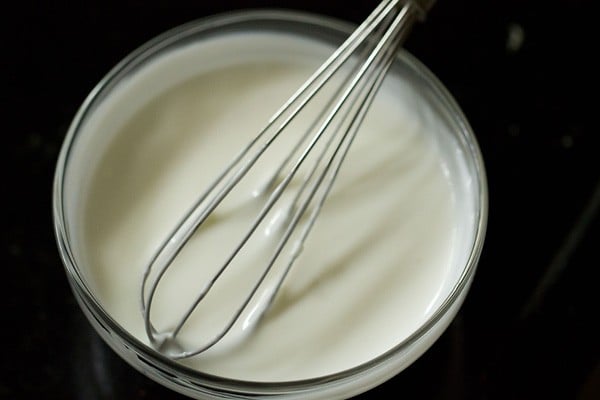
- Whisk ½ cup fresh curd in a bowl till smooth and keep aside.
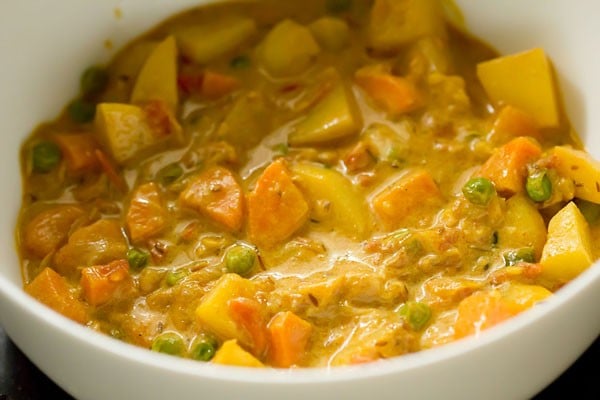
- Once the veggies are done, place the pan down and add the beaten or whisked curd (yogurt).
- Stir and mix very well. Check the taste and add more salt if required. Keep this vegetable gravy aside.
Cooking Mumbai Biryani
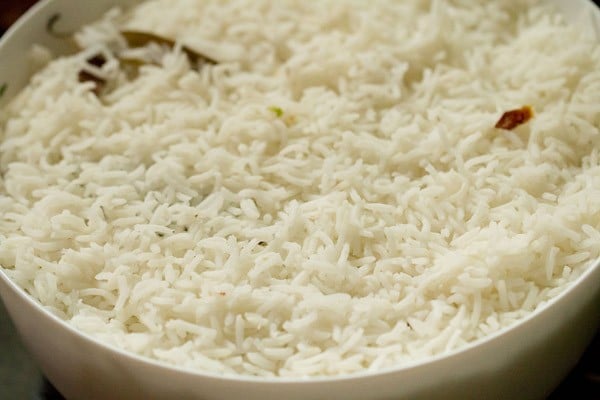
- I have dum cooked the Mumbai biryani in the oven. You can also cook in a thick bottomed pan or pot or even in a dutch oven. Pour half of the vegetable gravy into the pan or pot.
- Layer evenly with the cooked rice.
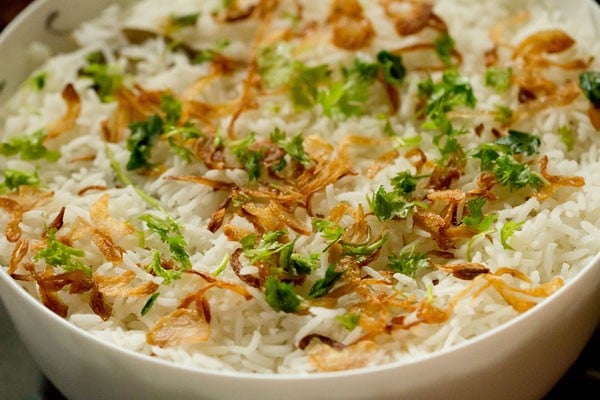
- Sprinkle ¼ tablespoon of chopped mint leaves and ½ tablespoon chopped coriander leaves.
- Now sprinkle ¼ portion of the fried onions evenly.
- Again make a second layer of the vegetable gravy evenly.
- Spread a third layer of the rice.
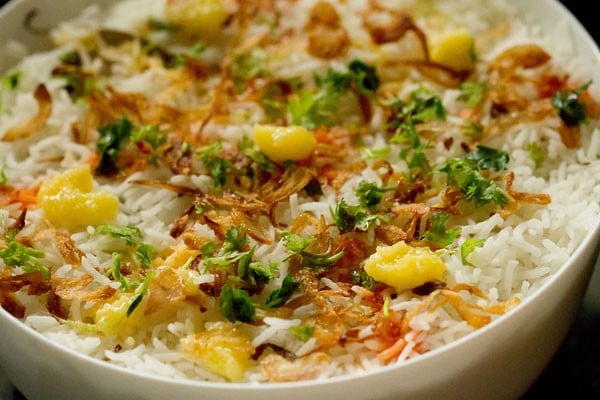
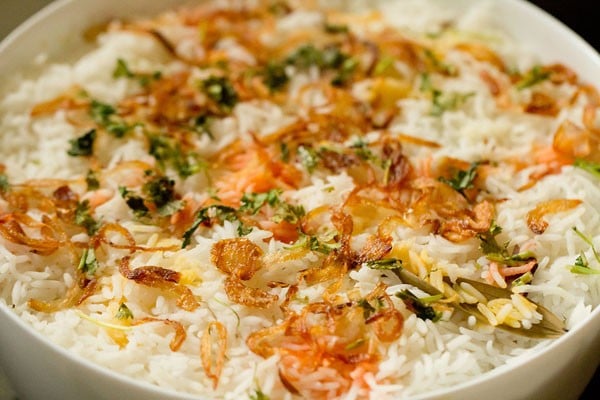
- Top up with the remaining chopped mint leaves, coriander leaves and fried onions. Also, add 1 to 2 teaspoons of kewra water.
- Dot with ½ tablespoon ghee. You can also sprinkle some natural color if you want.
- Cover tightly with a foil. Bake the Bombay biryani at 180 degrees celsius for 30 to 35 minutes. If dum cooking Bombay biryani on a stovetop, then also you can cover it with a foil or with a moist kitchen towel. Place the pan on a hot tava or griddle. On a low to medium heat dum cook the Mumbai biryani for 30 to 35 minutes.
- Allow the biryani to stand for some minutes.
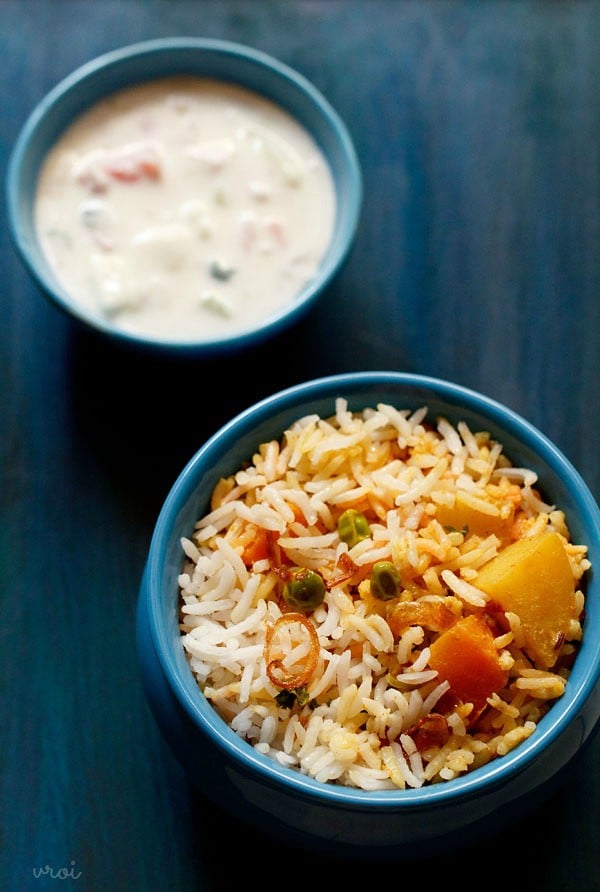
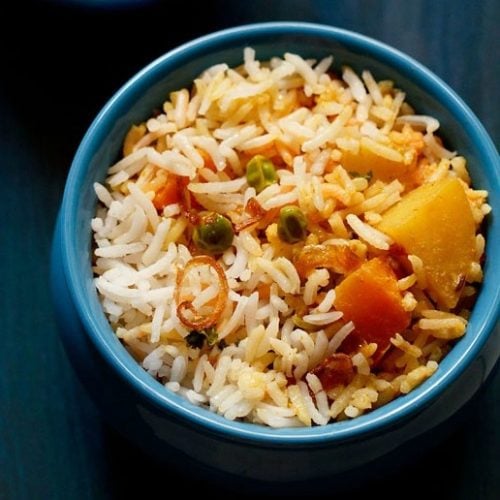
- Then serve this aromatic spiced Bombay biryani hot with your favorite raita or yogurt. Few more tasty biryani varieties:
Ambur biryaniPaneer biryaniKolkata biryaniKerala biryani
Please be sure to rate the recipe in the recipe card or leave a comment below if you have made it. For more vegetarian inspirations, Sign Up for my emails or follow me on Instagram, Youtube, Facebook, Pinterest or Twitter. This Mumbai Biryani post from the archives (May 2015) has been republished and updated on 29 September 2021.


title: “Bombay Biryani Mumbai Biryani " ShowToc: true date: “2024-10-25” author: “Helen Harrison”
As the name suggests Bombay biryani has originated from Mumbai aka Bombay. The non-vegetarian version of Bombay biryani is popular. Here I am sharing a vegetarian version of this biryani. The biryani is fragrant and spiced and really good. Good amount of tomatoes and potatoes along with spices are added in this biryani. Potatoes are fried and added, but I just cooked them together with the veggies. Birista or fried onions are also added in the biryani. Dried plums are also added. If you have dried plums then you can add them. This Mumbai biryani also does not have dry fruits in it. For the color, I used natural orange color extract. If you want, you can use some saffron dissolved in milk to give some color. As always with any mixed veggie recipe, you can add your choice of veggies to the biryani. Like all biryanis, this is a dum cooked biryani. You can tightly seal and cook the Bombay biryani on stovetop or in the oven. I do both on occasions. When it is a small amount I cook on the stovetop. And when its a lot of biryani, I cook in the oven. You can choose the option which suits you. Biryani is a favorite dish at home. I do go extra lengths in preparing biryanis as firstly we love biryani and secondly, I just need to make simple raita with biryani. I have already posted many Biryani varieties like: I cook biryanis often at home, especially when we have guests or for get-togethers. I can proudly say that after cooking biryanis for so many years now, I have become good at making them. I will be sharing more biryani varieties in the near future.
How to make Bombay biryani
1. Rinse 1.5 cups basmati rice (or 300 grams) very well in fresh water. Soak the rice in enough water for 30 minutes. You can use any good quality of basmati rice. I used organic basmati rice. 2. When the rice is soaking, chop all the veggies and keep them aside. Take all the spices and keep them aside. Below is a pic of spices that we will add to the rice – green cardamoms, black cardamom, black pepper, one strand of mace, tej patta, star anise and cloves. 3. After 30 minutes drain the water from the rice. Cooking rice 4. Heat 5 cups of water in a pan and bring to a boil on medium to high heat. 5. Add the whole spices or garam masala listed below:
4 to 5 whole black pepper1 star anise (chakriphool)1 inch cinnamon2 cloves2 green cardamoms1 black cardamom1 large tej patta or 2 small to medium tej patta (indian bay leaf)2 single strands of mace
- Add rice.
- Season with ¾ to 1 teaspoon salt or add as required.
- Add ½ tablespoon lemon juice.
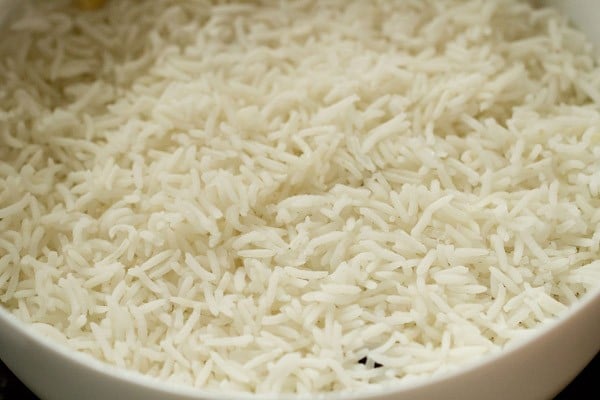
- On the same heat, simmer the rice till the grains are ¾th cooked.
- Drain the cooked rice in a colander and keep it aside. Preparing birista
- Heat 7 tablespoon of oil in a pan. Add 2 cups of thinly sliced onions. 12. Stir.
- Saute the onions stirring often till they turn golden. Add a pinch of salt to hasten the cooking process.
- Stir often and saute till the onions become golden.
- Remove the crisp fried onions or birista with a slotted spoon and place them on kitchen paper towels. From 2 cups of sliced onions, you will get about 1 cup of birista. We will use ½ of the birista in the gravy and the remaining ½ in the layering. Preparing vegetable gravy
- In the same pan, add the following whole spices for the gravy:
1 teaspoon shahjeera (caraway seeds)1 inch cinnamon4 green cardamoms4 cloves2 single strands of mace2 all spice (kabab chini) – optional1 large tej patta or 2 small to medium tej patta (indian bay leaf)
- Here’s a closeup pic of the spices. In clockwise order – tej patta (Indian bay leaf). Strands of mace, allspice (optional), green cardamoms, cinnamon and cloves. Caraway seeds or shah jeera is not shown in this below photo.
- Stir and saute till the spices become fragrant.
- Now add diced or chopped potatoes (about 1.5 cups diced potatoes) and carrots (about 1 cup chopped carrots).
- Stir and mix well.
- Saute the potatoes and carrots for 5 to 6 minutes.
- With a spoon, bring them to the sides and add 1 tablespoon ginger-garlic paste. Saute the ginger-garlic paste in the same place for some seconds or till their raw aroma goes away.
- Now add 1.25 cups chopped tomatoes.
- Stir and mix very well.
- Add the following spice powders:
½ teaspoon turmeric powder1 teaspoon red chili powder1 teaspoon coriander powder1 teaspoon cumin powder1 teaspoon garam masala powder. Also, add prunes or dried plums if you have them. About 4 to 5 dried plums.
- Add 1 chopped green chili. Stir and mix well. Saute for a minute.
- Add ⅓ cup tightly packed fresh or frozen green peas. Stir again.
- Now add ½ of the birista or fried onions.
- Season with 1 teaspoon salt or add as required. Stir again.
- Add 1 cup of water.
- Stir very well. Cover with the lid and cook on medium heat till the veggies are cooked. You can also use a stovetop pressure cooker for the cooking of the veggies. Just add less water, about ⅔ to ¾ cup if cooking veggies in a stovetop pressure cooker and cook for 1 whistle.
- The veggies have to be cooked well but should retain their shape. The gravy should also thicken and should not be of watery consistency.
- Whisk ½ cup fresh curd in a bowl till smooth and keep aside.
- Once the veggies are done, place the pan down and add the beaten or whisked curd (yogurt).
- Stir and mix very well. Check the taste and add more salt if required. Keep this vegetable gravy aside.
Cooking Mumbai Biryani
- I have dum cooked the Mumbai biryani in the oven. You can also cook in a thick bottomed pan or pot or even in a dutch oven. Pour half of the vegetable gravy into the pan or pot.
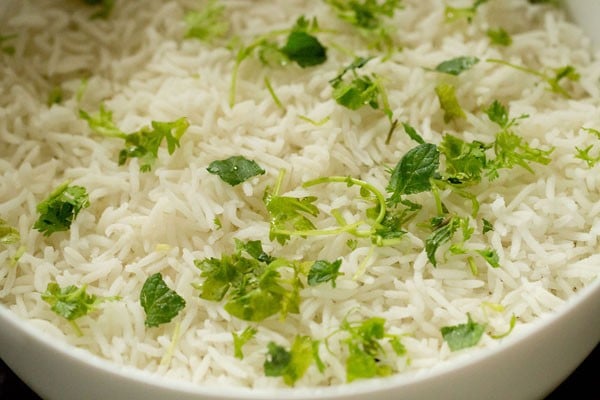
- Layer evenly with the cooked rice.
- Sprinkle ¼ tablespoon of chopped mint leaves and ½ tablespoon chopped coriander leaves.
- Now sprinkle ¼ portion of the fried onions evenly.
- Again make a second layer of the vegetable gravy evenly.
- Spread a third layer of the rice.
- Top up with the remaining chopped mint leaves, coriander leaves and fried onions. Also, add 1 to 2 teaspoons of kewra water.
- Dot with ½ tablespoon ghee. You can also sprinkle some natural color if you want.
- Cover tightly with a foil. Bake the Bombay biryani at 180 degrees celsius for 30 to 35 minutes. If dum cooking Bombay biryani on a stovetop, then also you can cover it with a foil or with a moist kitchen towel. Place the pan on a hot tava or griddle. On a low to medium heat dum cook the Mumbai biryani for 30 to 35 minutes.
- Allow the biryani to stand for some minutes.
- Then serve this aromatic spiced Bombay biryani hot with your favorite raita or yogurt. Few more tasty biryani varieties:
Ambur biryaniPaneer biryaniKolkata biryaniKerala biryani
Please be sure to rate the recipe in the recipe card or leave a comment below if you have made it. For more vegetarian inspirations, Sign Up for my emails or follow me on Instagram, Youtube, Facebook, Pinterest or Twitter. This Mumbai Biryani post from the archives (May 2015) has been republished and updated on 29 September 2021.
