I have been making paneer from scratch for many years, and cannot remember the last time I bought it in a store. Not only is homemade paneer more wholesome and fresh, it is actually cheaper to make than it is to buy. With just a few key steps and tips you too can make the best tasty paneer in your own kitchen!
What is Paneer?
Also known as Indian cottage cheese, paneer is a fresh cheese made by adding a food-based acid to curdled milk. The resulting whey is strained and pressed in muslin cheesecloth, creating a firm block of delicious cheese. Paneer does not require any fermenting or curing. And unlike many other kinds of cheese in the world, the making of paneer does not involve Rennet, and it is therefore completely vegetarian-friendly. It is a firm, non-melting cheese that is unsalted, and has a pleasantly mild flavor. Paneer cheese is made in a similar way ricotta cheese is made. Blocks of homemade paneer can be used to make a variety of tasty dishes, from pakora to curries – and is super yummy to eat by the slice on its own!
About Homemade Paneer
I learned how to make paneer decades back in my cooking school. It is a simple process that involves first boiling milk and curdling with a food acid, then pressing to form a firm cheese. The curdled milk is strained and pressed in cheesecloth, and the whey is either discarded or reserved for later use. After just 30 minutes you have a beautiful homemade block of fresh homemade paneer that’s ready to keep in the fridge or use in your favorite dishes.
5 food acids that curdle milk
How to Make Paneer
Boiling the Milk
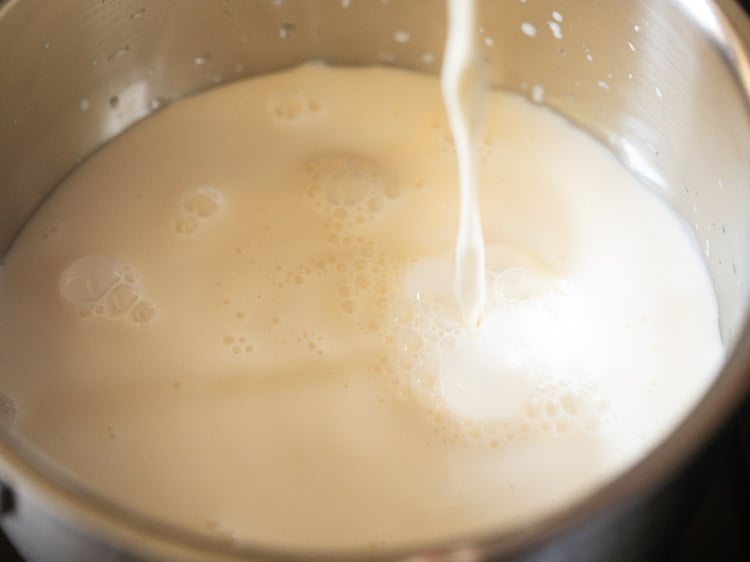
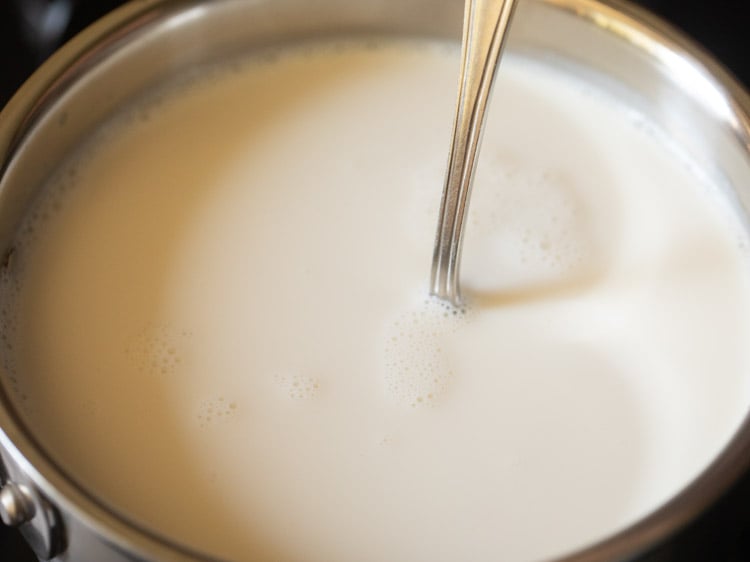
- First, rinse a large, heavy duty pot with water to ensure that it is completely clean. Add 1 litre (approximately 4 cups) of milk to the pot.
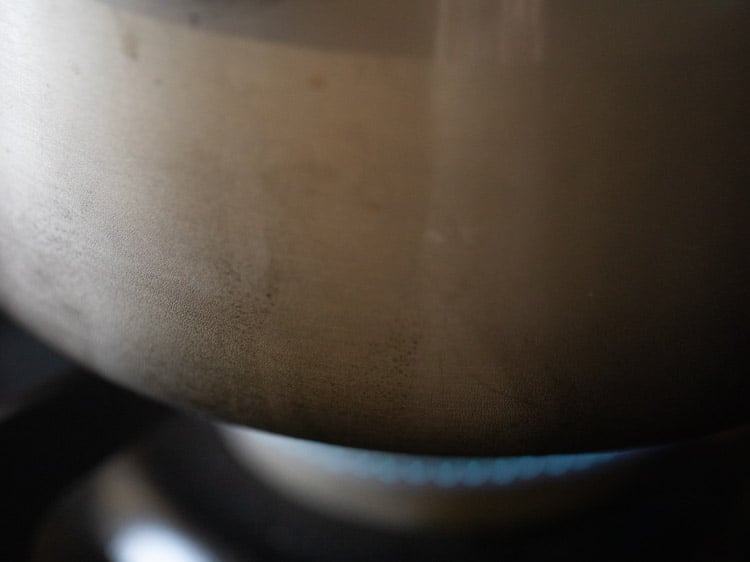
- Then begin to heat the milk on a medium-low flame. 3. As the milk heats, stir occasionally so that a skin does not form on the surface and the milk does not burn on the bottom of the pot.
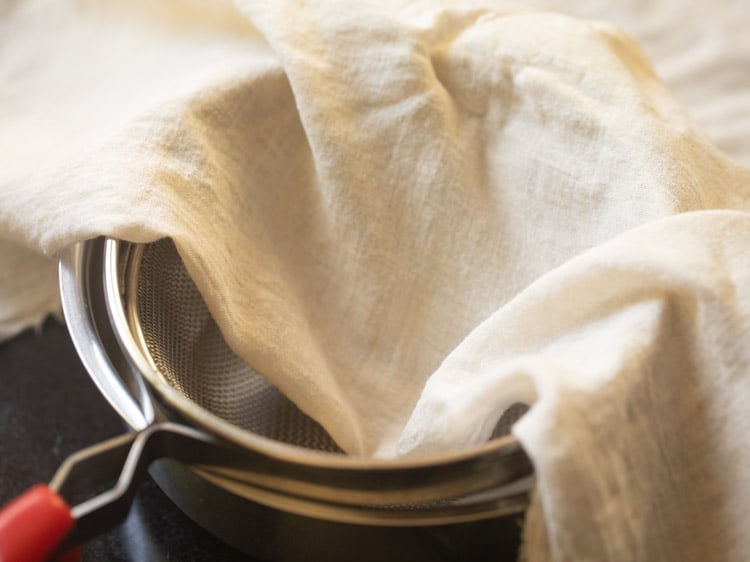
- Meanwhile, prep your workspace: Place a metal strainer or sieve over another large sauce pot. Then line the strainer with clean muslin or cheesecloth, or a cotton napkin. You can line the pan directly with the muslin, but using a strainer is very helpful for avoiding messes.
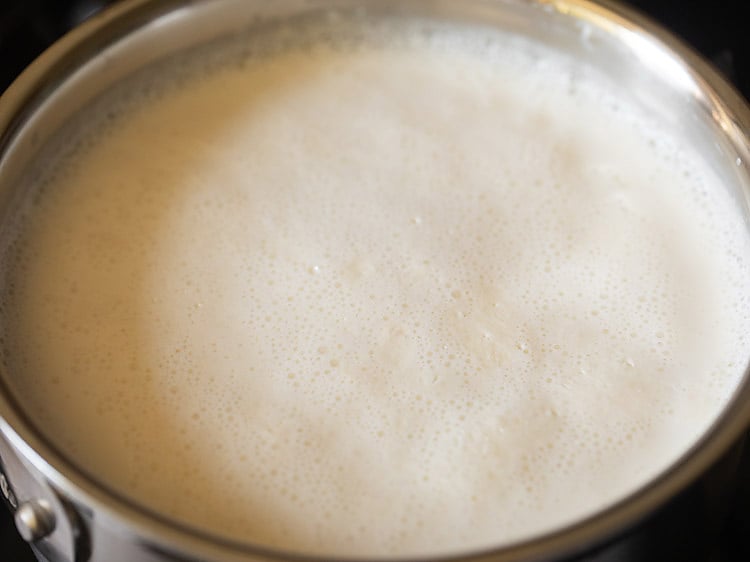
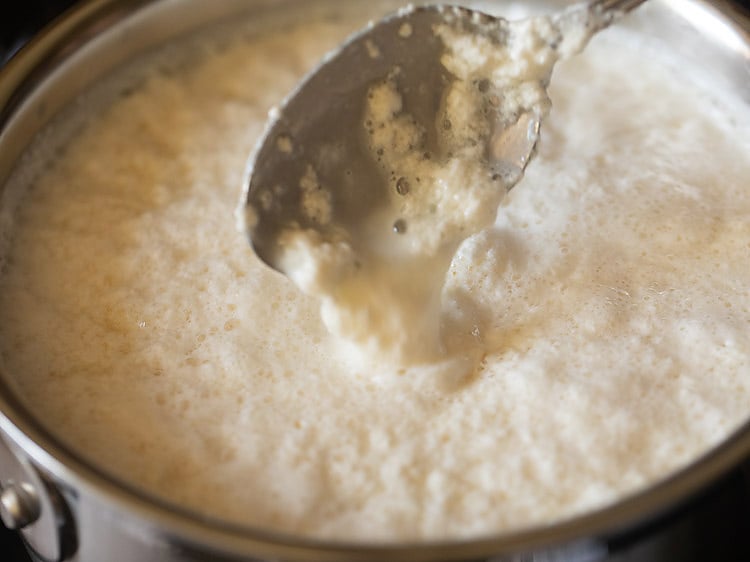
- Let the milk come to a boil, until it starts foaming and rising.
Adding Food Acid
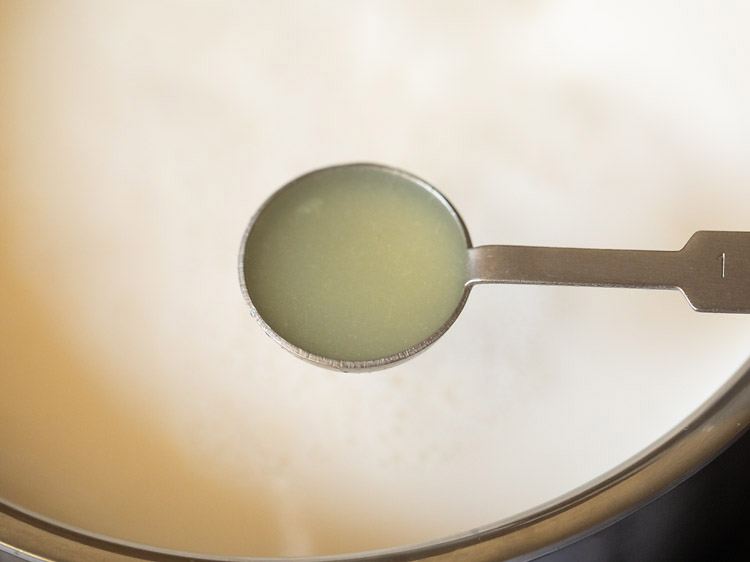
- Now it’s time to add the one food acid of your choice:
Lemon juice – 2 to 4 teaspoons Vinegar – 2 to 3 teaspoons Buttermilk – 4 to 5 tablespoons Curd – at least 3 to 4 tablespoons
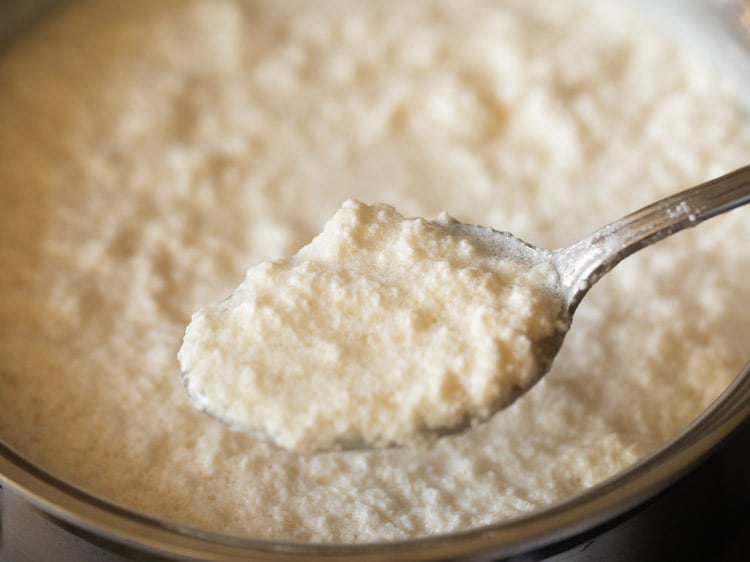
The amount of acid needed will depend on the quality of milk used. More fat in the milk will require more food acid to make this paneer recipe. For this batch of paneer I am using lemon juice as the acid. It’s my favorite for its mild flavor and freshest tasting cheese. 7. Stir in the lemon juice (or acid of choice). The milk will begin to curdle immediately. 8. The milk must curdle completely before you can make paneer. Continue to stir the milk to help keep it from sticking to the pot. 9. Add 1 to 2 teaspoons more of the food acid if it doesn’t seem to be curdling fully.
Making Homemade Paneer
- After the milk has fully curdled completely and you see a greenish whey, switch off the heat. Then immediately pour the mixture into the lined strainer.
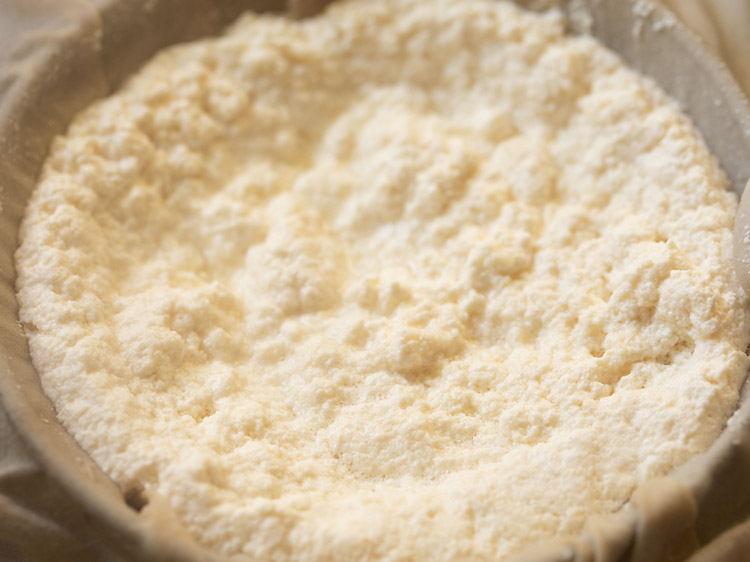
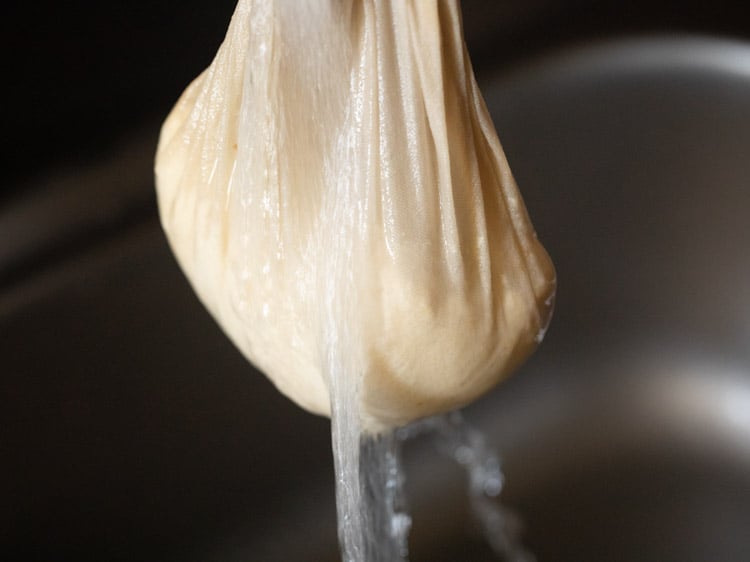
- Next, gather the edges of the cheesecloth – be careful, the coagulated milk mixture will be very hot. Lift the bundle and allow to drain until no longer dripping.
- With the ends tightly gathered, run clean, fresh water all over the cloth to rinse. This ensures that the lemon or vinegar flavors are also rinsed with the water. If you have used curd or buttermilk, then you do not need to follow this step.
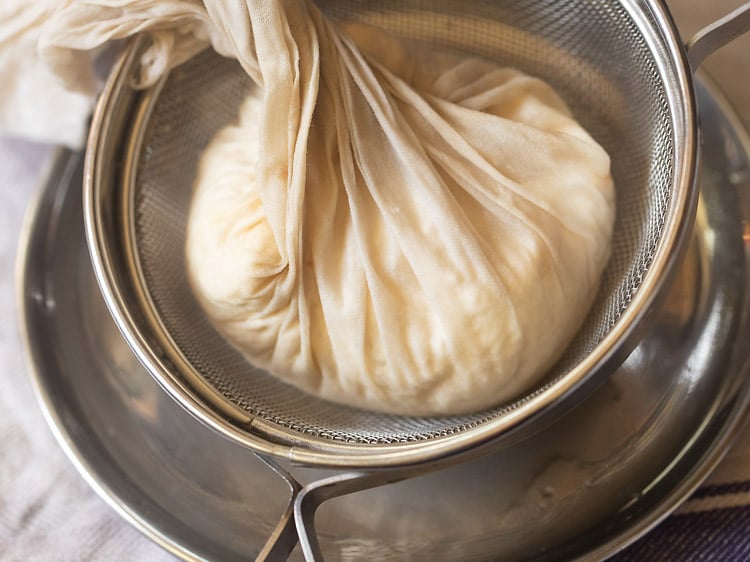
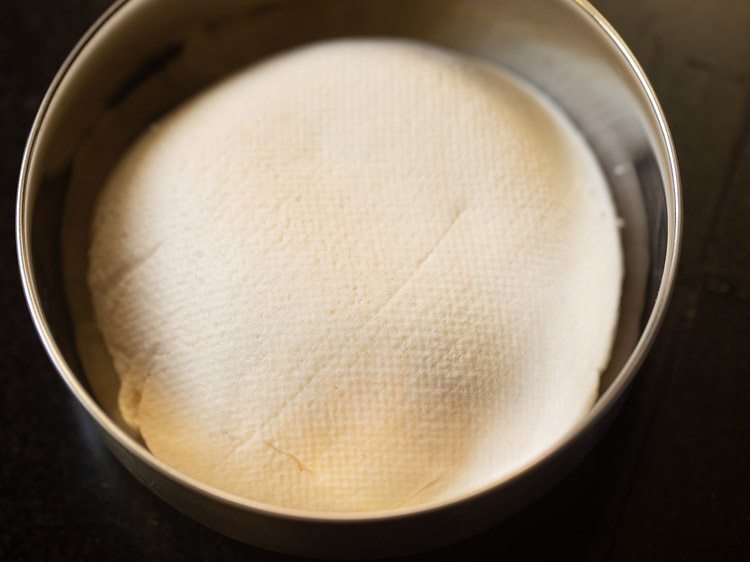
- Tightly secure the ends of the cloth to keep the chenna wrapped, then place the bundle back in the strainer on a plate or over a clean bowl.
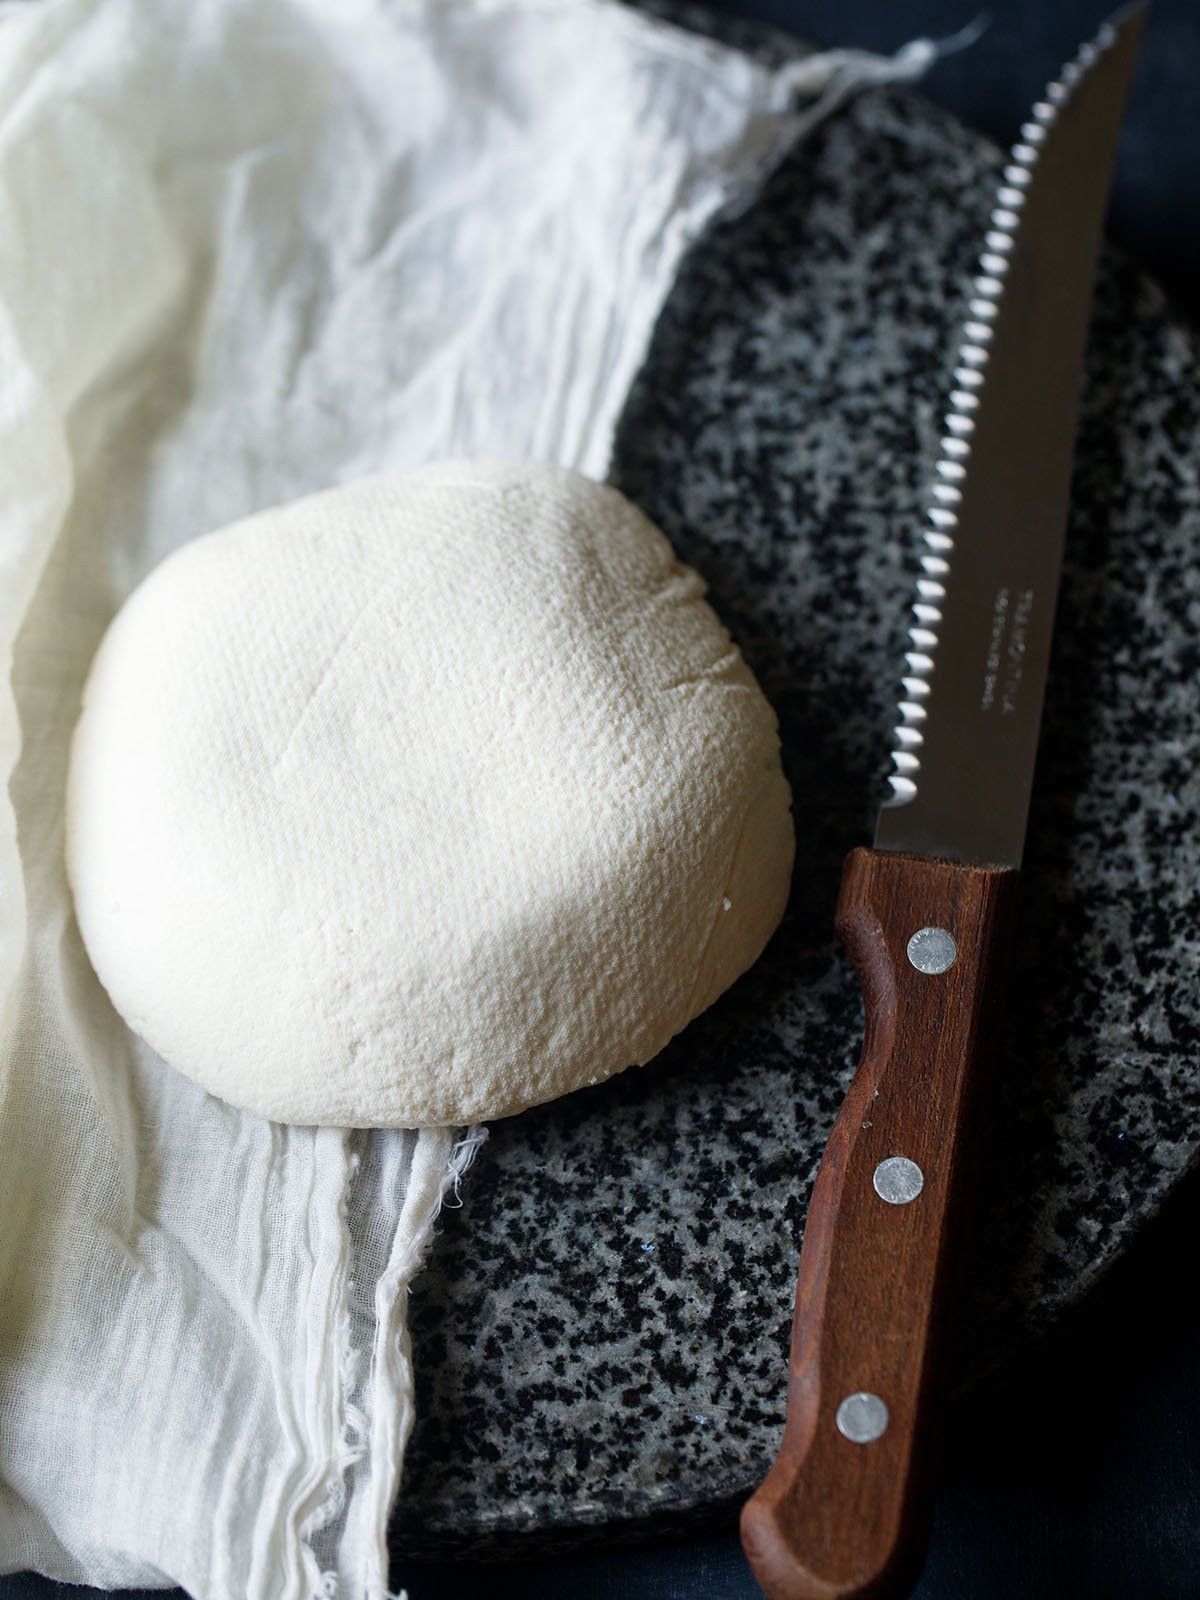
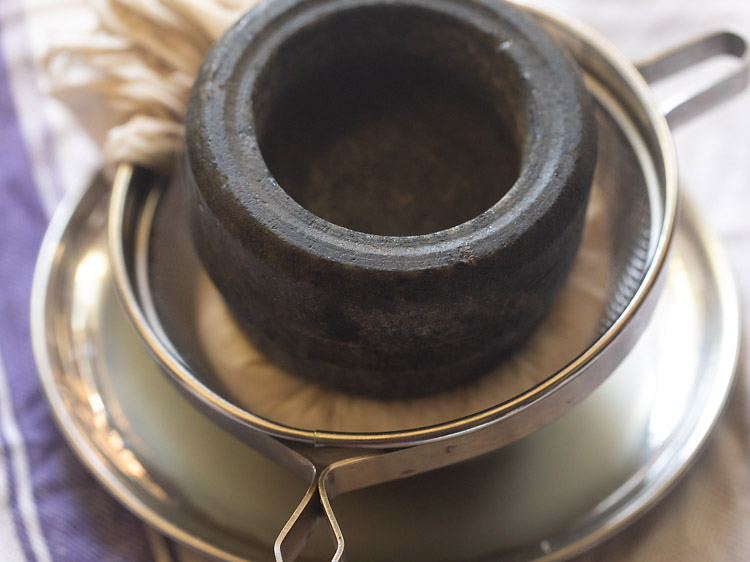
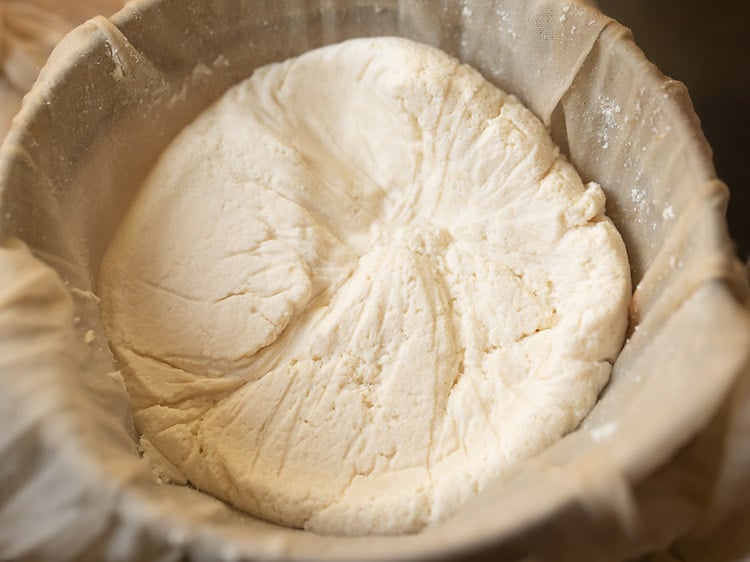
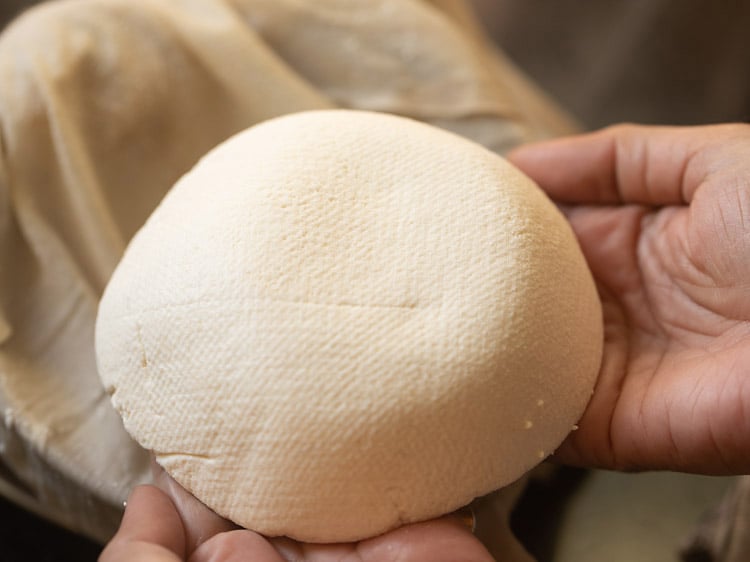
- You can either hang the bundle (on your kitchen basin faucet) or press to form the cheese. Hanging the bundle will require about an hour, and should be done over a bowl or in your kitchen sink. This method tends to produce a softer, more loose texture. I prefer to make a firmer paneer cheese by pressing the whey out with an object that weighs at least 500-600 grams (or at least 1 pound). This method only requires 30 to 40 minutes and can be done in the strainer over a pan or bowl. In the picture below I’ve used the mortar from my mortar and pestle set. You could even stack up with some plates. 15. After 30 to 40 minutes of pressing the paneer is ready. The longer it sits with the weight the firmer your cheese will be. So for a softer cheese be sure to take off the weight sooner rather than later. Remove the weight and open the cloth. I used one litre (4 cups) of milk and therefore made roughly 200 grams, or 7 ounces, of homemade paneer.
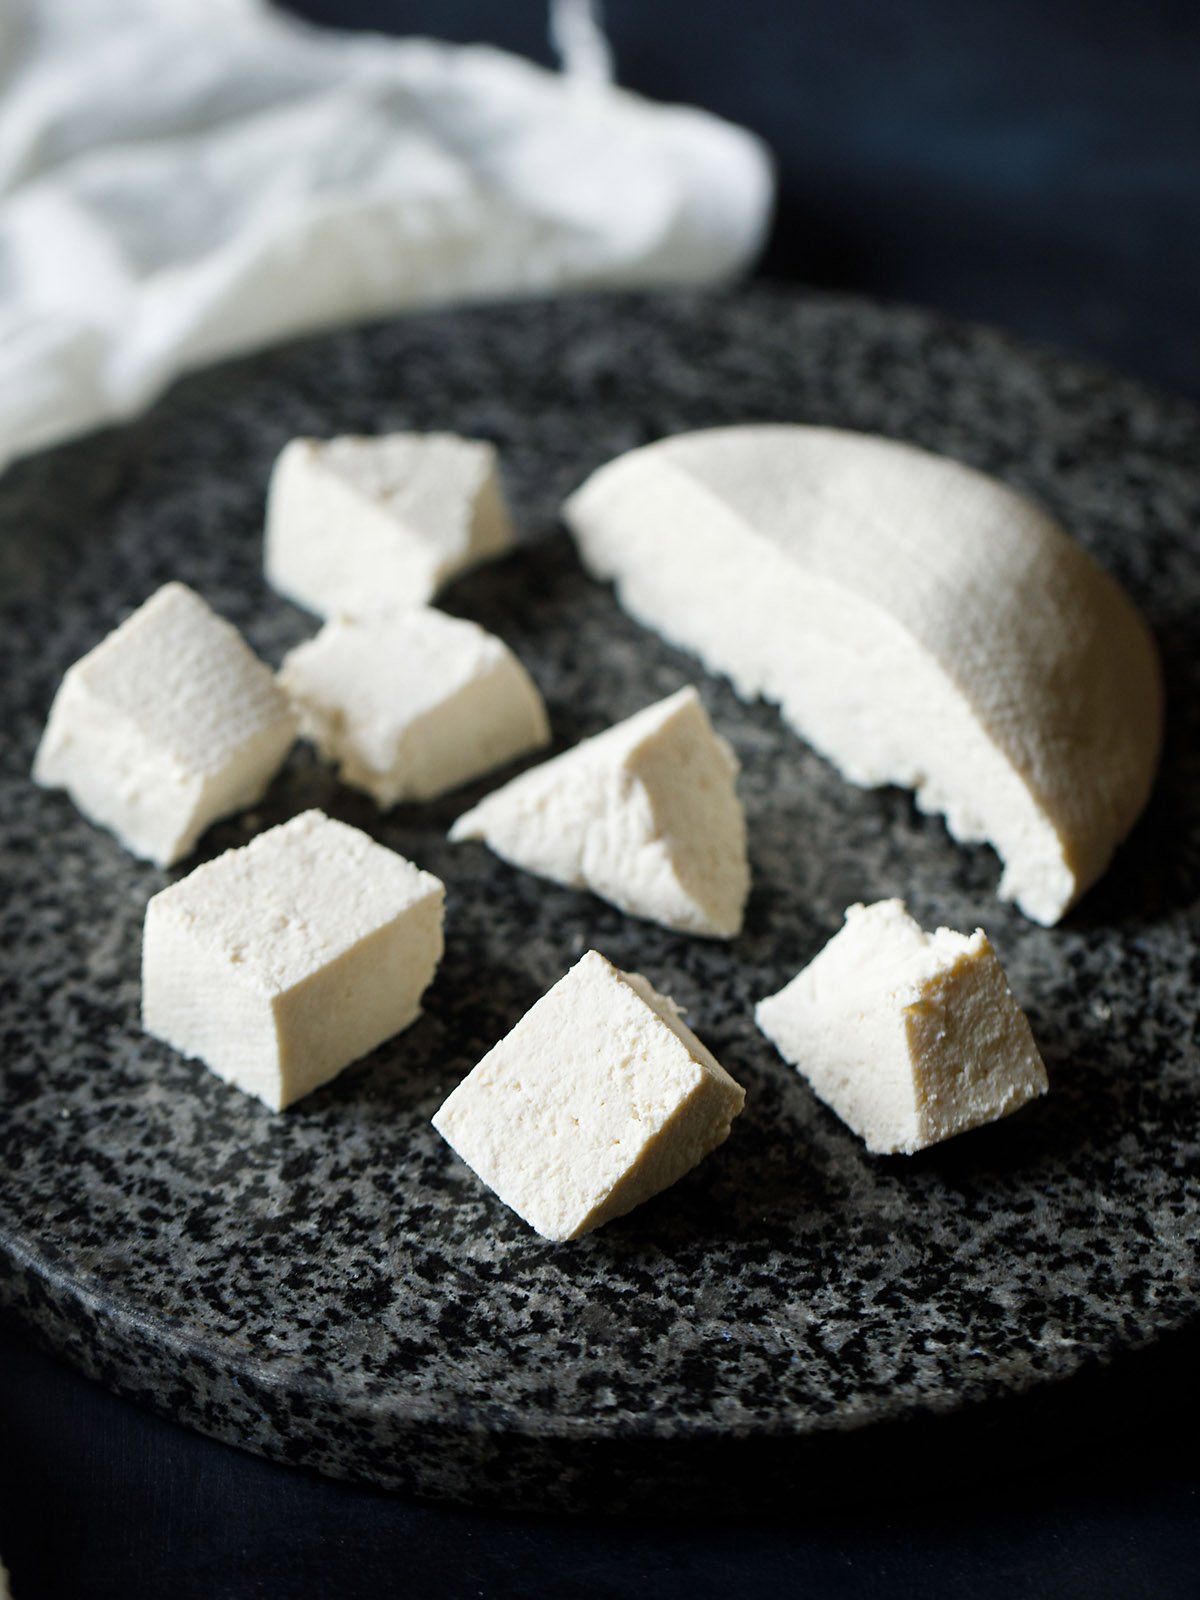
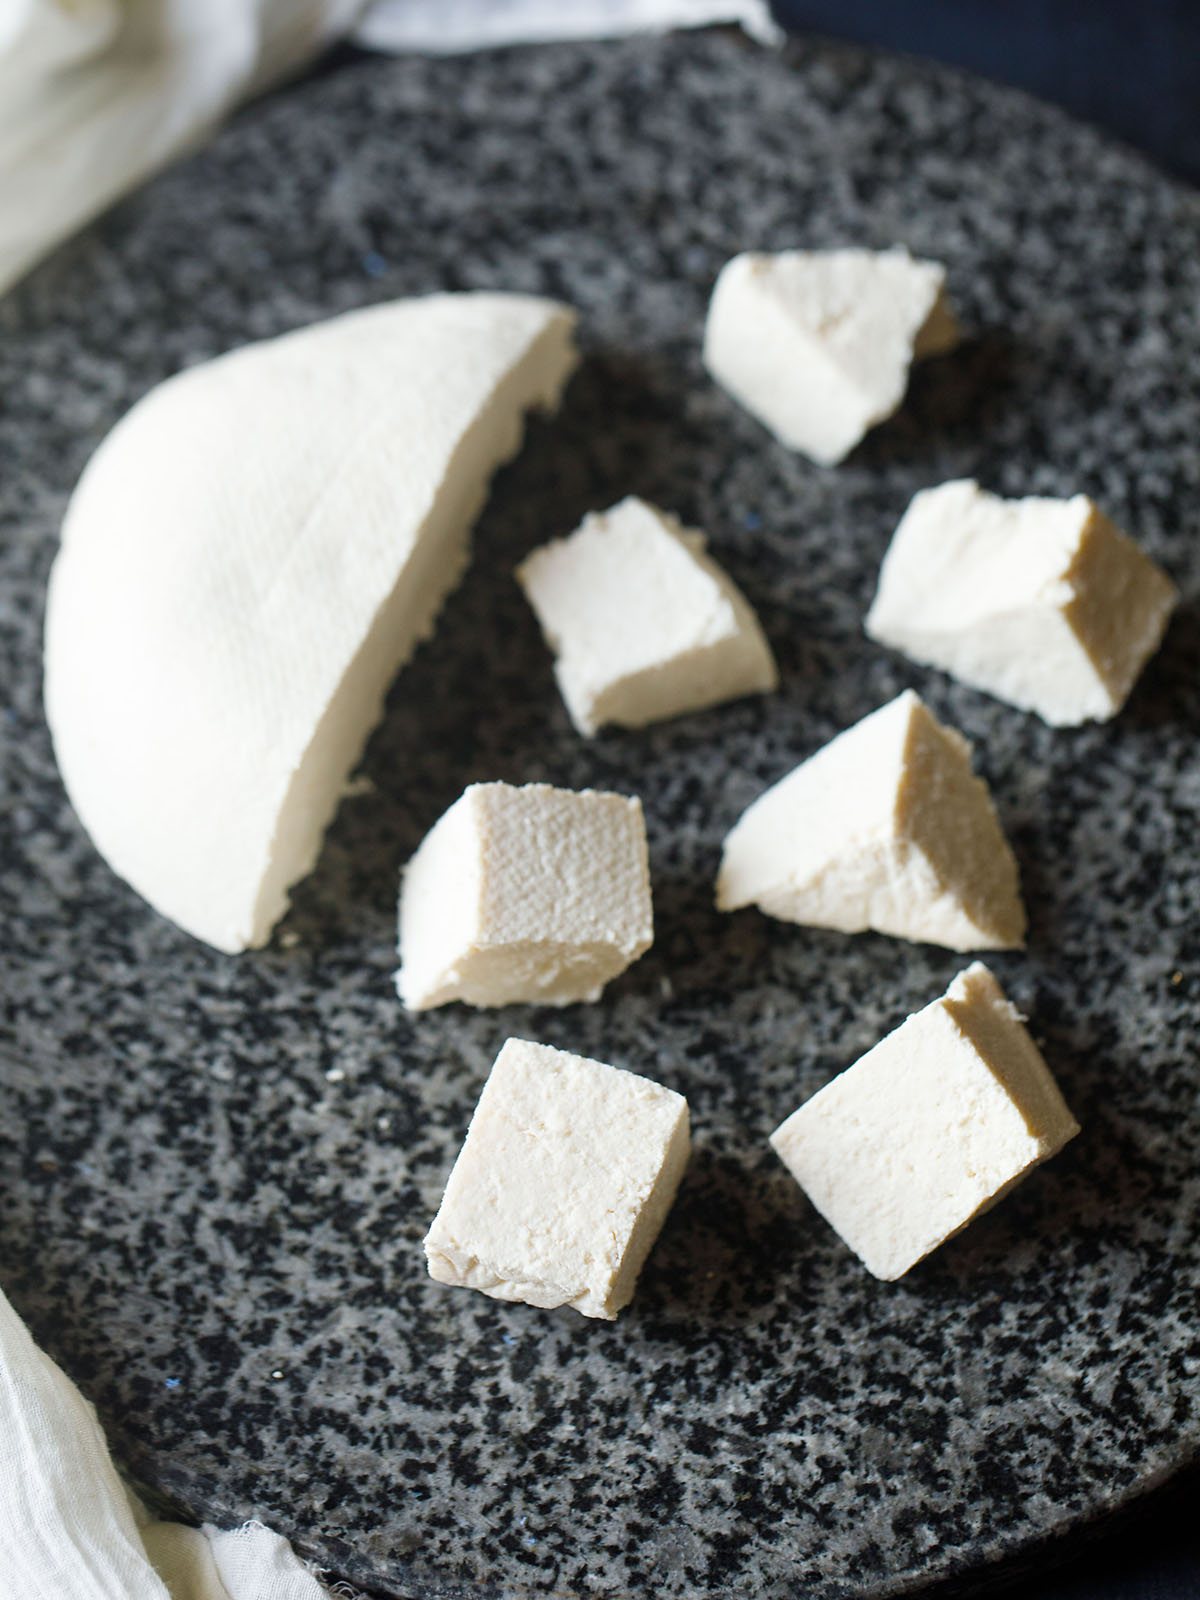
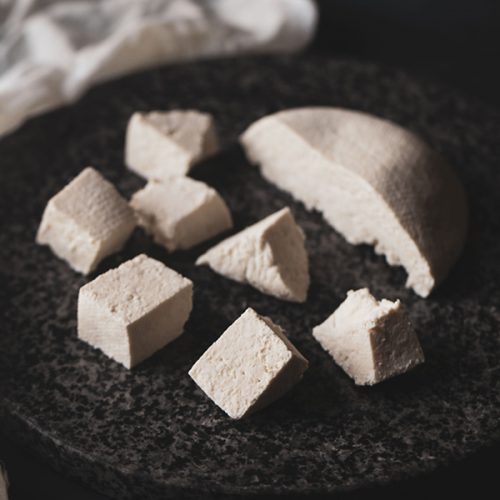
- You now have a beautiful block of smooth and tender paneer cheese.
Storing and Using Paneer
- Use the paneer right away to cook, or you can refrigerate it for later. To refrigerate, keep stored in an airtight container for 2 to 3 days.
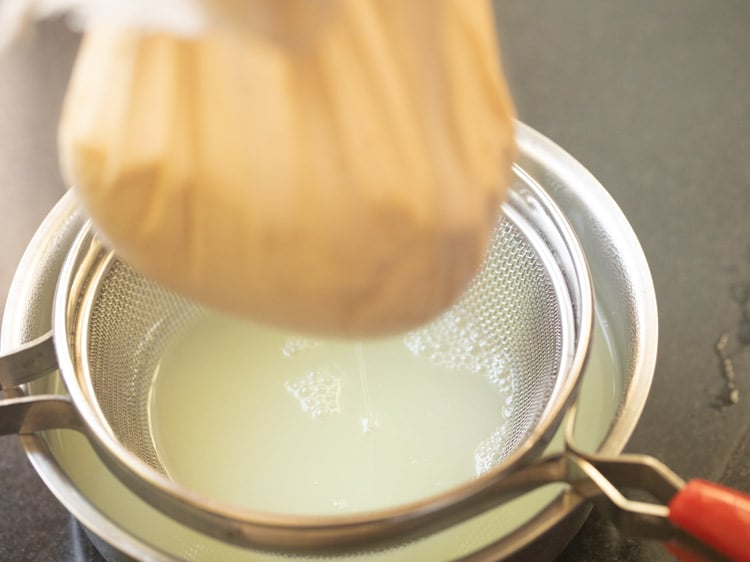
- The collected whey can be added to roti, rice or vegetable dishes. Keep reading for some great ideas of what to do with the whey!
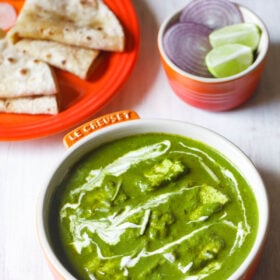
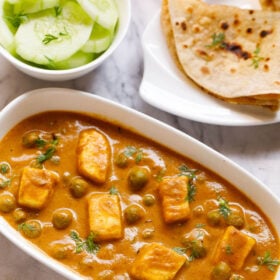
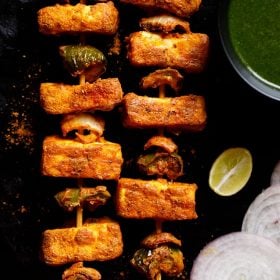
- When ready to use the paneer, slice it thin or chop into chunks – whatever your recipe calls for. Try your fresh homemade paneer to make your favorite Indian curries or you can check my category of Paneer Recipes for more ideas. You could also make Kadai Paneer, Palak Paneer, Paneer Butter Masala, Paneer Tikka, or any number of delicious recipes.
What to do with Leftover Whey
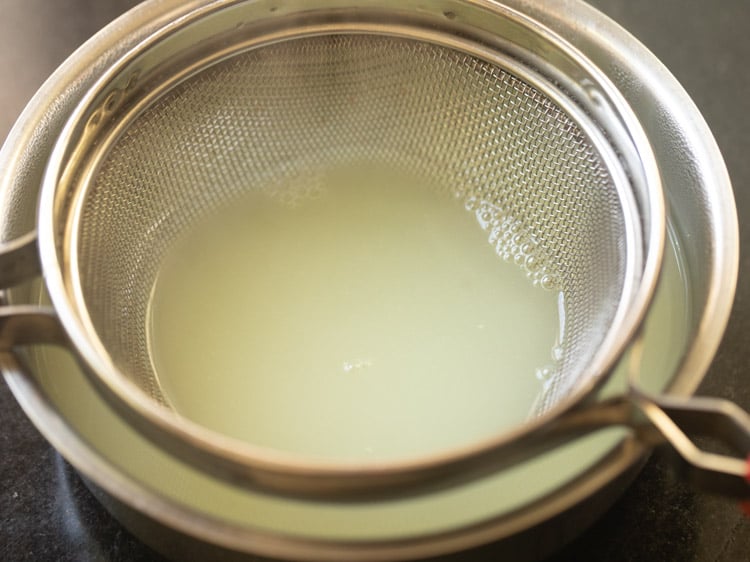
After pressing or hanging the paneer, you’ll have a greenish colored whey which is very rich in nutrients. You can discard this liquid, but I highly recommend you keep and use it for adding a healthy boost to a number of recipes. Easily refrigerate the whey for up to 5 days in an airtight container. However, it should be noted that there will be a hint of flavor in the whey from whatever food acid agent is used. For example, if lemon juice has been used to curdle milk, there will be a bit of sourness in the whey and therefore any dish made with it. Here are just a few ways to use the whey from the paneer-making process:
Expert Tips
Want to make sure your paneer is perfect every time? Be sure to follow my tips: Please be sure to rate the recipe in the recipe card or leave a comment below if you have made it. For more vegetarian inspirations, Sign Up for my emails or follow me on Instagram, Youtube, Facebook, Pinterest or Twitter. Paneer Butter Masala Recipe (Restaurant Style) Palak Paneer Recipe (Spinach & Paneer Cheese Curry) Matar Paneer Recipe | Punjabi Mutter Paneer Paneer Tikka Recipe (Restaurant Style) This homemade paneer recipe post from the archives first published in May 2012 has been updated and republished on November 2020.