About This Ice Cream Recipe
This quick and easy ice cream recipe is a basic ice cream base made with just three (3!!!) ingredients. This soft, smooth and velvety ice cream recipe comes together in almost no time and doesn’t require any special equipment to make. If you, like me, make ice cream mostly during the warmer months, you’ll also be thrilled to hear that there is no cooking involved for this easy recipe! Many ice cream recipes call for making a custard, which means heating milk, tempering eggs, and then cooking on the stovetop. Not so with this magical, no-fail recipe. In addition, this recipe requires zero churning, meaning you don’t have to have an ice cream maker or a bunch of ice and salt to make it happen. The entire active process takes just 15 minutes to assemble, and then all you have to do is wait for the freezer to do its modern day magic. I found out about these few ingredient ice cream recipes from TheKitchn.com awhile back. Let me tell you – this method of making ice cream is a snap! It has become my go-to recipe for making my favorite summer treat. This quick, no-churn, no-cook ice cream exceeded my expectations the first time I gave it a try. It is soft, smooth, creamy and delectable – everything you could want from ice cream! And since only whipping cream and condensed milk is used, there is no possibility of the dreaded ice crystals forming. Is there anything worse than digging into a fresh pint of ice cream and finding that it is freezer burned and crystalized? Of course there is, but the disappointment is very real. So now that you’ve read my ode to this magnificently simple ice cream recipe, let’s get down to making it, shall we?
How to Make Homemade Ice Cream
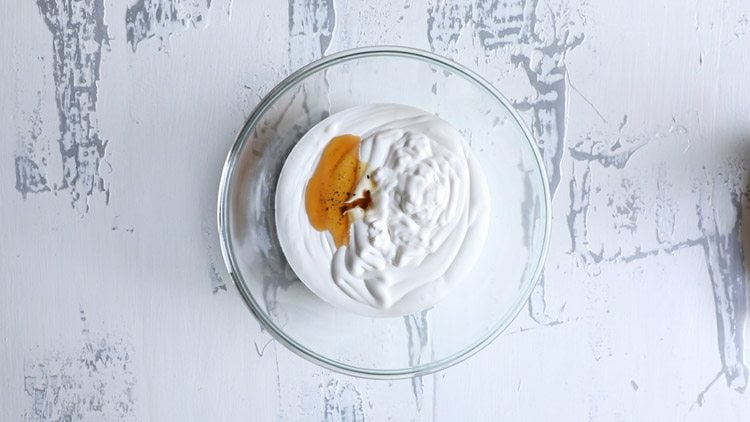
- In a large bowl, take 2.5 to 2.75 cups of chilled whipping cream (30% to 50% fat). Add 2 teaspoons vanilla extract. Note: If using vanilla essence, then add just 1 teaspoon.
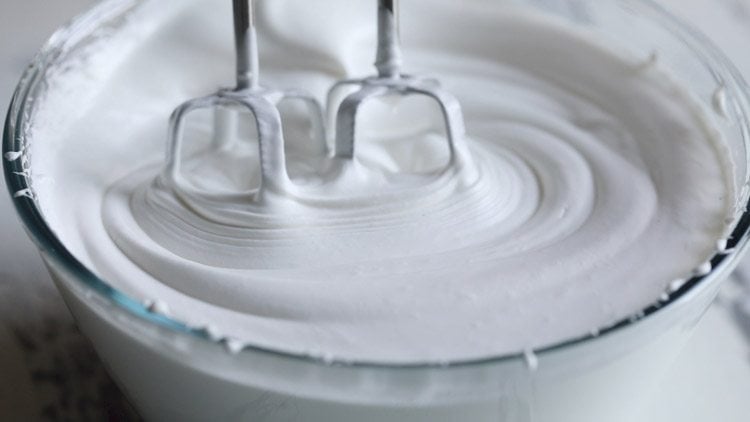
- With an electric beater at full speed, begin to whip the cream. Timing will vary depending on the fat content in the cream. Both for amul fresh cream and amul whipping cream, it takes about 8 to 10 minutes to achieve the right consistency.
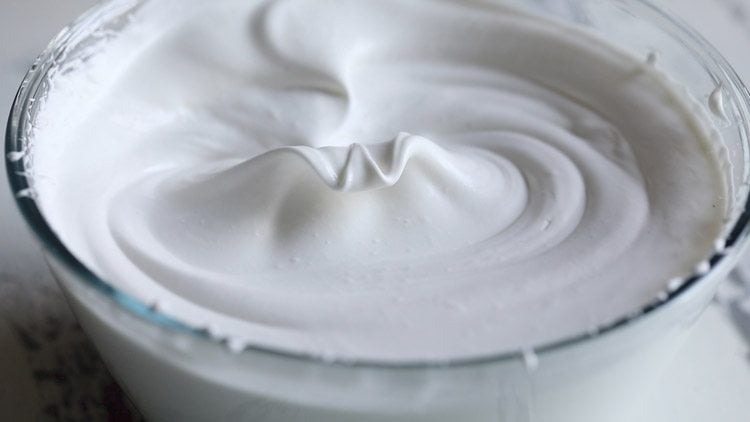
- Whip till stiff peaks are formed. Tip: While it might seem silly, I generally recommend that you use a hand mixer for this process so that you are present for the entire whipping process. Be sure to watch the cream carefully and stop whipping when it achieves firm peaks – any further and you run the risk of turning it into butter!
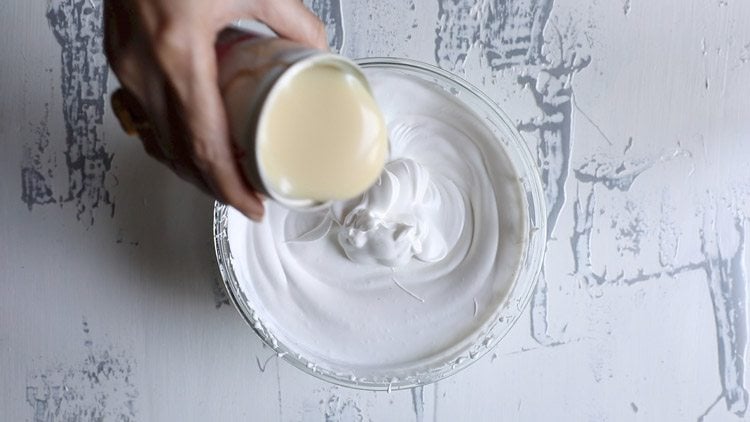
- Now add 400 grams of chilled sweetened condensed milk (400 ml or about 1.6 cups).
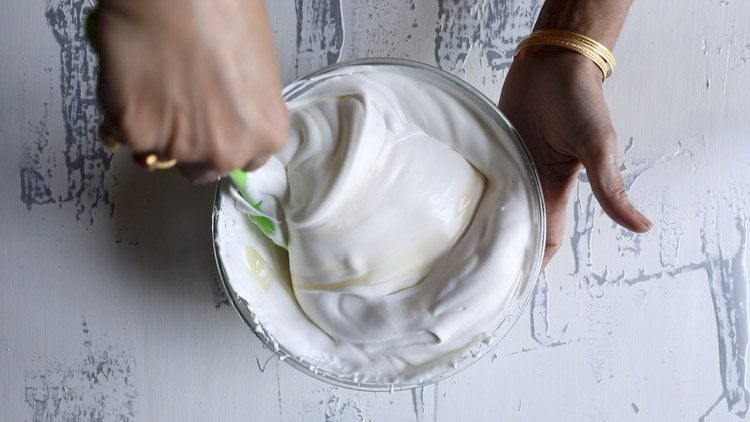
- Fold gently but very well, until the mixture is just uniform. Remember not to overfold, as then the ice cream mixture can fall flat.
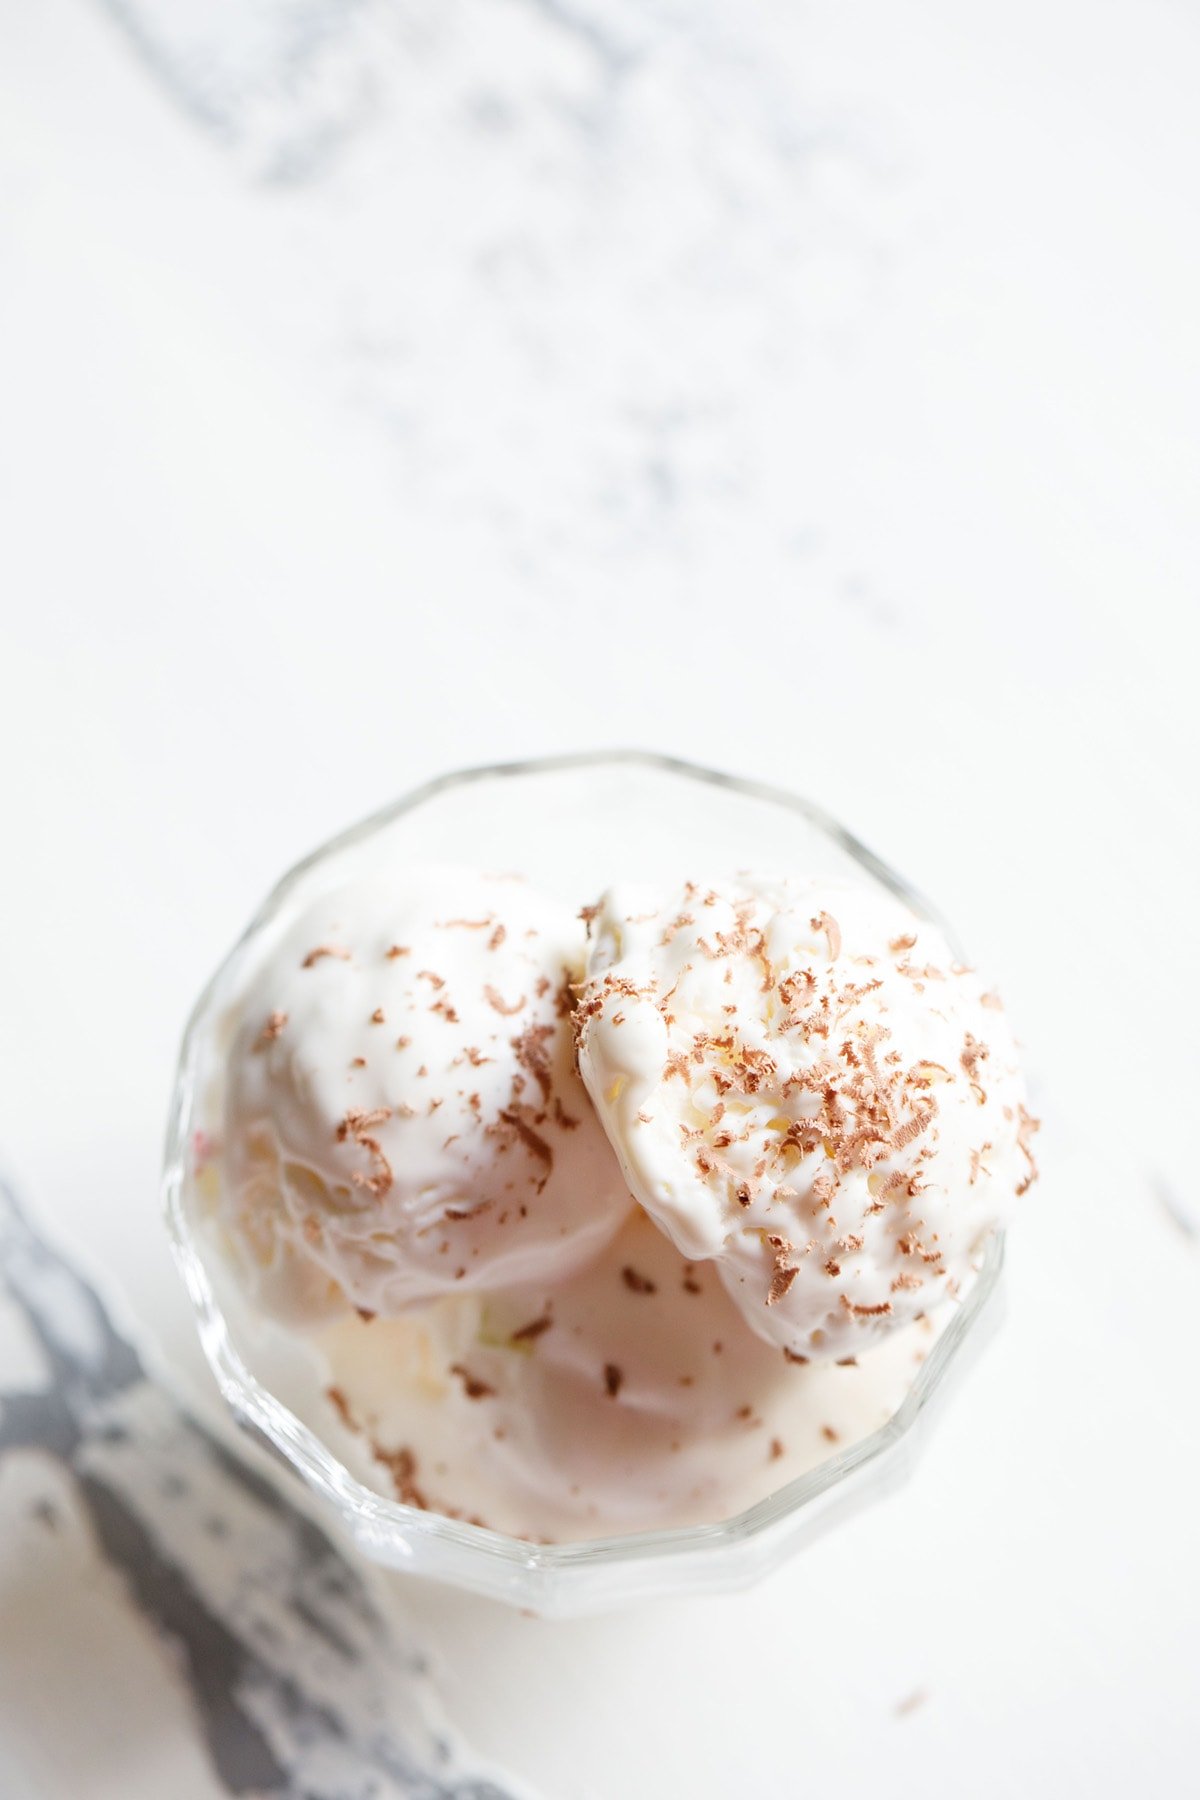
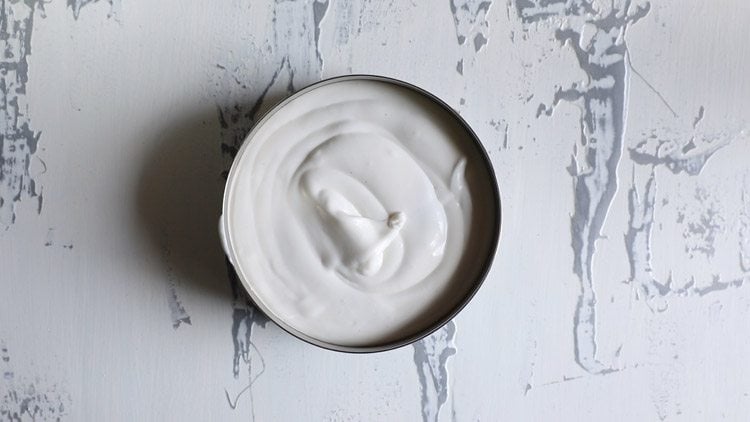
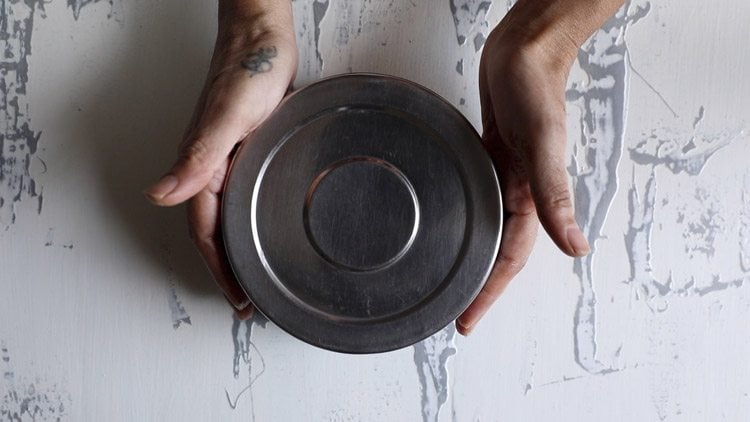
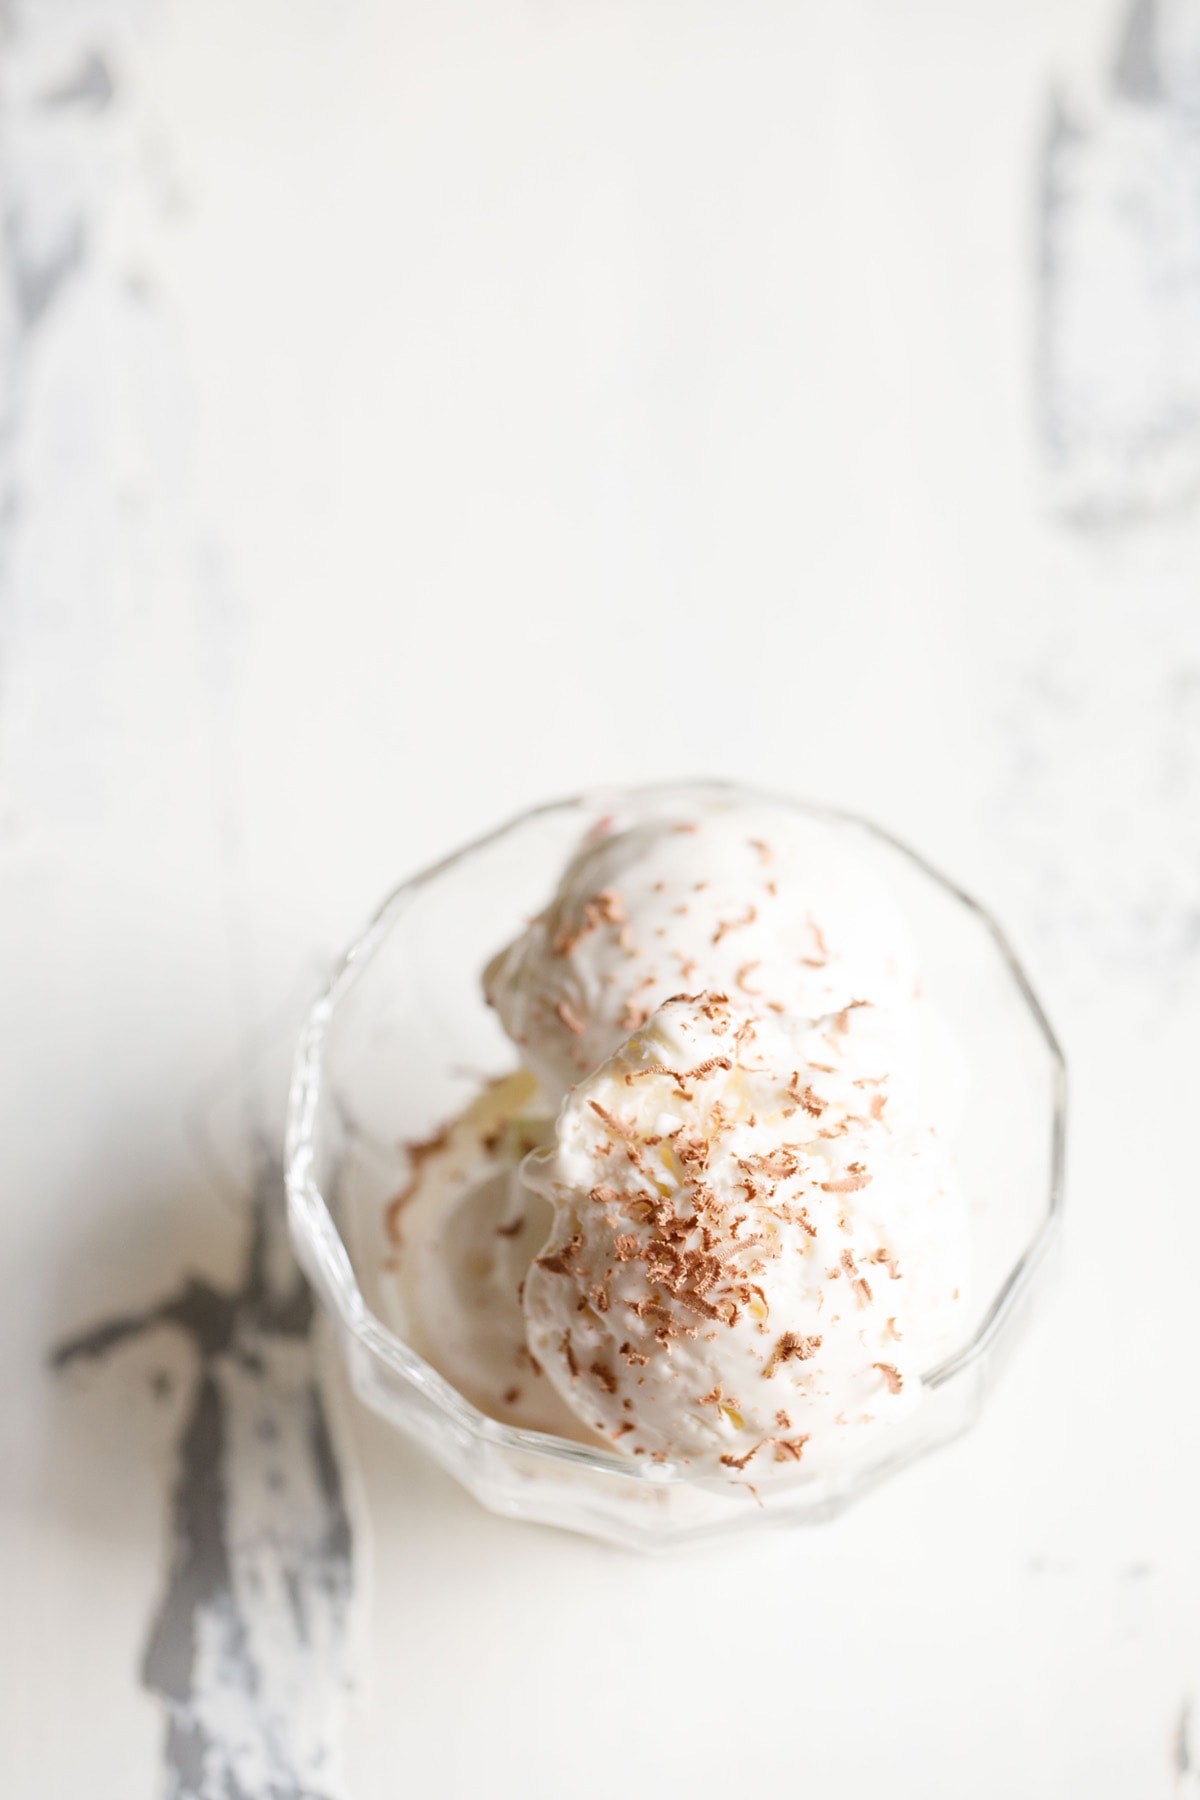
- Place the completed homemade ice cream mixture in a freezer safe container or box. You can also cover the same bowl you made it in if it is freezer safe. 7. Cover with a tight fitting lid. Freeze for 7 to 8 hours or preferably overnight till the homemade ice cream is frozen, firm and set. 8. Before serving, set the homemade ice cream on the counter for about 5 minutes to soften slightly for scooping. Serve homemade ice cream immediately. It is delicious plain, but you can also drizzle it with chocolate sauce, caramel, or fruit preserves, or sprinkle with chocolate chips, rainbow sprinkles or fresh fruit. Enjoy!
Possible Flavor Variations
In this basic ice cream recipe, I used vanilla extract to make it vanilla ice cream. Now that you have the basics down, feel free to experiment. This recipe is very adaptable and you can have nearly any flavor of ice cream that you like by adding various flavoring ingredients. Here are a few ideas to get you started: This list is only just the beginning of what is possible with this deliciously easy ice cream recipe. Feel free to get creative! Try using up the crumbs at the bottom of your cookie or pretzel bag, or swap mashed banana for the mango. Chop up your favorite candy bars and fold them in. The sky is the limit with what yummy flavors you can make. If you come up with a winning combination, be sure to let me know in the comments below or tag me on Instagram so I can see!
Tips and Tricks
Make sure your cream is intended for whipping, meaning it has 35% to 50% fat content. In terms of ratios, I always add 2.75 to 3 cups of cream for 1 can or tin of sweetened condensed milk. If you prefer a sweeter ice cream, adjust the ratio! For the ice cream to be more sweet, you can add 2.25 to 2.5 cups cream per can. Use good quality vanilla extract or use real vanilla powder. I usually make vanilla extract at home. I add the vanilla extract to various dessert or baking recipes. You can also use 1 vanilla bean to make this into a French Vanilla ice cream with those lovely black vanilla seeds throughout. No vanilla? No problem! This ice cream recipe is simply a base for you to play with. Instead of vanilla, try adding ½ teaspoon cardamom powder, some soaked saffron strands in a bit of warm milk or any fruit or plant-based extract. Fold GENTLY! Since this is a no-churn ice cream recipe, you only get one shot at incorporating enough air to make it light and spoonable, the way ice cream should be. Don’t knock all of the loft out of your whipped cream by working too quickly.
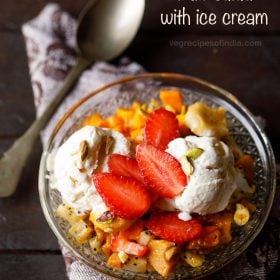
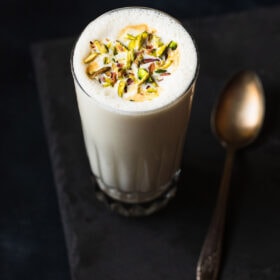
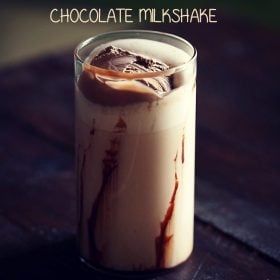
Please be sure to rate the recipe in the recipe card or leave a comment below if you have made it. For more vegetarian inspirations, Sign Up for my emails or follow me on Instagram, Youtube, Facebook, Pinterest or Twitter. Fruit Salad With Ice Cream Vanilla Milkshake Recipe (Cafe Style) Strawberry Milkshake Recipe (Classic & Plant Based) Chocolate Milkshake Recipe | Chocolate Shake This Ice Cream Recipe post from the archives first published in June 2017 has been updated and republished on April 2023.

title: “Ice Cream Recipe No Churn No Ice Cream Maker” ShowToc: true date: “2024-10-15” author: “Daniel Romero”
About This Ice Cream Recipe
This quick and easy ice cream recipe is a basic ice cream base made with just three (3!!!) ingredients. This soft, smooth and velvety ice cream recipe comes together in almost no time and doesn’t require any special equipment to make. If you, like me, make ice cream mostly during the warmer months, you’ll also be thrilled to hear that there is no cooking involved for this easy recipe! Many ice cream recipes call for making a custard, which means heating milk, tempering eggs, and then cooking on the stovetop. Not so with this magical, no-fail recipe. In addition, this recipe requires zero churning, meaning you don’t have to have an ice cream maker or a bunch of ice and salt to make it happen. The entire active process takes just 15 minutes to assemble, and then all you have to do is wait for the freezer to do its modern day magic. I found out about these few ingredient ice cream recipes from TheKitchn.com awhile back. Let me tell you – this method of making ice cream is a snap! It has become my go-to recipe for making my favorite summer treat. This quick, no-churn, no-cook ice cream exceeded my expectations the first time I gave it a try. It is soft, smooth, creamy and delectable – everything you could want from ice cream! And since only whipping cream and condensed milk is used, there is no possibility of the dreaded ice crystals forming. Is there anything worse than digging into a fresh pint of ice cream and finding that it is freezer burned and crystalized? Of course there is, but the disappointment is very real. So now that you’ve read my ode to this magnificently simple ice cream recipe, let’s get down to making it, shall we?
How to Make Homemade Ice Cream
- In a large bowl, take 2.5 to 2.75 cups of chilled whipping cream (30% to 50% fat). Add 2 teaspoons vanilla extract. Note: If using vanilla essence, then add just 1 teaspoon.
- With an electric beater at full speed, begin to whip the cream. Timing will vary depending on the fat content in the cream. Both for amul fresh cream and amul whipping cream, it takes about 8 to 10 minutes to achieve the right consistency.
- Whip till stiff peaks are formed. Tip: While it might seem silly, I generally recommend that you use a hand mixer for this process so that you are present for the entire whipping process. Be sure to watch the cream carefully and stop whipping when it achieves firm peaks – any further and you run the risk of turning it into butter!
- Now add 400 grams of chilled sweetened condensed milk (400 ml or about 1.6 cups).
- Fold gently but very well, until the mixture is just uniform. Remember not to overfold, as then the ice cream mixture can fall flat.
- Place the completed homemade ice cream mixture in a freezer safe container or box. You can also cover the same bowl you made it in if it is freezer safe. 7. Cover with a tight fitting lid. Freeze for 7 to 8 hours or preferably overnight till the homemade ice cream is frozen, firm and set. 8. Before serving, set the homemade ice cream on the counter for about 5 minutes to soften slightly for scooping. Serve homemade ice cream immediately. It is delicious plain, but you can also drizzle it with chocolate sauce, caramel, or fruit preserves, or sprinkle with chocolate chips, rainbow sprinkles or fresh fruit. Enjoy!
Possible Flavor Variations
In this basic ice cream recipe, I used vanilla extract to make it vanilla ice cream. Now that you have the basics down, feel free to experiment. This recipe is very adaptable and you can have nearly any flavor of ice cream that you like by adding various flavoring ingredients. Here are a few ideas to get you started: This list is only just the beginning of what is possible with this deliciously easy ice cream recipe. Feel free to get creative! Try using up the crumbs at the bottom of your cookie or pretzel bag, or swap mashed banana for the mango. Chop up your favorite candy bars and fold them in. The sky is the limit with what yummy flavors you can make. If you come up with a winning combination, be sure to let me know in the comments below or tag me on Instagram so I can see!
Tips and Tricks
Make sure your cream is intended for whipping, meaning it has 35% to 50% fat content. In terms of ratios, I always add 2.75 to 3 cups of cream for 1 can or tin of sweetened condensed milk. If you prefer a sweeter ice cream, adjust the ratio! For the ice cream to be more sweet, you can add 2.25 to 2.5 cups cream per can. Use good quality vanilla extract or use real vanilla powder. I usually make vanilla extract at home. I add the vanilla extract to various dessert or baking recipes. You can also use 1 vanilla bean to make this into a French Vanilla ice cream with those lovely black vanilla seeds throughout. No vanilla? No problem! This ice cream recipe is simply a base for you to play with. Instead of vanilla, try adding ½ teaspoon cardamom powder, some soaked saffron strands in a bit of warm milk or any fruit or plant-based extract. Fold GENTLY! Since this is a no-churn ice cream recipe, you only get one shot at incorporating enough air to make it light and spoonable, the way ice cream should be. Don’t knock all of the loft out of your whipped cream by working too quickly.
Please be sure to rate the recipe in the recipe card or leave a comment below if you have made it. For more vegetarian inspirations, Sign Up for my emails or follow me on Instagram, Youtube, Facebook, Pinterest or Twitter. Fruit Salad With Ice Cream Vanilla Milkshake Recipe (Cafe Style) Strawberry Milkshake Recipe (Classic & Plant Based) Chocolate Milkshake Recipe | Chocolate Shake This Ice Cream Recipe post from the archives first published in June 2017 has been updated and republished on April 2023.
