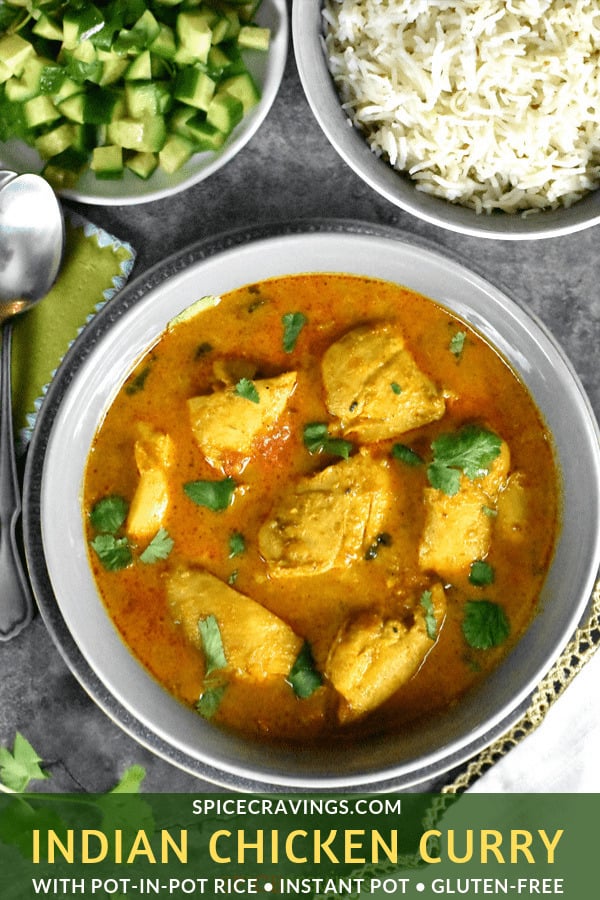
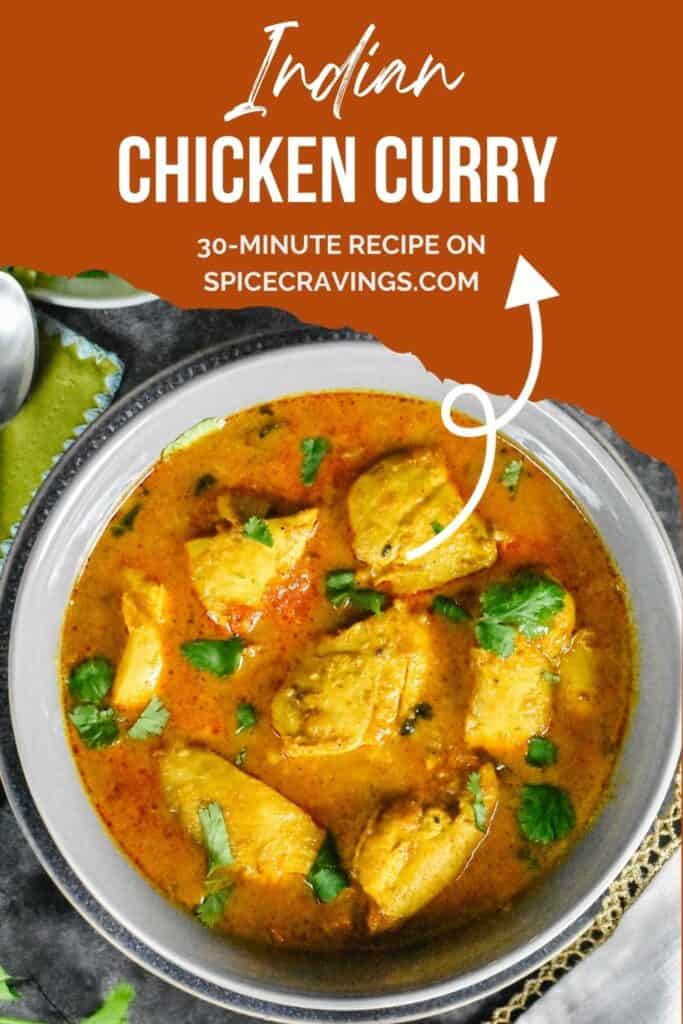
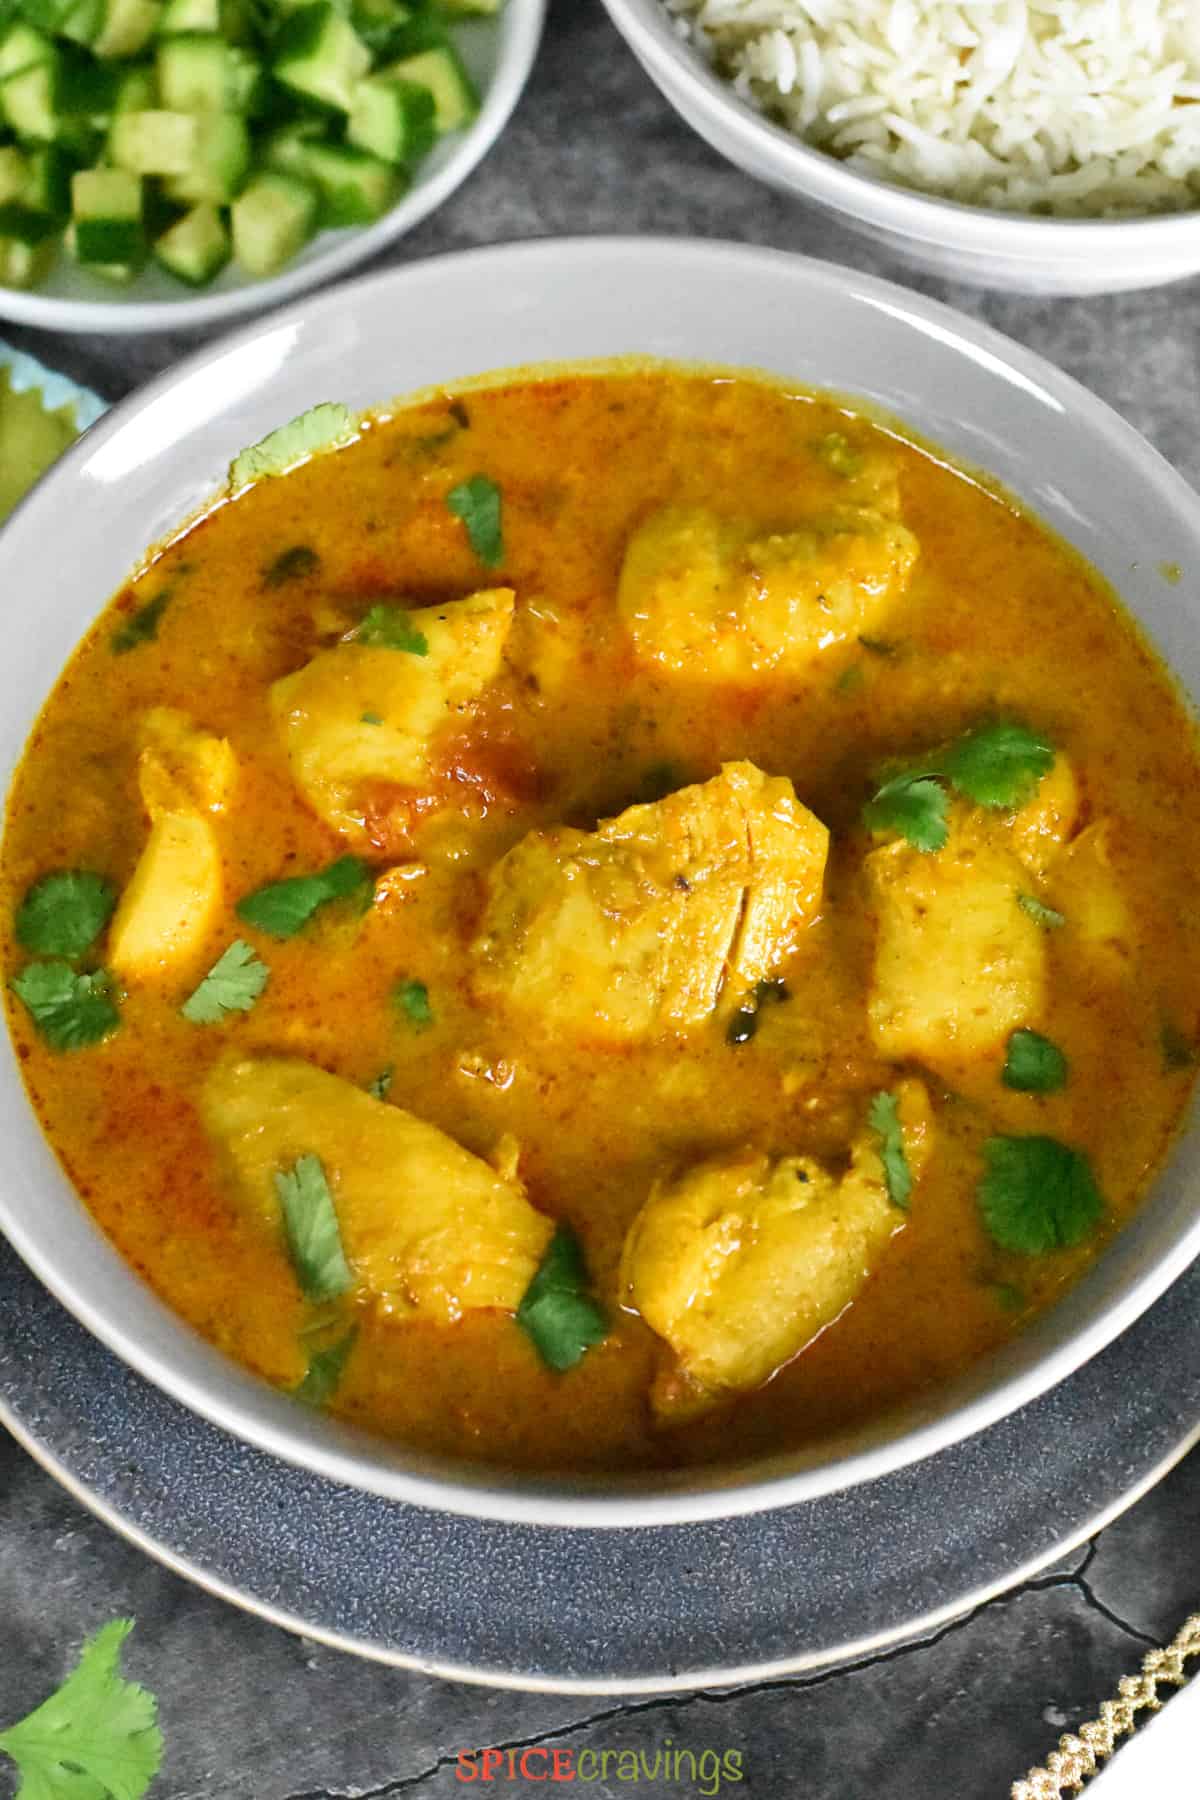
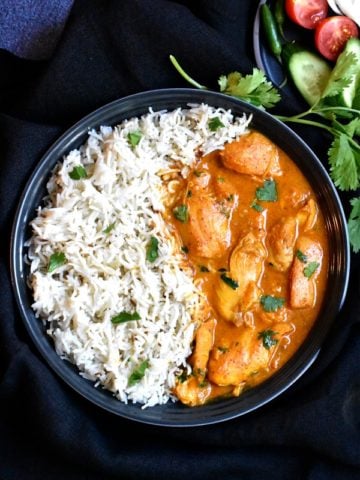
Here is an easy one-pot Instant Pot recipe with the option to make pot-in-pot cumin rice for a hearty 30-minute meal. This simple and delicious Chicken Curry is a cherished family recipe! It is my mom’s fuss-free recipe for an everyday curry that uses fresh ingredients and commonly used ground Indian spices.
This recipe is my Instant Pot adaptation in which I also make cumin rice in the same pot using the pot-in-pot cooking method. It’s a one-pot meal that’s ready in about 30-35 minutes and is perfect for weeknight dinners. Let’s get started with this simpler curry!
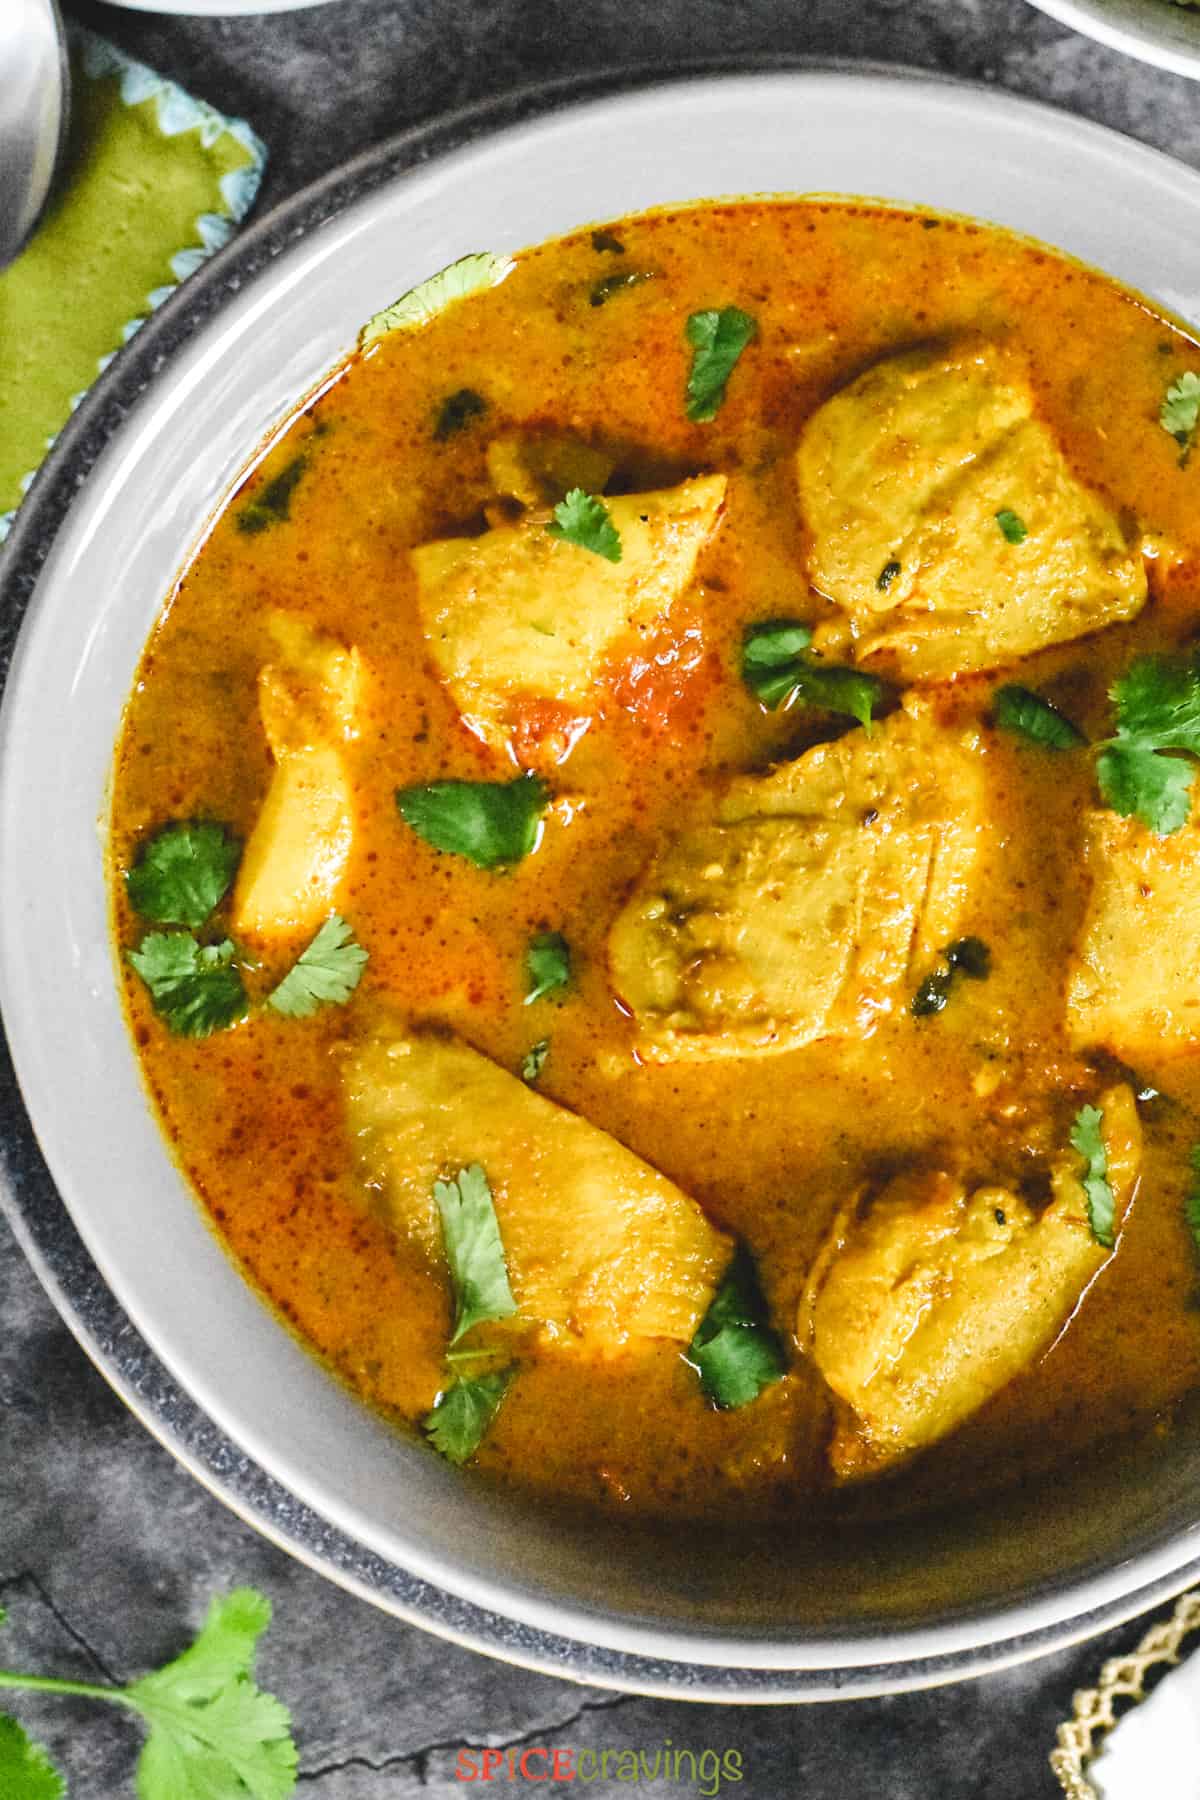
What is Chicken Curry?
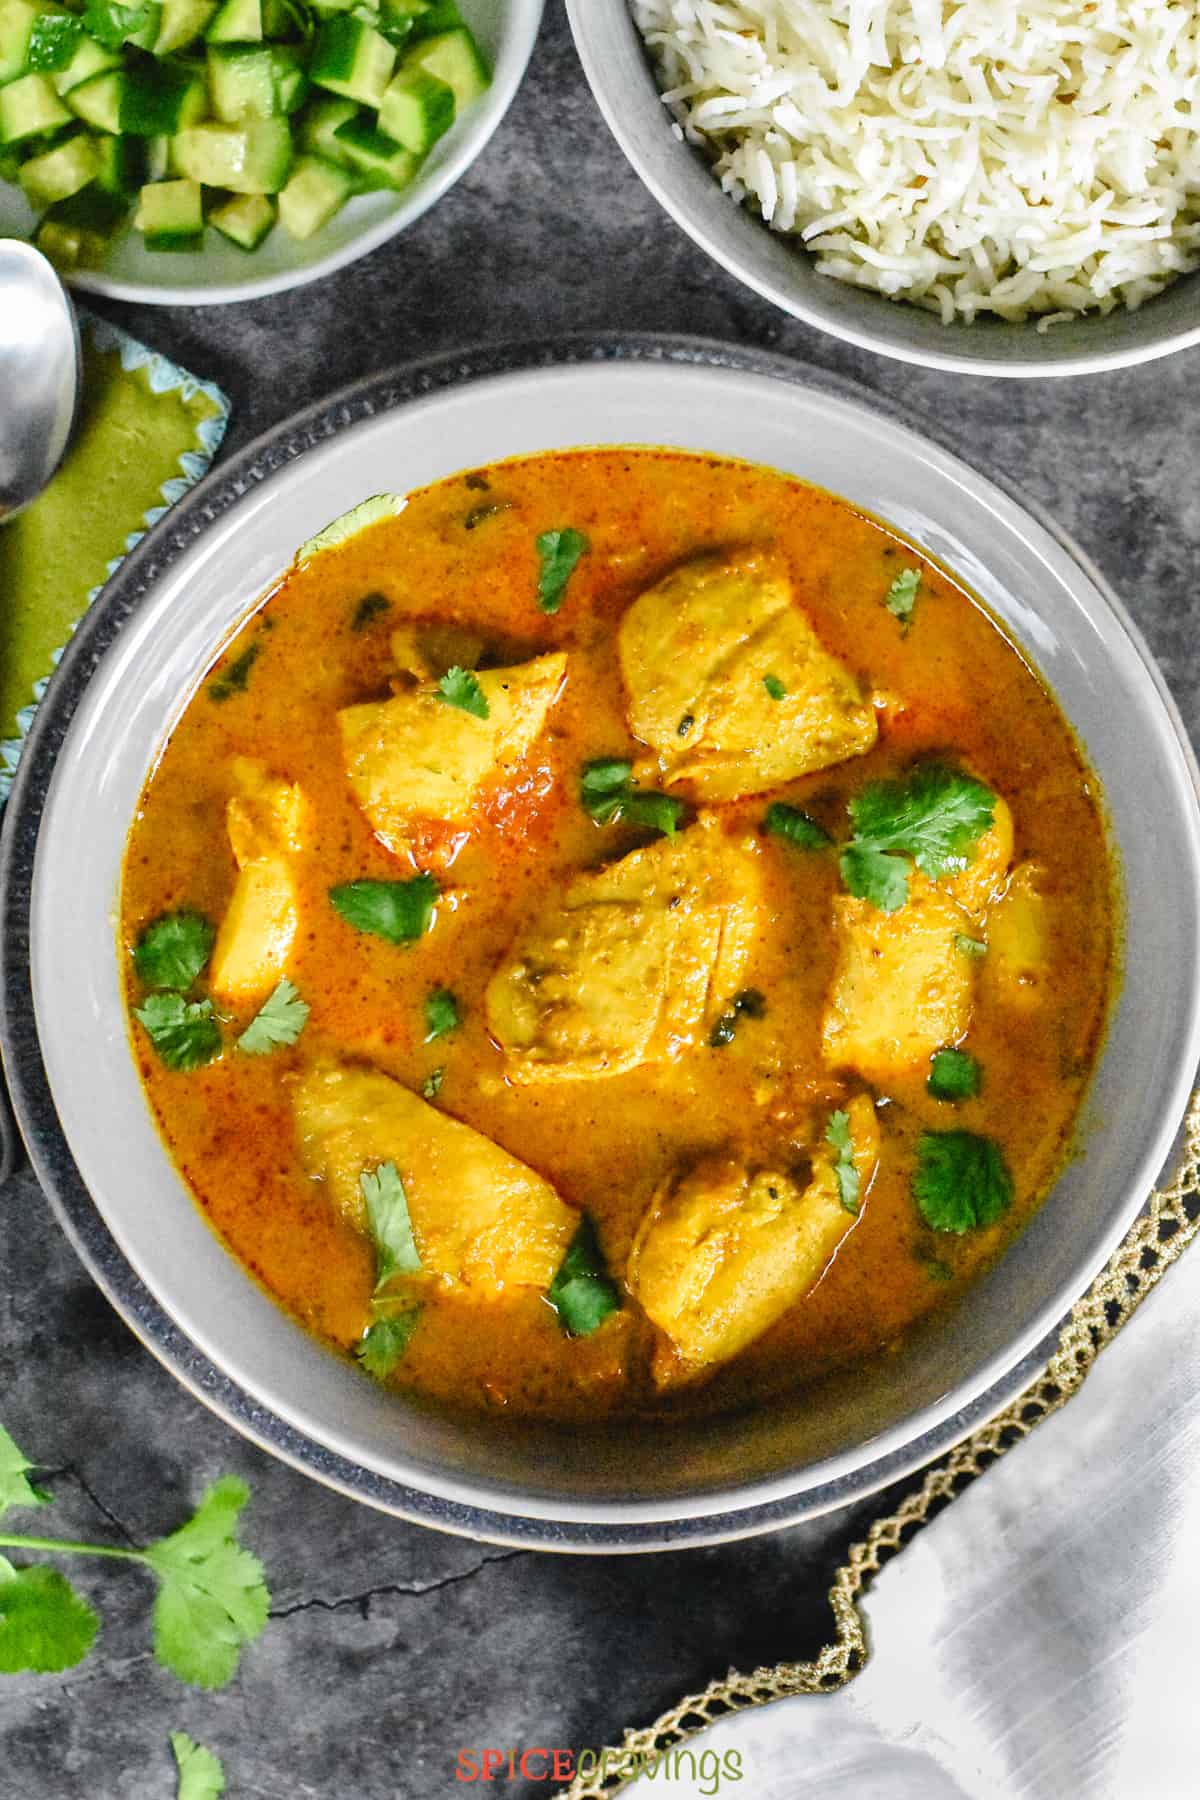
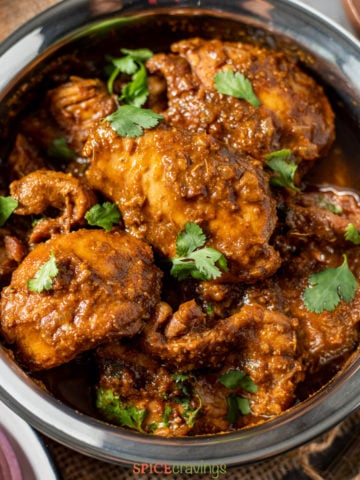
Chicken curry is a popular dish from the Indian subcontinent in which skinless chicken pieces are cooked in a sauce made of fresh ginger, garlic, onion, and tomatoes, and seasoned with warm spices like garam masala, coriander, and cumin. It is best enjoyed with rice or an Indian flatbread called roti. The base recipe undergoes a delightful transformation across households, geographical areas, and sub-cultures, embracing locally sourced spices and ingredients for a unique twist. More on Curry: For more information on curry and its origin, check out this detailed article: What is Curry? and What does curry taste like?
Ingredients - Notes & Substitutions
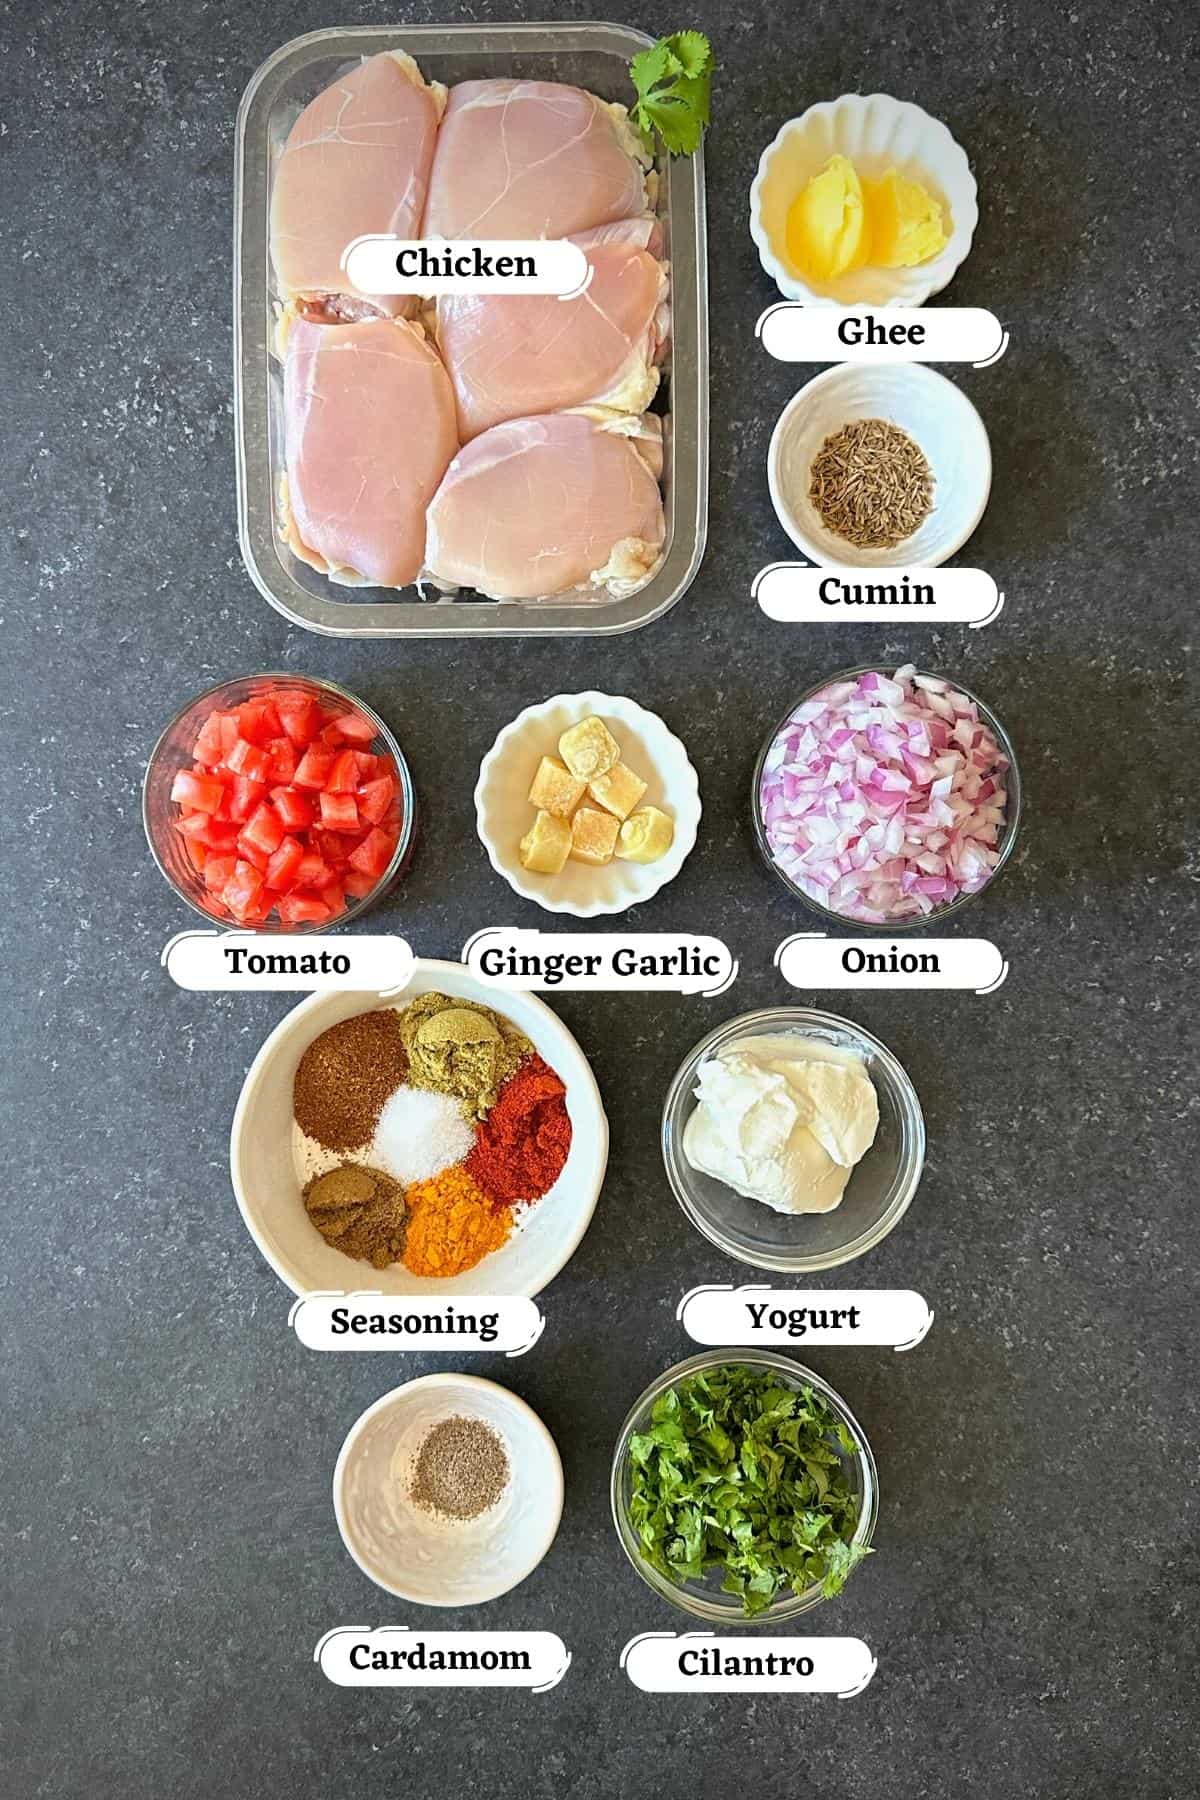
All we need is chicken, aromatics, and common Indian spices to make this curry chicken. Here are some ingredient notes and possible substitutions:
For the Curry:
Chicken: Boneless, skinless chicken thighs are my first preference for a juicy texture. However, you can also use chicken breast pieces instead with a shorter pressure cooking time. See notes for details. Aromatics: We need fresh ginger, garlic, onion, and Roma tomatoes for the curry base. You can also take a shortcut and use premade ginger garlic paste. Yogurt: Plain yogurt or Greek yogurt adds a creamy texture and flavor to the curry and also helps thicken it. Use whole milk or low-fat yogurt for a creamier curry. I don’t recommend using fat-free yogurt here. Spices: Whole cumin seeds, garam masala, coriander powder, cumin powder, Kashmiri red chili powder, and turmeric are used with salt to flavor the curry sauce. You can substitute chili powder with sweet paprika for a milder curry. Finishes: I add a pinch of ground cardamom for a floral finish. Finally, a garnish of fresh cilantro leaves adds a burst of color and flavor to the dish.
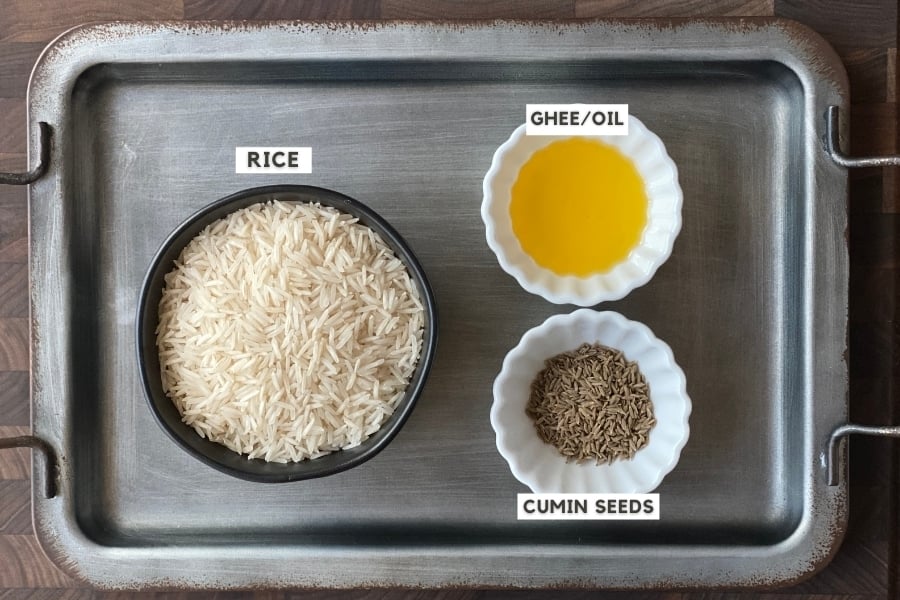
For Pot-in-Pot Cumin Rice
Making rice is optional, but here are the ingredients in case you want to enjoy a one-pot meal:
Rice: I prefer White Basmati rice here since their cooking time matches with the chicken curry. Get rid of any excess starch by rinsing it until the water runs clear, then soak it for 15 minutes while you gather and prep the ingredients. Water: I use a 1:1 ¼ ratio, which means, for every cup of rice, I add 1 ¼ cups of water. Cumin: Whole cumin seeds impart a warm and sweet aroma to the rice. Oil or Ghee: Use any neutral oil like light olive oil or avocado oil, and for a richer taste, use ghee. Salt: Just a pinch of salt is enough to flavor the rice. It is optional though.
Scroll to the recipe card for a detailed list of ingredients and quantities.
How to Make Chicken Curry
Since chicken curry and basmati rice have a similar cooking time of 6 minutes at high pressure, it’s a great combination to make together in the Instant Pot using the pot-in-pot technique. Here are the step-by-step instructions and photos:
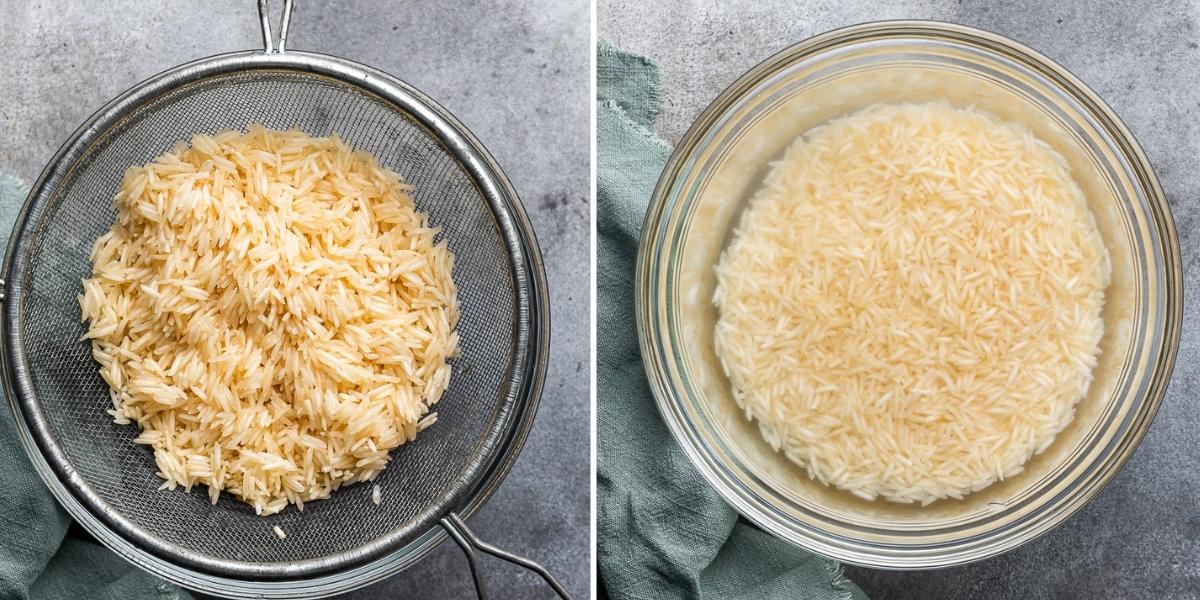
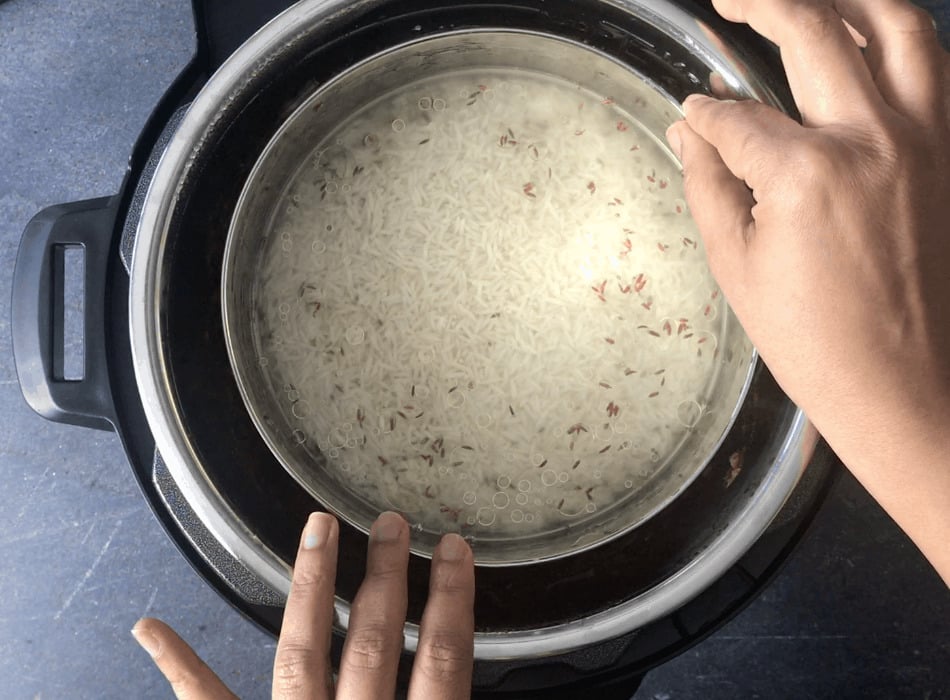
Step 1: Rice Prep
If you are making pot-in-pot rice, rinse and drain the rice 2 to 3 times until the water runs clear. Then soak it in fresh water for 15 minutes while you get the curry started. Skip this step if you don’t want to make rice.
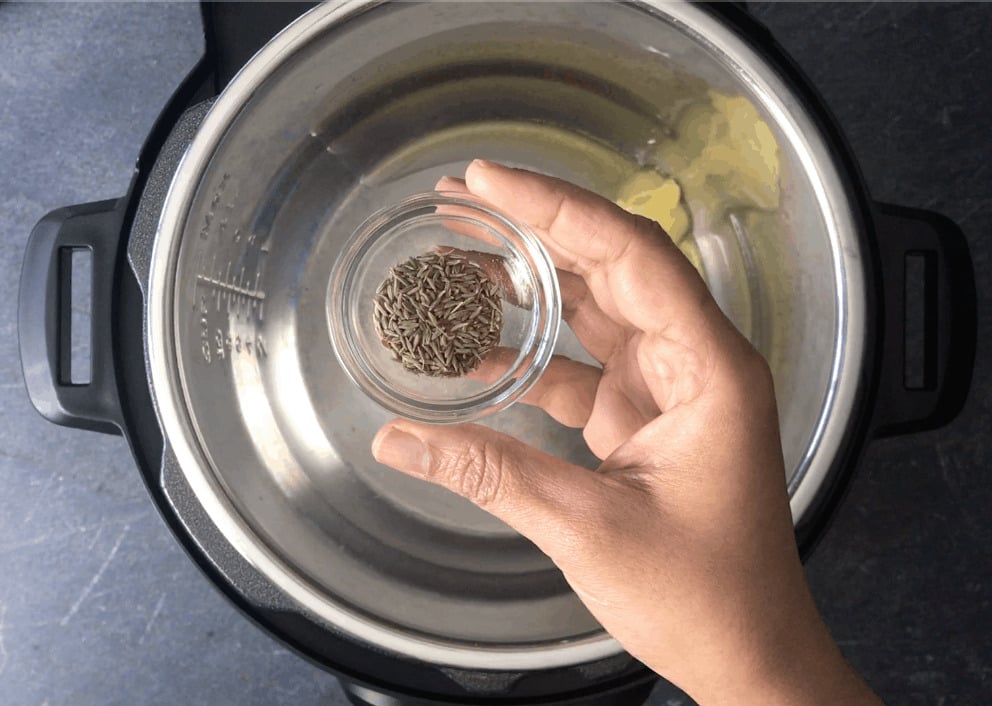
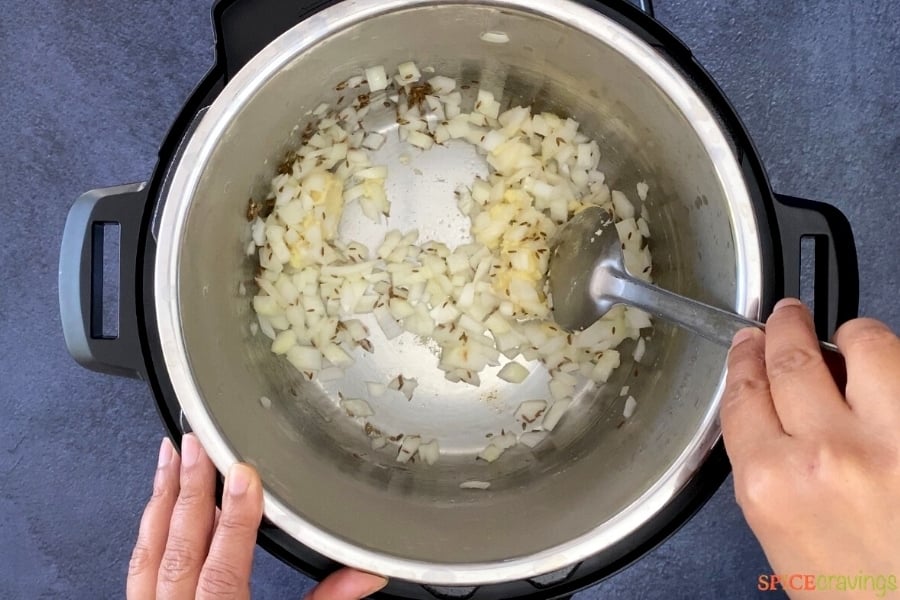
Step 2: Saute aromatics
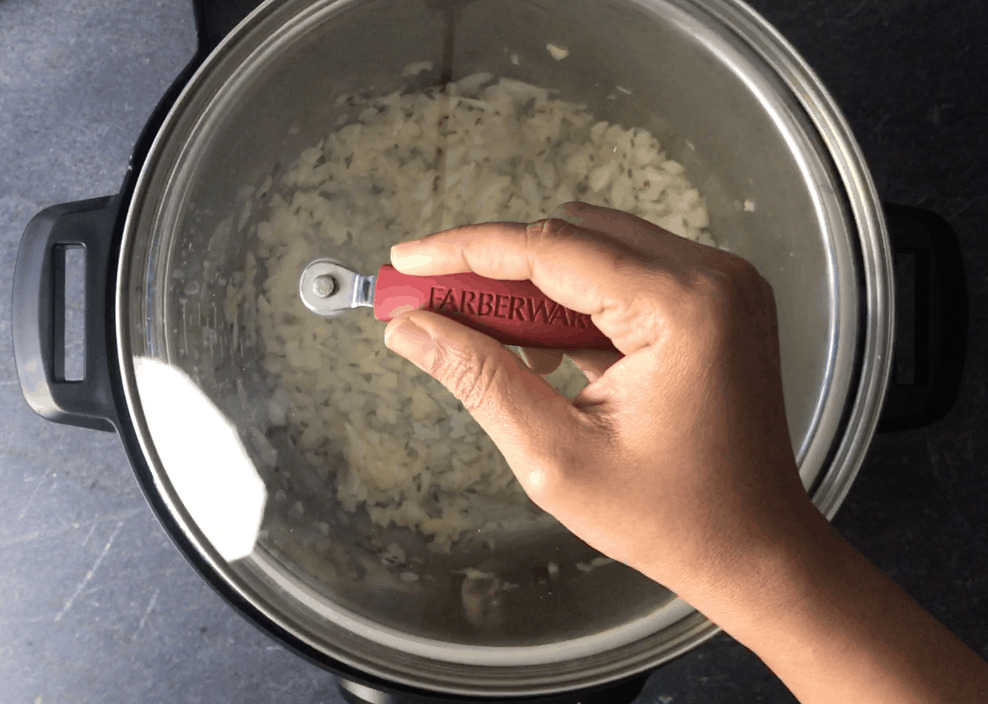
Turn on Saute mode and wait till the display reads, ‘hot’. Add ghee or oil and cumin seeds. Wait for them to sizzle, it takes about 30 seconds. Now add onion, ginger, and garlic, and saute for 1 to 2 minutes or until the onions start turning translucent. Cover the pot with a lid and cook for another 2 minutes. This allows the onions to sweat and soften.
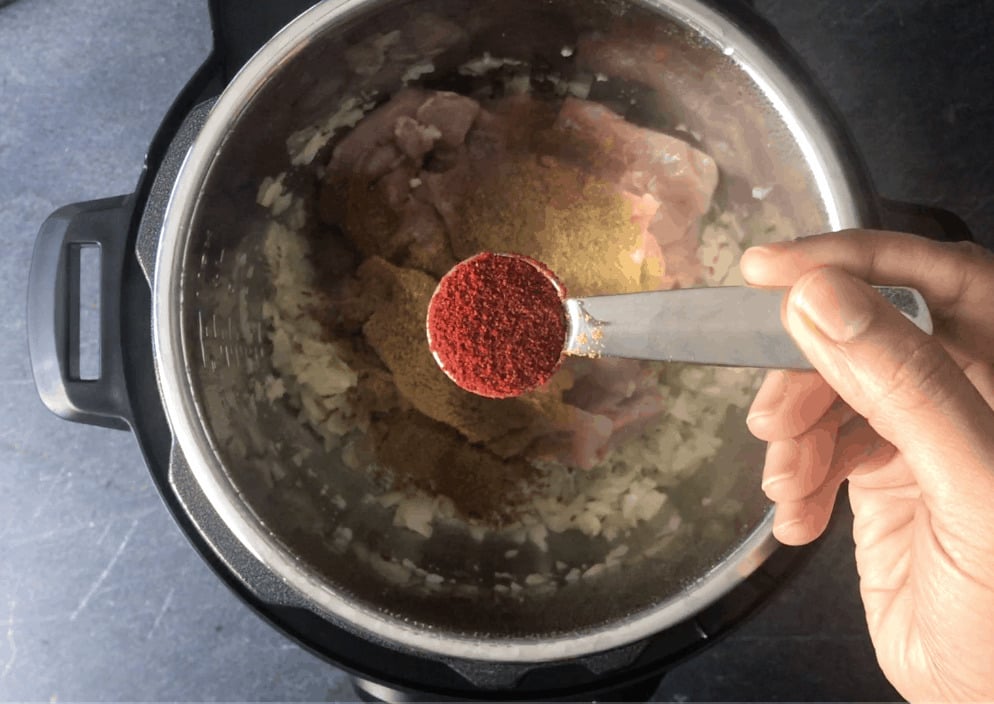
Step 3: Add Curry Ingredients
Add chicken pieces, salt, and all the spices. Stir well.
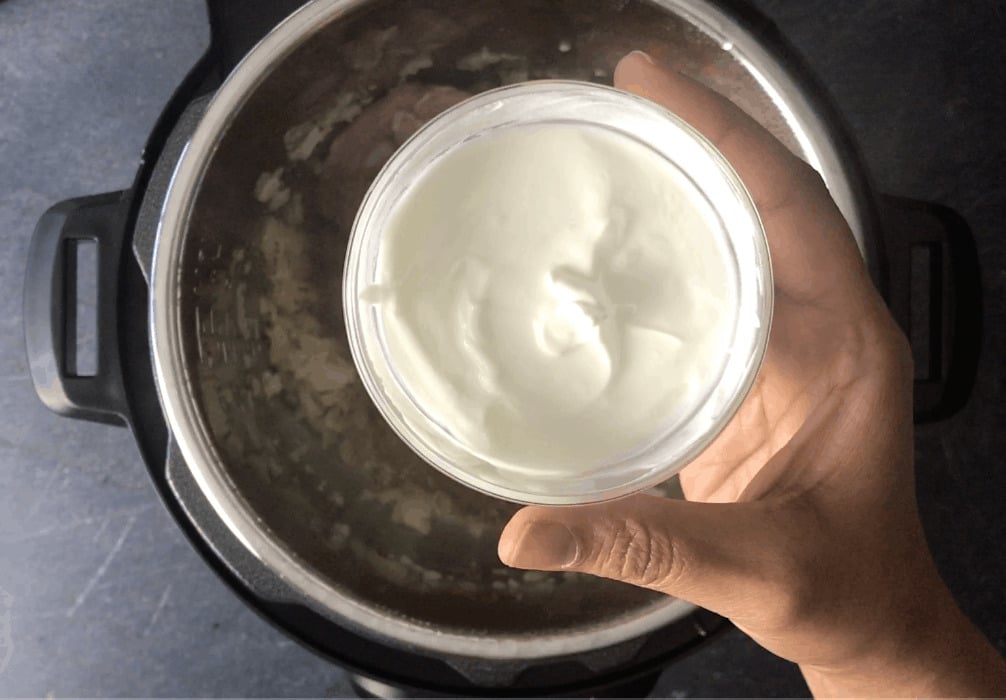
Beat yogurt until smooth, add it to the pot while stirring. This prevents the yogurt from curdling and makes the sauce smooth. Saute for another 2 minutes.
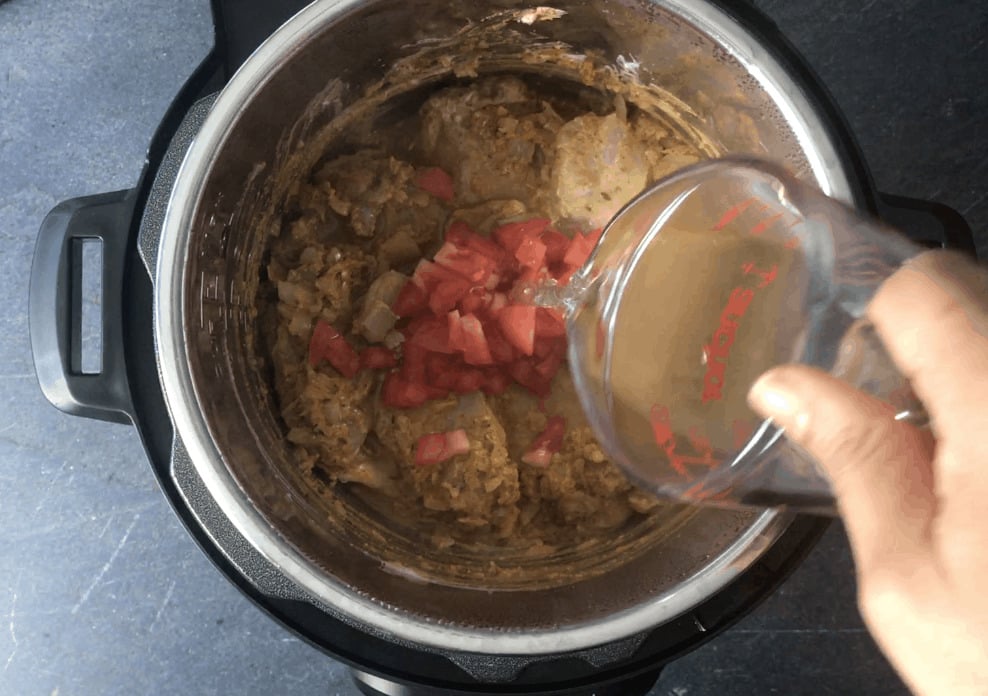
Chopped tomato goes in next along with water (as needed). The quantity of water will depend on how much liquid the chicken and yogurt have already released.
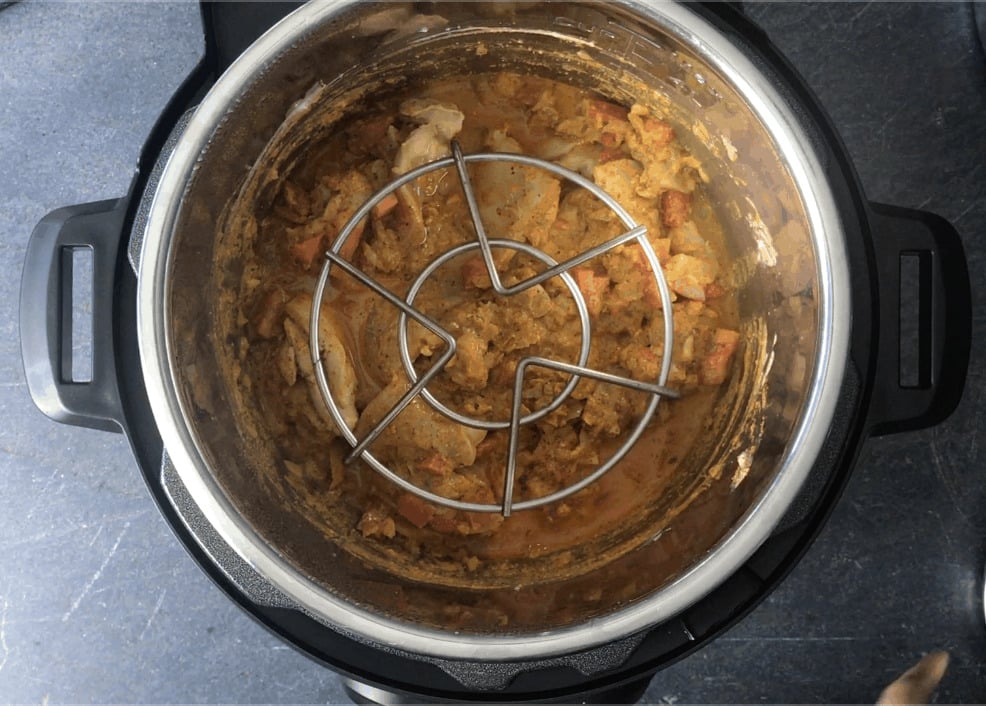
Step 4: Assemble Pot-in-Pot Rice (optional step)
To make Pot-in-Pot rice, place a trivet in the center of the pot. If you are not making rice, skip to step 9. Assemble rinsed rice, salt, water, and oil in an oven-safe bowl that fits well in the Instant Pot. Place this on top of the trivet.
Step 5: Pressure Cook
Close the lid and pressure cook for 6 minutes on high pressure. After the cooking time is done, wait 5 minutes and then release the pressure manually. Open the lid after the pin drops.
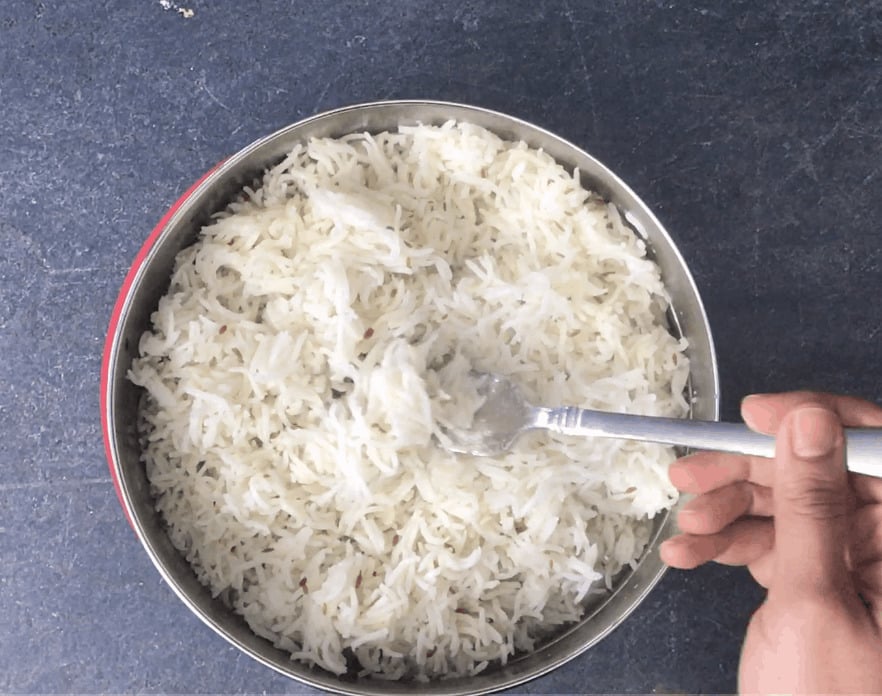
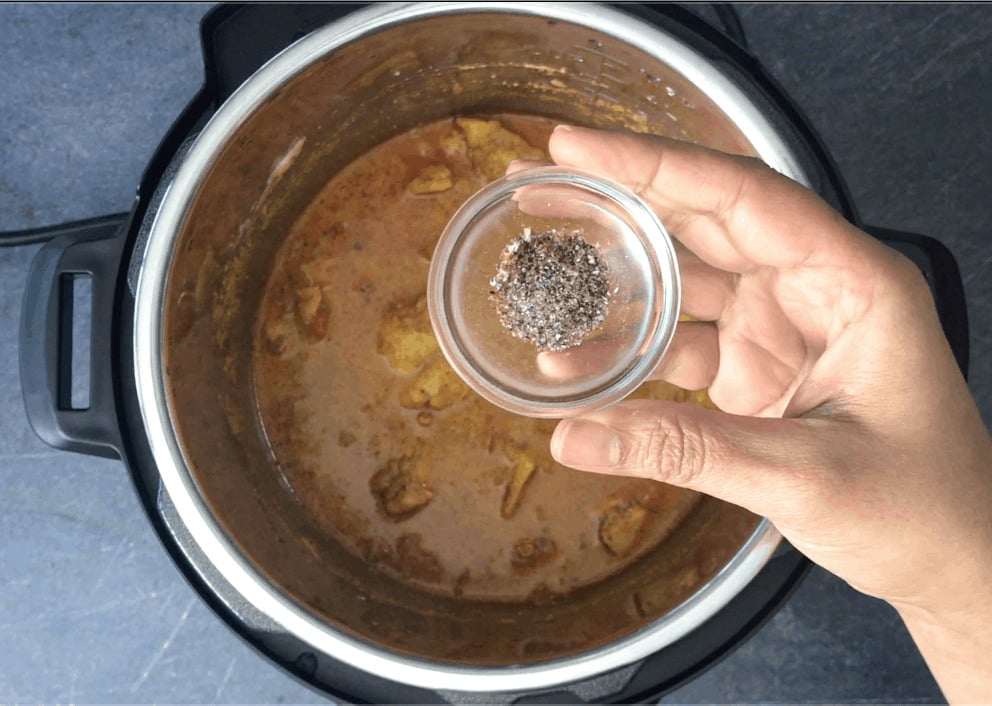
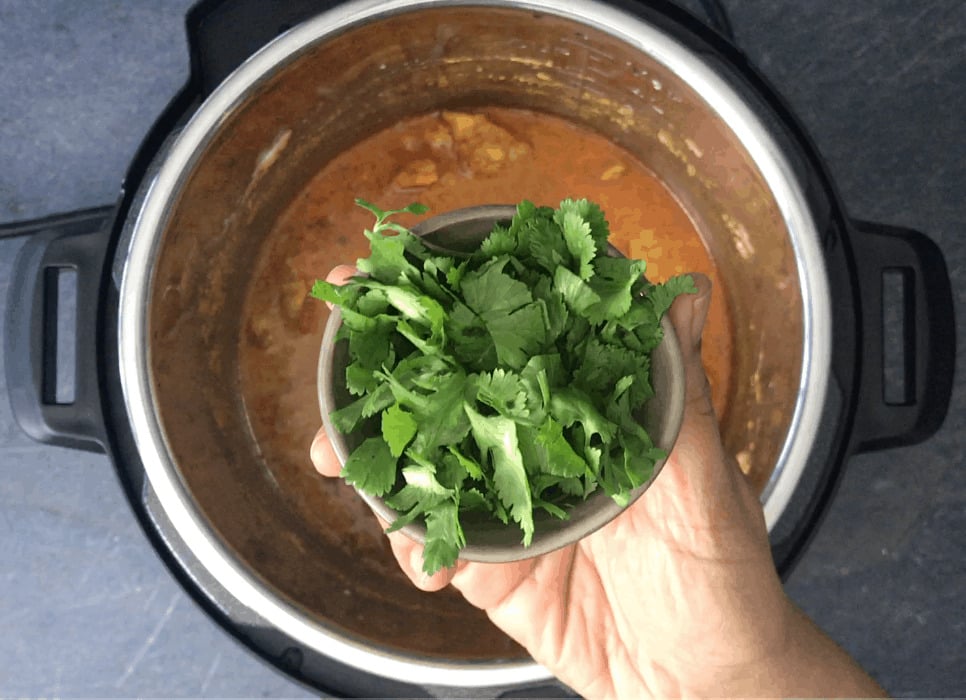
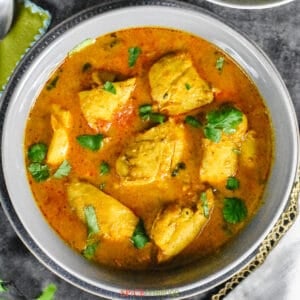
Step 6: Finish and Garnish
Remove the rice bowl (if applicable) and fluff the rice with a fork. Stir in crushed cardamom in the curry. Check for seasoning and adjust accordingly. If at this point your curry is more liquidy than you like, turn on Saute and simmer the curry for 3-4 minutes until it thickens to your liking. When ready, garnish the curry chicken with chopped cilantro and stir. Indian-style chicken curry is ready!
Accessories Needed for Pot-in-Pot Cooking
Click here for More Pot-in-Pot Recipe Ideas
Alternate Method: Stovetop Curry Chicken
Heat a deep pan on medium-high heat. When it gets hot, add ghee or oil, and cumin seeds. When cumin seeds begin to sizzle, add ginger, garlic, and chopped onion. Saute for 1 minute, then cover with a lid and cook for 2 minutes. Add chicken, salt, turmeric, red chili, coriander, cumin, garam masala, and plain yogurt. Stir and saute for another 2 minutes. Add chopped tomatoes along with a cup of water, stir well, and cover the pot. Continue to cook on medium-high heat till the sauce starts bubbling. Then reduce heat to medium and cook for 15-20 minutes or until the chicken cooks through. Stir in ground cardamom and chopped cilantro. Serve warm with rice or roti!
Servings Suggestions
Here are some pairings and accompaniments that I enjoy with this delicious Indian curry chicken recipe:
Rice: Cumin rice goes great with it, but you can also serve plain basmati rice instead. For a healthier alternative, go for brown basmati rice instead. Flatbread: Serve it with warm fresh roti, or paratha. If you want to kick it up a notch, try homemade garlic naan or butter naan. Low-Carb Serving: Enjoy with Indian-style cauliflower Rice or this keto Roti made with almond flour. Accompaniments: A side of cooling yogurt dips such as cucumber Raita or mint Raita balances the warmth of spices and completes the meal! If you want to add a vegetable side, try aloo gobi or bhindi masala.
How to Store
Cool the curry completely then transfer to an airtight container. You can refrigerate chicken curry for up to 5 days. You can also freeze this chicken curry. To re-use, thaw it in the refrigerator overnight, then heat over the stove or in the microwave until warmed though.
Recipe Tips & Notes
Chicken: Boneless skinless thighs result in moist and juicy chicken. If using chicken breast, cut it into 1-inch pieces and reduce the pressure cooking time to 4 minutes with a 10-minute natural pressure release. Fresh aromatics: For best results, use fresh onion, tomato, ginger, and garlic. You can use previously made ginger paste, garlic paste, or a ginger garlic paste combination. Low-Carb Pairings: Serve this curry with cauliflower rice or keto roti for a low-carb meal. Yogurt: Use plain yogurt, plain or Greek, to thicken the curry and make it creamy. If you decide to skip the yogurt, add an additional tomato while sauteing. Adjust the heat level: Kashmiri red chili powder is a mild chili that gives a rich color and mild heat to the curry. To make your curry spicy, add a few pinches of cayenne powder. To make it mild, substitute the red chili powder with sweet paprika.
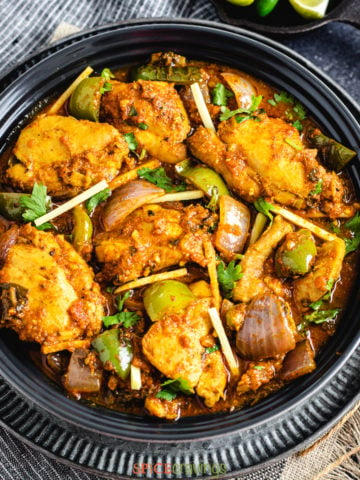
Popular Indian Chicken Curries on the Blog
If you enjoyed this recipe, here are some more popular Indian Chicken Curries from the blog, that have been tried and enjoyed by many readers. I hope you enjoy them too!
📖 Recipe