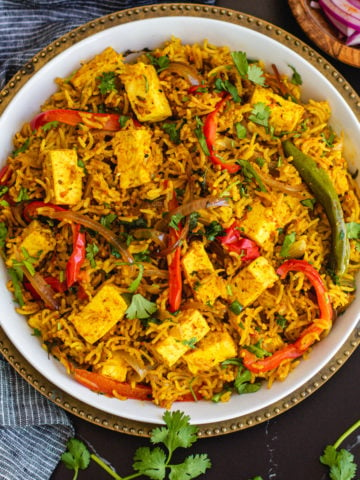
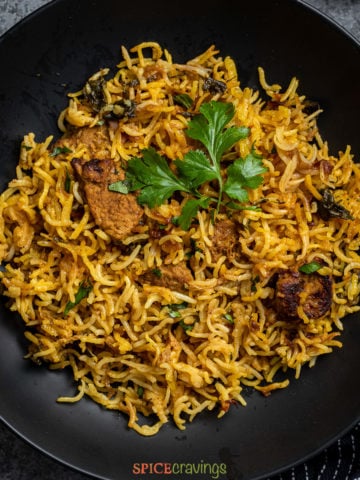
Chicken biryani is my kid’s favorite Indian rice dish and for a good reason! It’s a comforting and delicious one-pot meal with fall-apart tender chicken, fluffy long-grain basmati rice, and sweet caramelized onions (can’t go wrong with that combination- right!). My family loves it with a side of cucumber raita and a simple salad!
Why this will become your ‘go-to’ Instant Pot Biryani?
It’s a complete one-pot meal! Traditionally, biryani is a complex recipe with multiple steps (and dishes) involved. In this simplified and easy recipe for Instant Pot Chicken Biryani, I show you how to create authentic dum biryani flavors using an Instant Pot, all in the same pot. Biryani is ready in less than an hour, most of which is hands-off cooking time. In this post, I’ve included two ways of making biryani- one with partially cooked rice, and another with uncooked rice (my favorite way), and both are done in under an hour, including time to marinate the chicken. So let’s get started!
What is Biryani?
Biryani is a popular layered rice dish from the Indian subcontinent. Originally it was made with layers of marinated meat and basmati rice, topped with caramelized onions, saffron, nuts, and herbs, and then steam-cooked until tender and fragrant. But nowadays, you can find variations that include eggs, paneer, and vegetables as well. The ingredients and proteins vary depending on the region. Some popular variations include Hyderabadi Biryani, Sindhi Biryani, Lucknowi Biryani, Calcutta Biryani, Malabar Biryani, and Mughlai Biryani, just to name a few. Here’s a detailed article on Sukhi’s Indian Cuisine, that explains the origin of Biryani and the different Biryani variations throughout India. There are primarily two styles of cooking biryani:
Kachhi Biryani- Kachhi means ‘raw’. In this dish, raw marinated meat is cooked with raw or partially cooked rice along with flavorings. Pukki Biryani- Pukki means ‘cooked’. Here the meat is cooked first, then rice is added along with flavorings and cooked together.
Today, we’re cooking a Mughlai-inspired ‘Kachhi biryani’ and using the Instant Pot to mimic the classic style of steam cooking biryani, called ‘Dum’.
Ingredients- Notes & Substitutions
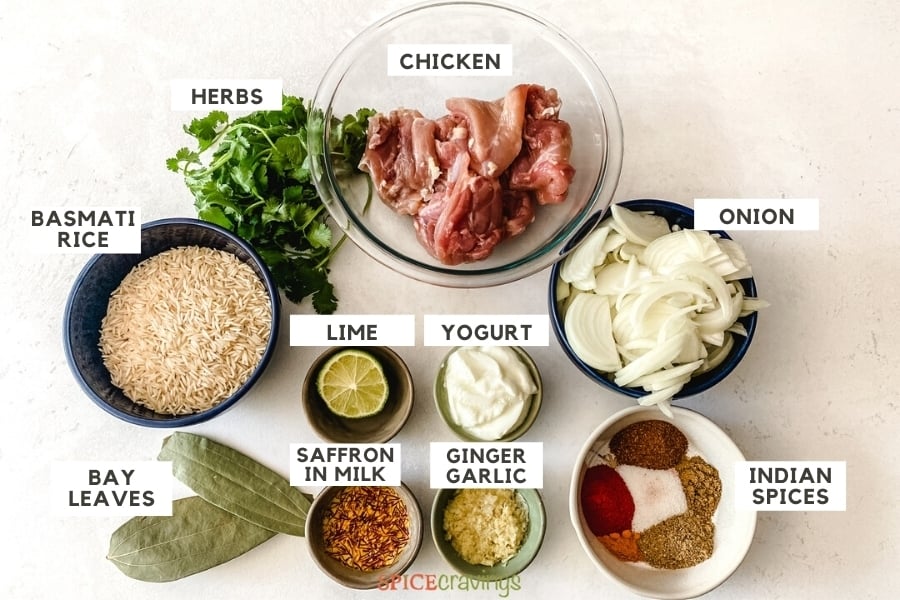
In addition to ghee (or oil), ginger-garlic paste, freshly chopped cilantro and mint, here’s what you need to make this aromatic and delicious Chicken Biryani in the Instant Pot. You can also use a few optional toppings, like cashews and hard boiled eggs to finish the dish.
Chicken: I’ve used boneless skinless chicken thighs in this recipe for maximum flavor and convenience. Alternatively, you can use skinless ‘bone-in’ chicken thighs or legs. Check the notes below for recipe adjustment. Rice: Long grain basmati rice is key to a good biryani. I prefer Kohinoor extra-large basmati, but you can look for alternate high quality brands, like 24 Mantra. Marinade: I make this classic marinade with plain yogurt (2% or whole) and homemade garam masala. You can use also use high quality brands like 24 Mantra or Everest. If using plain greek yogurt instead, reduce a tablespoon. Onions: It won’t be biryani without caramelized onions. You can use any onion of choice. Checkout the detailed make-ahead instructions below to save time on this ingredient. Alternatively, use store-bought fried onions.
How to Make Chicken Biryani
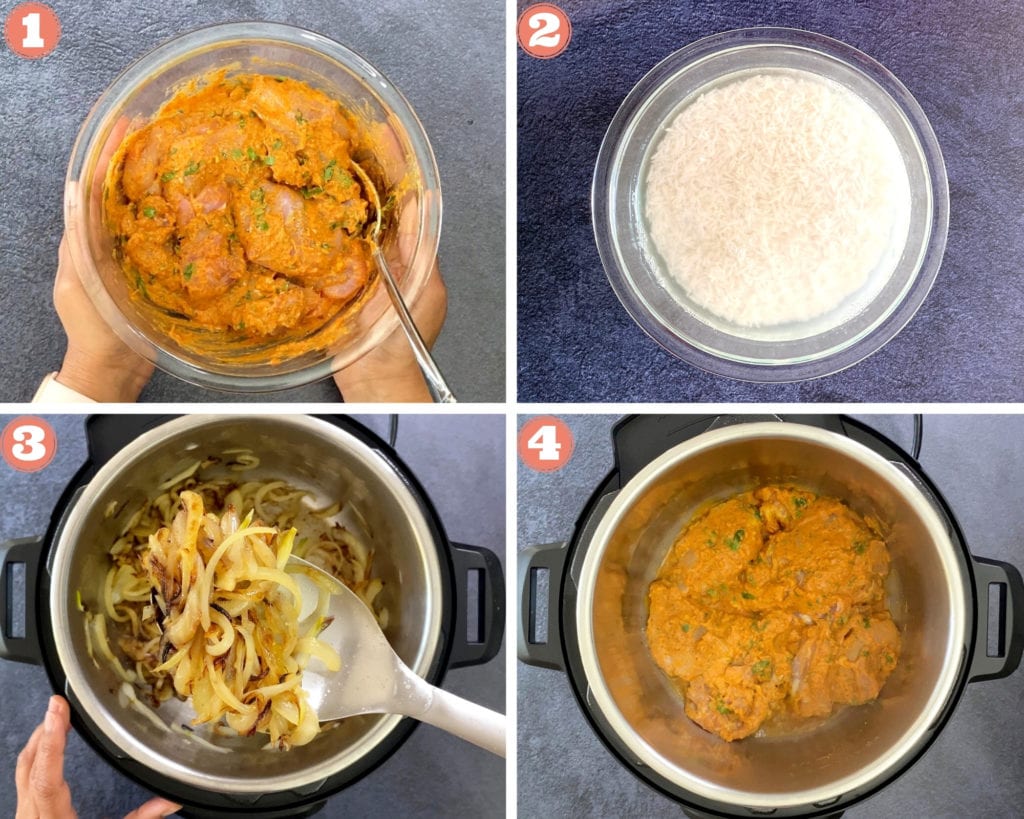
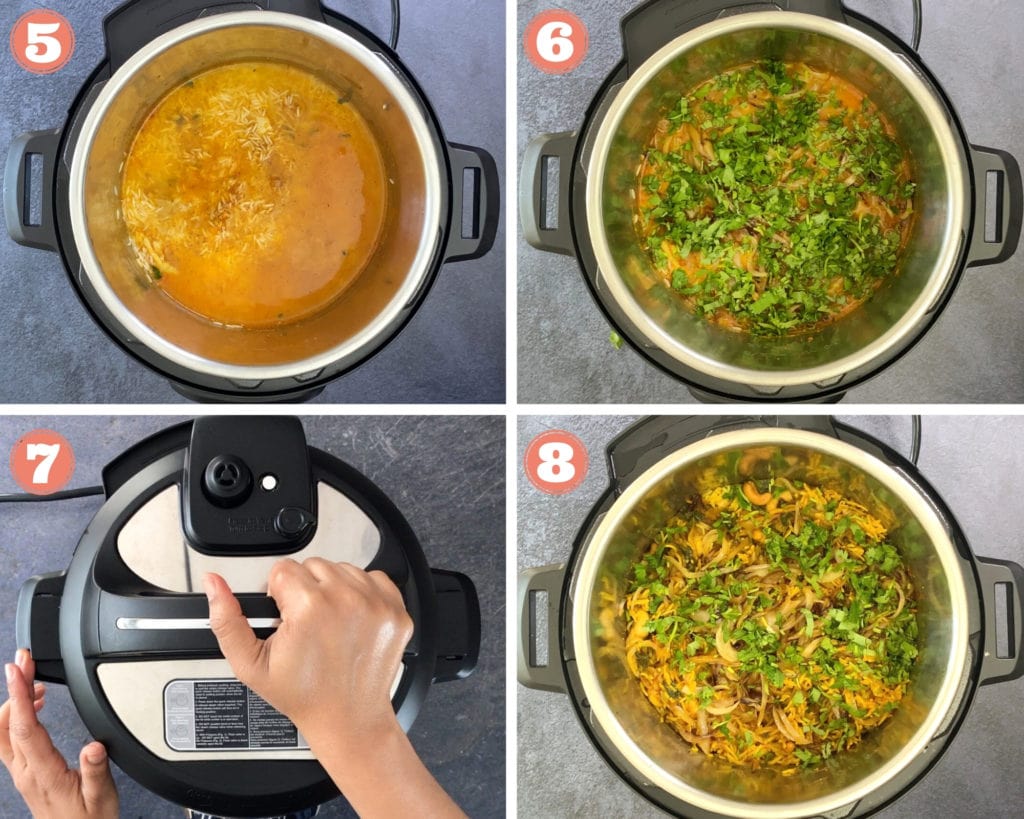
Here’s how I make Chicken Biryani in Instant Pot with uncooked rice in less than an hour, from start to finish. (Instructions for partially cooked rice are included below).
Prepare Ingredients
Assemble & Pressure Cook
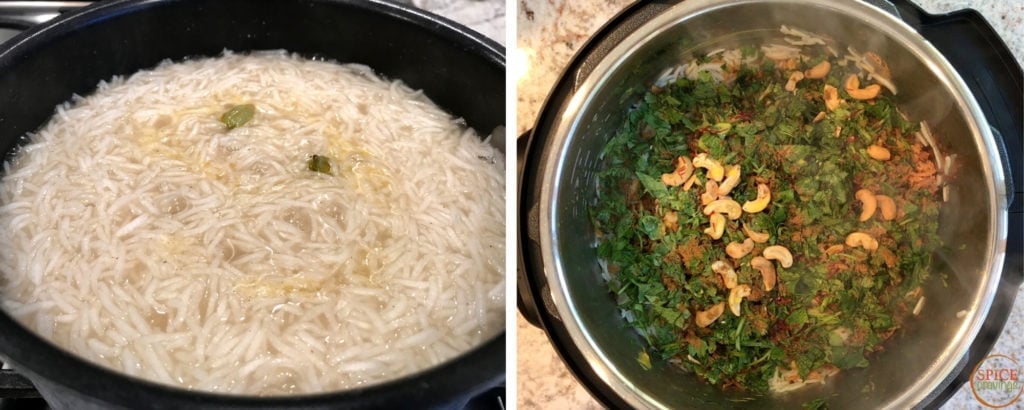
How to Make Chicken Biryani with Partially Cooked Rice
Follow steps 1-4 for marinating chicken, soaking rice, caramelizing onions and sautéing onions. While the onions are sautéing, make rice following the instructions below. To partially cook rice, add drained rice to a microwave safe bowl, along with with water and salt. Microwave for 5 minutes, or until the rice is 50% done, and then strain any leftover water. Alternatively, boil 4 cups of water in a sauce pan, add rice, salt, garam masala and ghee/oil. Bring back to a boil and cook rice on high-heat for 5 minutes, then strain. Layer the biryani as per steps 5 & 6 and pour ½ cup water over the rice. Pressure cook and serve as per step 7 & 8.
How to Double This Recipe
Multiplying this recipe is easy. To double up this recipe, I create alternate layers of chicken and rice, basically repeating step 5 in the order mentioned. You can easily double this recipe in a 6qt and 8qt Instant Pot. Toasted papad is another popular accompaniment with Biryani.
How to Make Chicken Biryani in a Stovetop Pressure Cooker
Here’s how to make this recipe in a stove top pressure cooker:
Follow all instructions and assemble the biryani in the pressure cooker. Close the cooker and place it on medium-high heat. As soon as the first whistle goes, reduce heat to medium. Place a flat skillet(frying pan) on the stove and place the pressure cooker on top of that. This will ensure that your chicken doesn’t burn at the bottom of your pressure cooker. Continue cooking on medium-high heat for 6 minutes.
Tips for Making Fried Onions
Fried onions are a huge contributor of flavor in any Biryani. When I’m short on time, I use store-bought fried onions from Trader Joe’s, and those work great for Biryani. Making them at home takes a bit of time, so I like to plan ahead when I can. I prepare them in the oven, cool and store them in an air tight container in the fridge (or freeze) for later use. Here’s how to make them:
Recipe Tips & Notes
Rice: For best results choose a high quality, long-grain variety of basmati rice. I personally prefer Kohinoor Extra-Long Basmati for this recipe. Chicken: If you like to use skinless ‘bone-in’ chicken (thighs or drums) in this recipe, skip saute and pressure cook chicken with ¼ cup water, for 5 minutes at high pressure, followed by a quick pressure release. After that, layer rice as per instructions and pressure cook again. Marination: Marinating chicken for just 30 minutes makes a big difference in flavor and tenderness. Try not to skip that step. Order of steps: If you follow the directions in order- Marinate chicken, soak rice, caramelize onions, saute chicken, pressure cook biryani, this recipes comes together in an hour. How to prevent the ‘Burn’ Message: Deglaze the pot after caramelizing and sautéing. Brown bits stuck at the bottom can cause the burn sign, so be sure to remove those. If needed, clean the pot in between steps. Fried Onions shortcut: Caramelizing onions takes about 13-15 minutes. You can fry them a few days in advance, or use store-bought fried onions, to save on that time.
More Biryani Recipes
📖 Recipe
