Instant Pot ULTRA 10-in-1 Electric Pressure Cooker is the newest addition to the very popular Instant Pot brand. Like other models, the ULTRA comes in 3 sizes too 3 qt, 6 qt and 8 qt. I recently wrote a review for the Instant Pot ULTRA 6 qt. You can check it out here: Instant Pot ULTRA 6 Quart REVIEW
UNBOXING
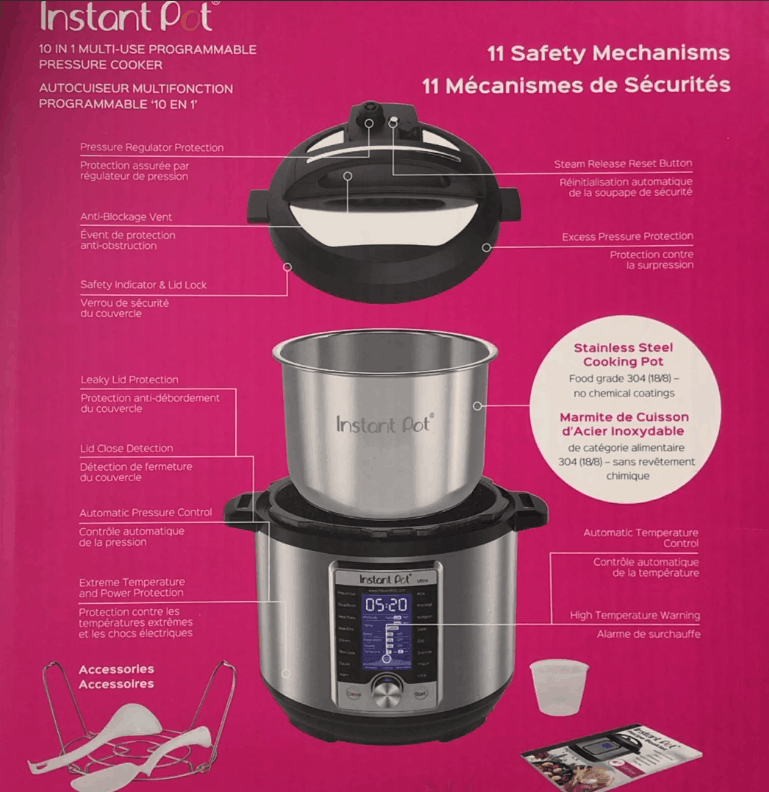
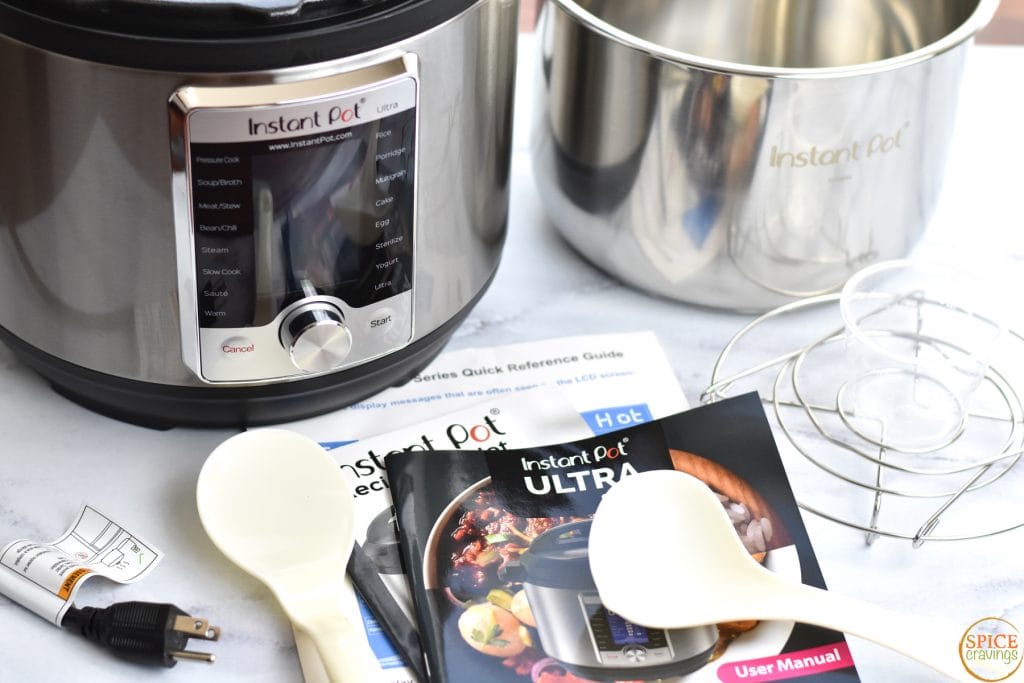
What does the Instant Pot ULTRA come with? (Parts & Accessories)
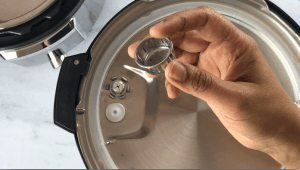
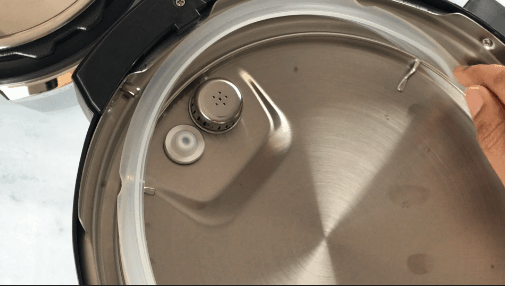
Anti-Block Shield: The anti block shield is located on the inner side of the lid. It prevents small food particles from clogging the pressure release valve. As per their website, “The anti-block shield should be removed and cleaned following each meal preparation, especially for meals that may splatter during preparation.” To remove it, using your thumb, push-outwards and up. You can also use a silicone mat over it and push. Remove it, clean it with soap and water, wash the lid and place it back. To place it back, simply push it back in place. I recommend you watch the video for clarity.
I also recommend that you check out my must-have Instant Pot Accessories (with recipes that use them for).
GETTING STARTED
Let’s Assemble the ULTRA
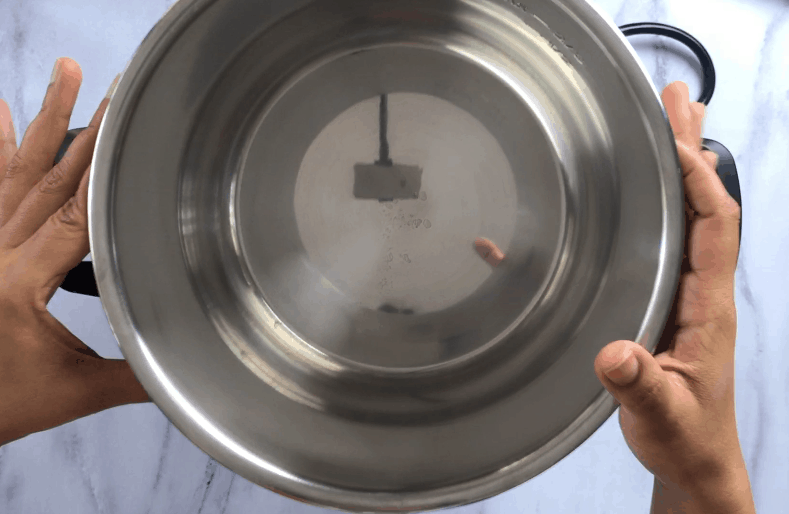
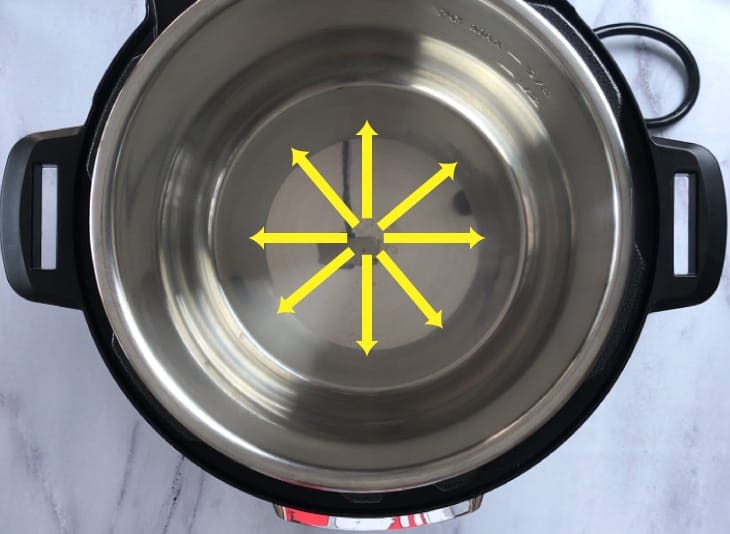
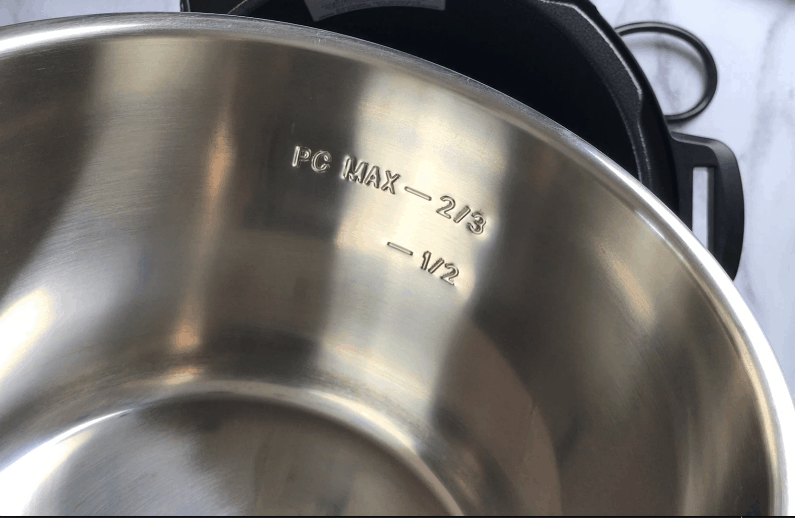
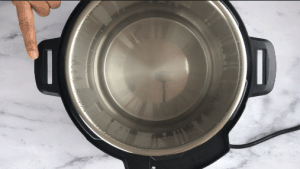
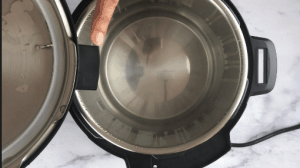
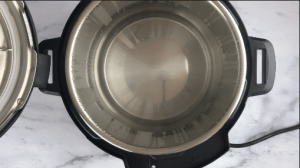
Place the stainless steel ‘Inner Pot’ in the base unit
The inner pot, is convex shaped, so it’s normal for liquids to run to the edges.
It has two capacity markings- ½ and ⅔ (MAX).
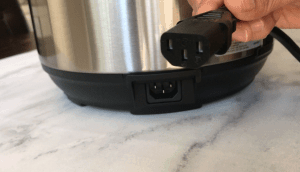
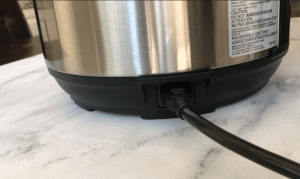
Plug in the power cord
Align the pin in the base unit with the power cord and plug it in
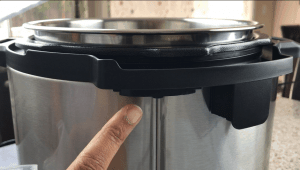
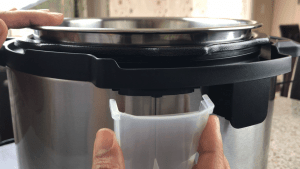
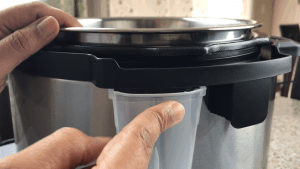
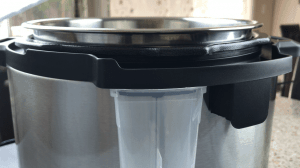
Attach the Condensation Cup
Look for notches at the back of the base unit. Slide the condensation cup in, gently push it in. You’ll hear a ‘click’ sound when its attached. This cup collects the excess moisture when you place the lid in the base unit handles.
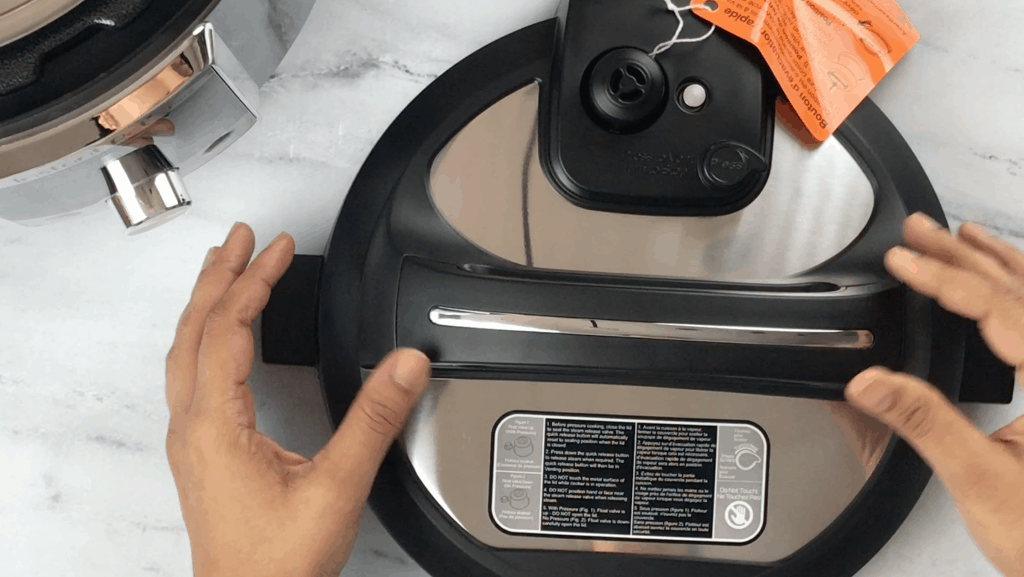
Instant Pot LID
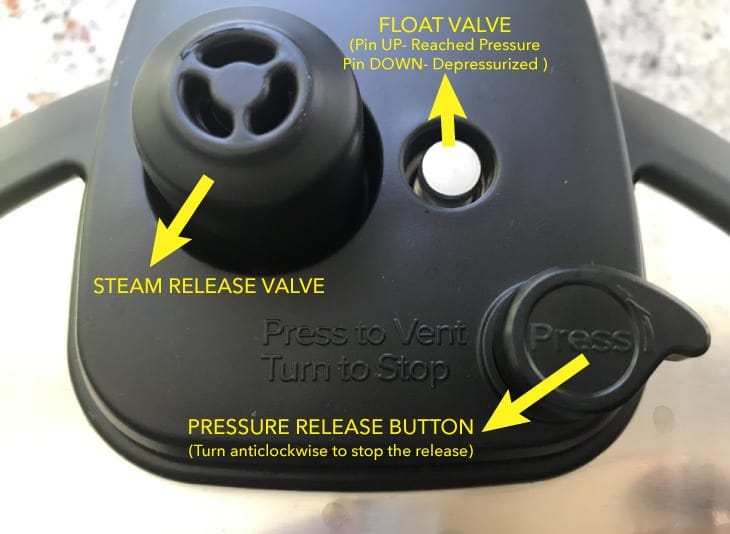
The lid contains the most important function of the Instant Pot- pressure building and releasing. It contains the following parts: STEAM RELEASE VALVE, PRESSURE RELEASE BUTTON, FLOAT VALVE, ANTI-BLOCK SHIELD & SEALING RING.
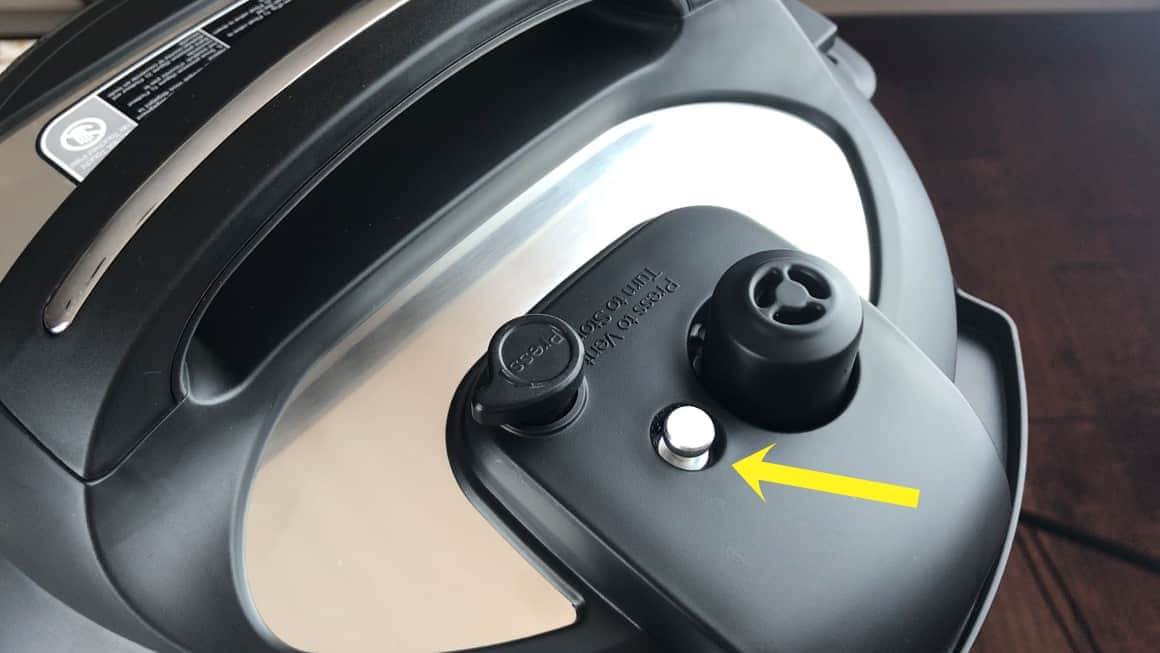
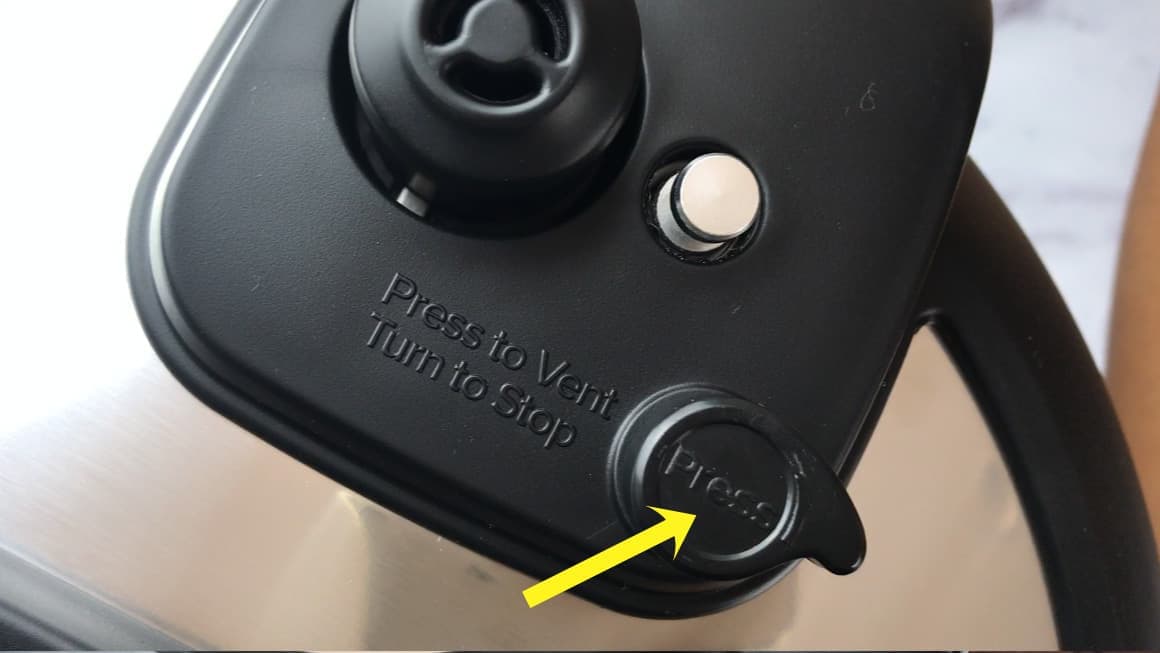
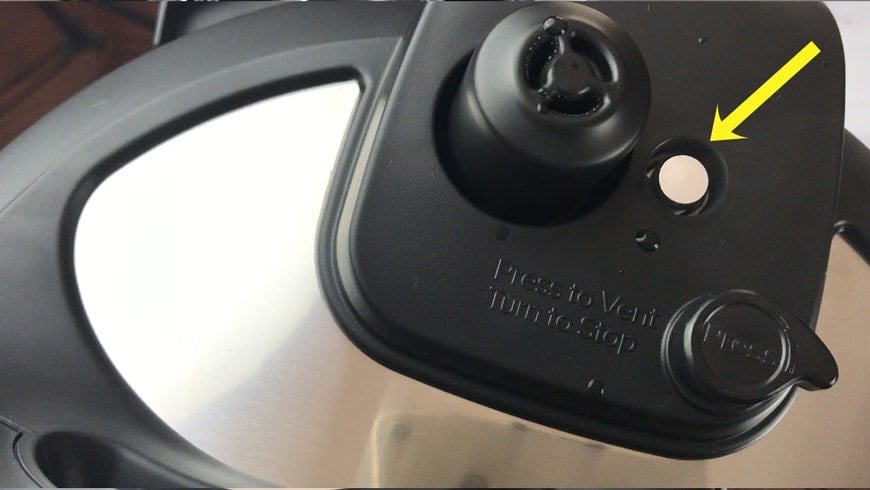
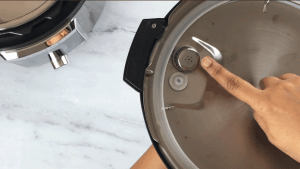
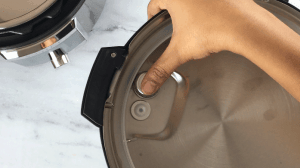
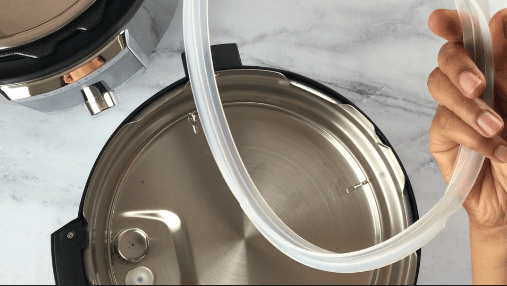
Pressure Release Button: Natural pressure release (NPR) is a slow process and takes anywhere from 6-30 minutes, depending on what you are cooking. You can choose to release the pressure ‘manually’ (also called QR- Quick Release), by pressing down this button. It can be pressed gently for a slow release, or fully down, for a full release. If you hit this button accidentally, or change your mind, you can cancel the pressure release by turning the knob anti-clockwise. Float Valve: This is also called the ‘Pin’. When the cooker reaches pressure, this pin pushes UP. It falls DOWN to its default position, when the pot is completely depressurized. It’s ALWAYS best to check that the pin has dropped and the pressure is fully released, BEFORE opening the lid. If the lid is giving you resistance, chances are that the pressure hasn’t fully released yet. Press the steam release button again and wait for the pin to drop. Sealing Ring: The sealing ring is crucial to the pot sealing tight in order for it to build pressure. If the sealing ring is not secure and placed correctly, the pot won’t come to pressure. The sealing ring is dishwasher safe (top-rack) and should be cleaned after each use. To remove, simply pull it out gently. To place it back, slide it in between the outer rim and the metallic ring, and push it down. In the video, you can see me remove it and put it back. The one thing that I struggle with the sealing ring is the lingering ‘odor’. It tends to hold on to smells from the last thing you cooked. So, if you made salsa chicken last, you may want to use another ring for making chocolate lava cake 😉 One accessory that I thought was totally worth investing into was the set of ‘Sweet & Savory" sealing rings sold by Instant Pot. This is a set of two- Red & Blue. I use the red for savory dishes and the blue for sweet.
Did You Know?
The base unit has a hook on both sides of the pot to hold the lid, before and after cooking. This feature comes in very handy, especially once the cooking time is done and you open the pot. You don’t have to look for a place to place that hot lid. You can just slide it in either hook. The extra moisture that drips off the lid is caught by the condensation cup.
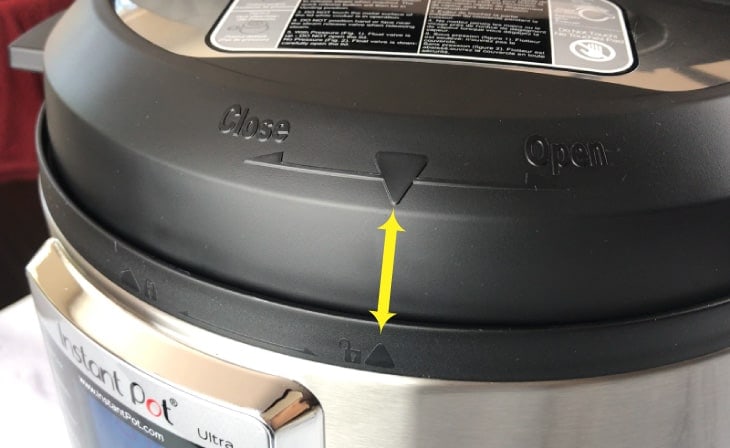
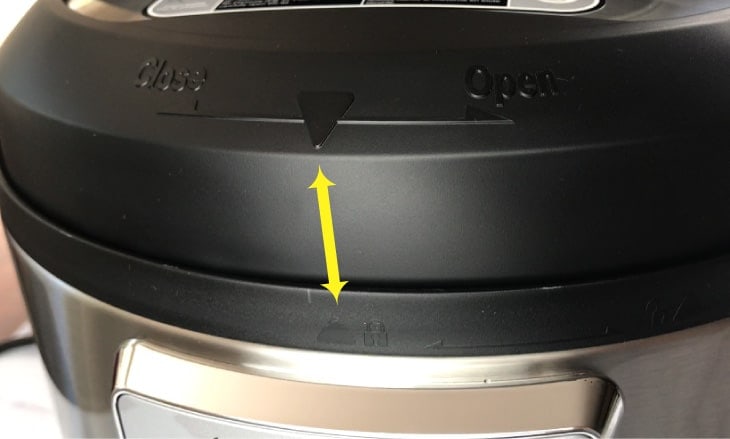
How To CLOSE the LID?
To CLOSE the lid, place the lid on the base unit and align the arrow in the lid, to the arrow with an open lock symbol, in the base unit. Rotate the lid clockwise and align the arrow in the lid to the arrow with a closed lock symbol in the base unit. If you’ve left your sound settings at default, you will hear a chime when the lid is locked. To OPEN the lid, turn the lid counter-clockwise and align the arrow with the open lock symbol.
Programs & Settings in Instant Pot Ultra 10-in-1
Instant Pot Ultra is a 10-in-1 cooker. Here’s a quick re-cap of the programs, with their default setting and range. You can use it to:
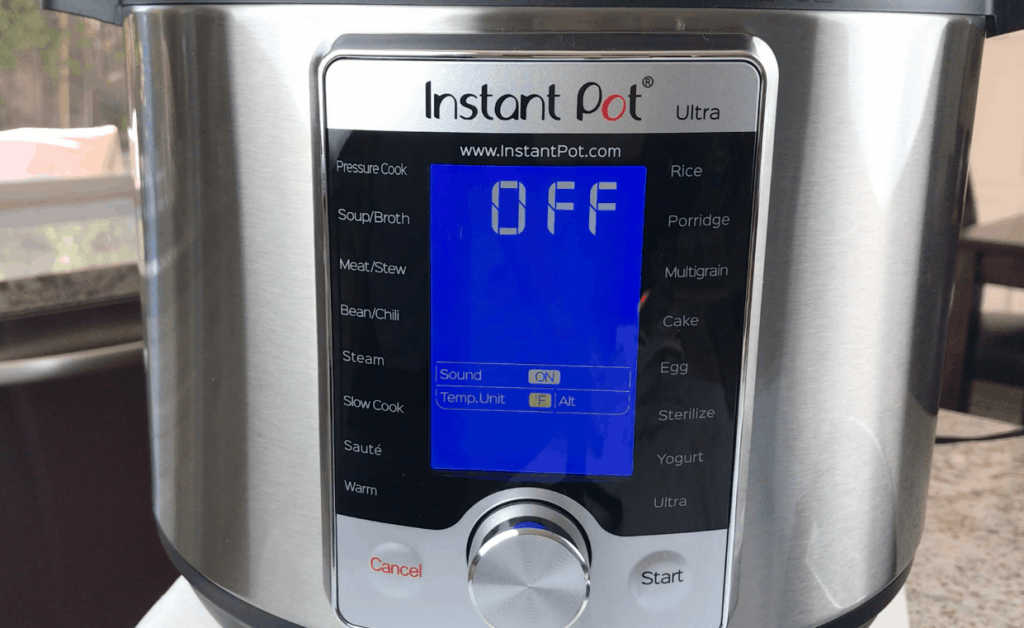
Turn it ON- Basic Settings
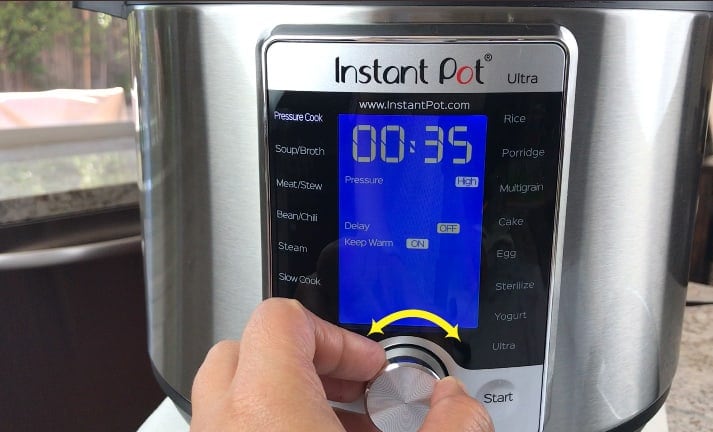
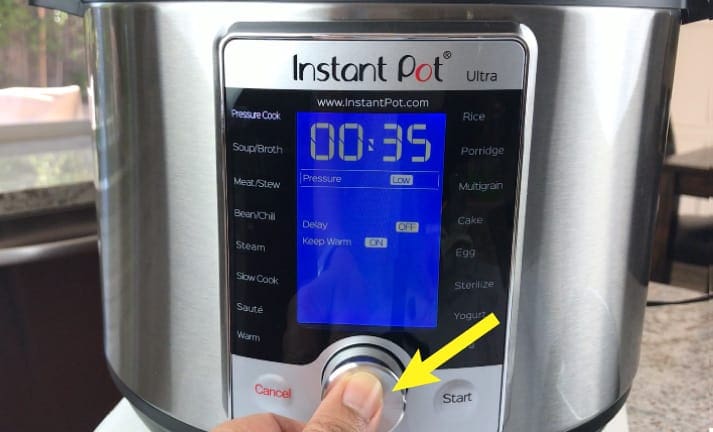
When you turn on the ULTRA, the LCD display lights up and you hear a chime. The ULTRA has a central dial to navigate through the different programs and settings. Turn the dial clockwise to move Right & Down, turn it counterclockwise to move Left & Up. If the display turns off, you can press the central dial to turn it back on. Here are the instructions on how to set your altitude:
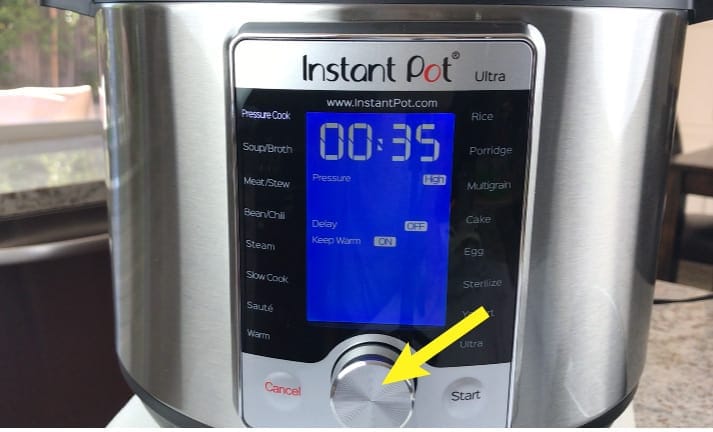
How To Change Program Settings using the Central Dial
In the video, I change the settings of the “Pressure Cook” program. You can watch that for more clarity.
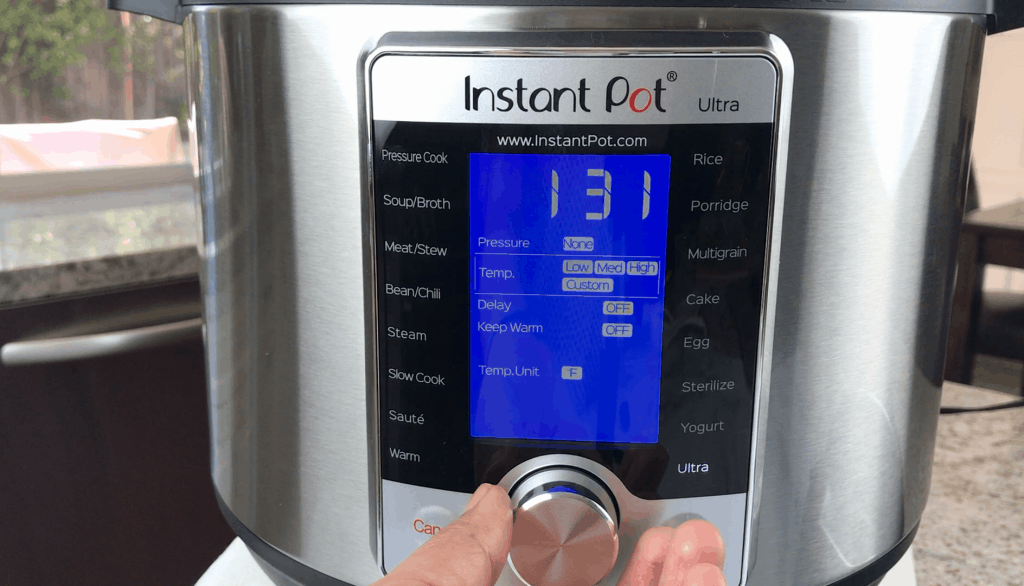
The ULTRA Program
This program is the latest feature added by the company, after which this pot gets it’s name- the ULTRA! It allows you to customize TIME, PRESSURE & TEMPERATURE. So, if you want to custom cook your food to a precise cooking temperature, time, and pressure, you can do so using this program. You can set any of these parameters to your liking, using the central dial. TIME: You can set anywhere from 1 min to 6 hours. PRESSURE: You can choose between 3 pressure settings- High Pressure (10.2 – 11.6 psi), Low Pressure (5.8 – 7.2 psi) or No Pressure. The No-Pressure setting is ideal for steaming veggies, while keeping them el dente, and also for steaming dumplings. TEMPERATURE: You can choose the specific temperature for your cooking, anywhere from 104-208°F. I plan to do some Sous-vide cooking using this program. Will post my experience and results on this page.
Instant Pot Information and Links: