About This Mysore Pak Recipe
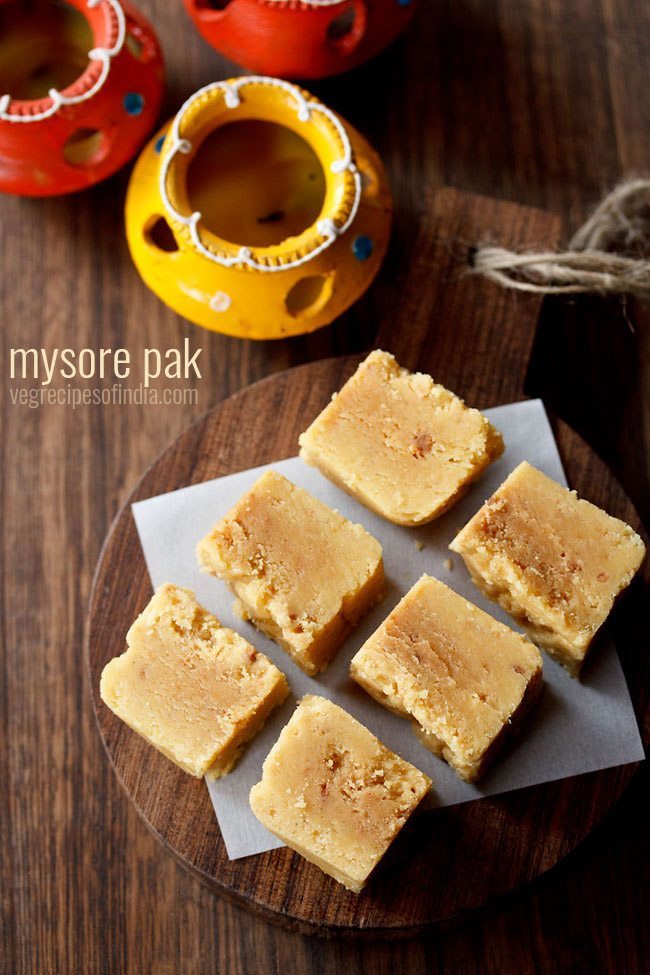
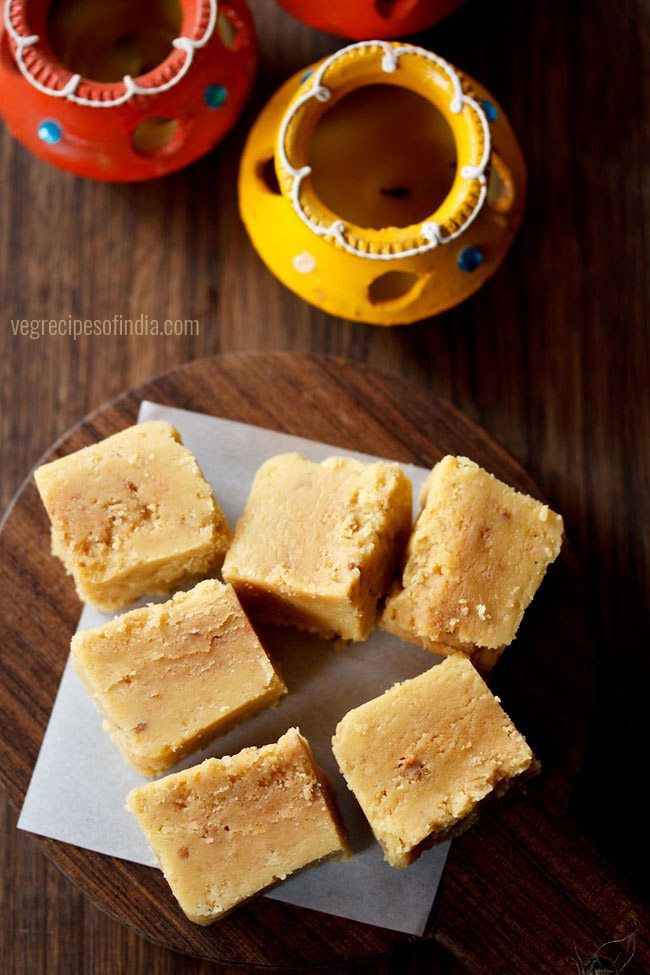
Mysore pak recipe is a super delicious and popular sweet with origins at Mysore (also spelled Mysuru) Palace. This traditional recipe is attributed to Kakasura Madappa, the chief chef of Maharaja and food-lover Krishnaraja Wodeyar IV, who ruled until 1912. Pak, paka or pakka means “sweet,” and in this case refers to the sugar syrup the candy is prepared with. But while the name Mysore Pak may explain where the treat comes from, no name could do justice to its flavor. Mysore pak is made with just three ingredients – gram flour, ghee and sugar. However, do not let its simplicity fool you. This, my friends, is a candy-making recipe. Here, following the instructions is paramount to your success. In case you didn’t know, candy making is serious business! Transforming gram flour, sugar and ghee into the soft, fudgy, toffee-flavored sweet takes some real dedication. Prepare yourself for scientific precision followed by a heck of an arm workout. This is not a recipe for the faint of heart. However, if you have ever tried a decadent bite of Mysore Pak, you know that it is well worth the effort. With a superlative texture that varies from being hard or soft, my recipe gives a texture that is neither hard nor very soft. Plus with a flavor that is not too sweet, this candy – rife with notes of nut and toffee – is almost enough to leave you breathless. If you are brave enough to try this recipe, you will have a wonderful sweet that is worthy of celebrations and festivals. The sense of accomplishment after making candy is pretty great, too. So come along with me, if you dare! 😉
How to make Mysore Pak
I have shared extensive process shots of the making of mysore pak with a LOT of details and tips mentioned in the steps. I highly recommend you read this section through at least once before attempting to recreate it.
Prep
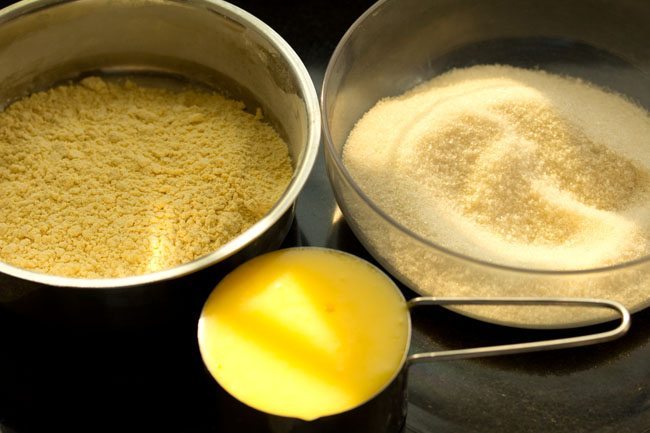
- First, set up your ingredients:
1.25 cups sugar (200 to 210 grams sugar)1 cup gram flour (besan) (100 grams)1 cup ghee (200 to 210 grams)
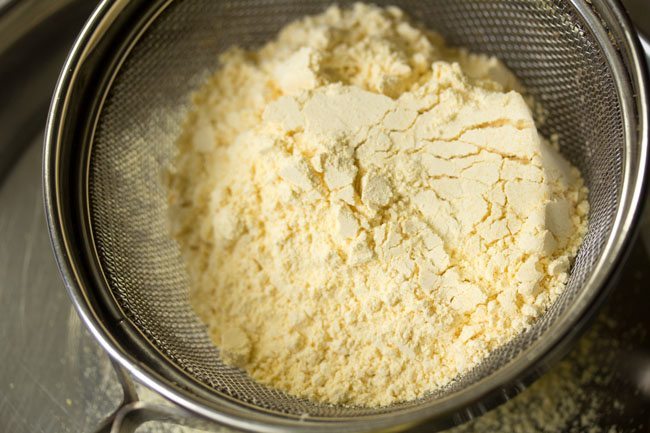
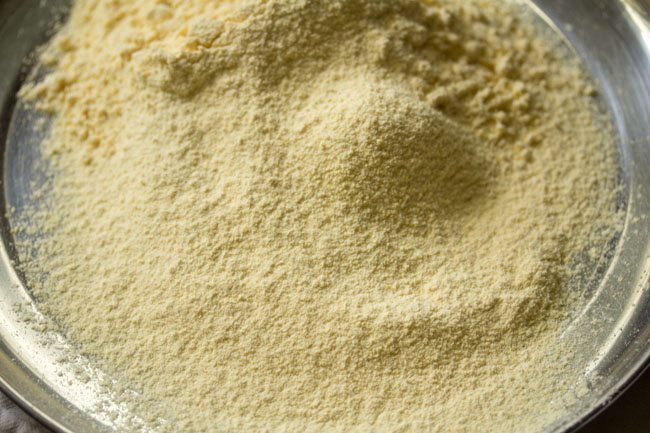
- Sieve the gram flour once or twice. This helps in reducing the lumps if any while mixing gram flour in the sugar syrup.
- A photo of the sifted gram flour below.
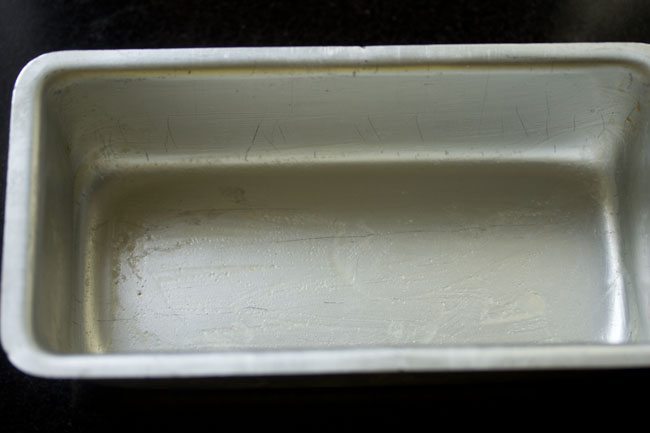
- Grease a loaf pan with some ghee. If you don’t have a loaf pan, use any pan or tray which can give you some depth and height, so that you can get rectangular or square pieces of mysore pak.
Make Sugar Solution
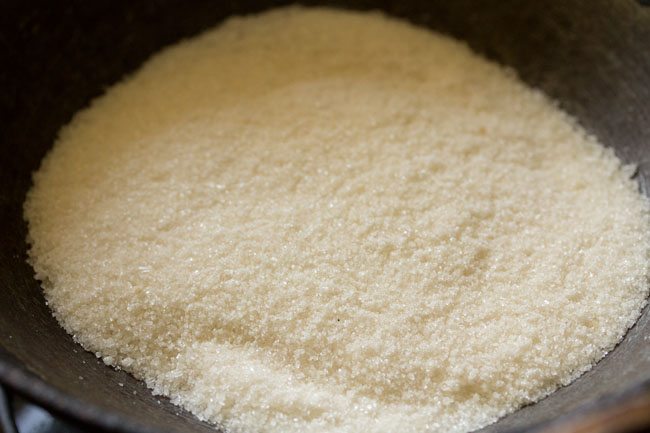
- Now add the sugar to a heavy, thick-bottomed kadai. Use a heavy and large aluminium or iron kadai. Please DO NOT use non-stick pan as the heat and friction from stirring can remove the coating.
- Add ½ cup water in the sugar.
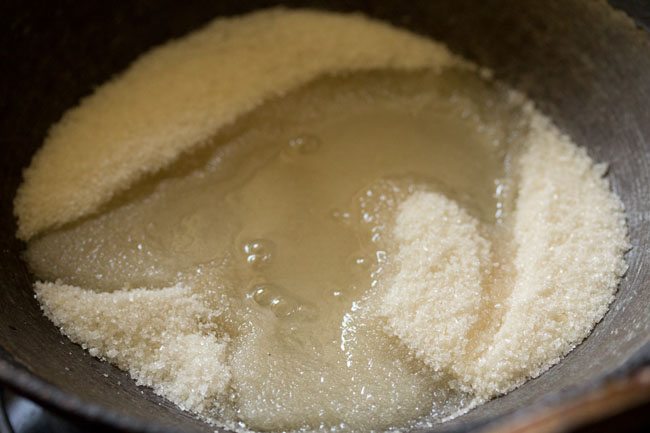
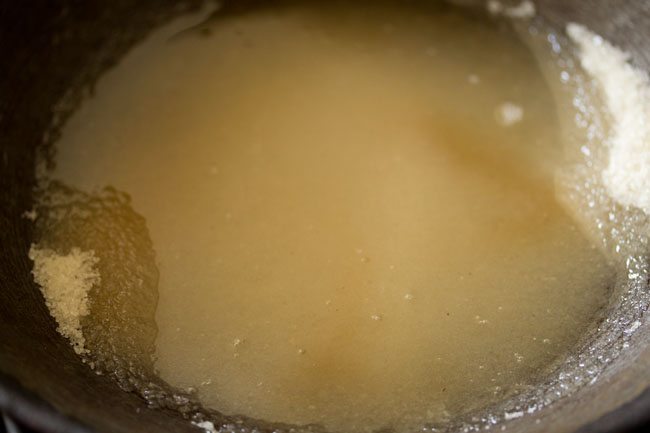
- Keep the pan on the stove top. On a medium-low or medium heat, heat the sugar syrup.
- Stir so that the sugar dissolves.
Heat Ghee (Clarified Butter)
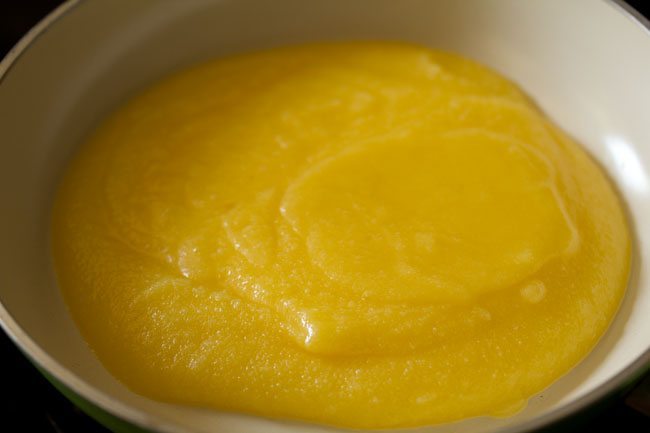
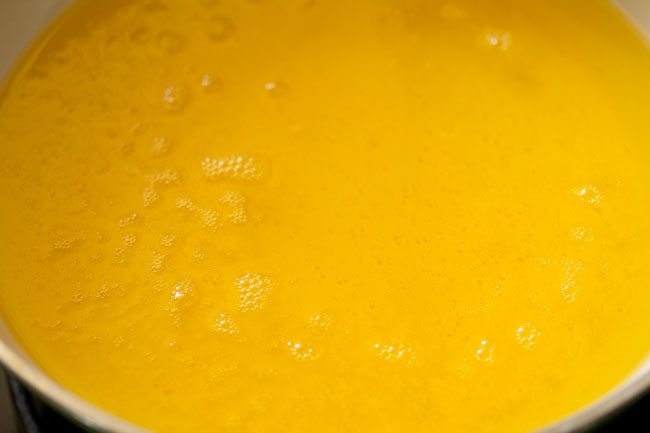
- Simultaneously, add the ghee to separate pan and keep it on the stove top. 10. Let the ghee melt on a low heat. The ghee has to be hot when we add it to the gram flour mixture, but it should not exceed a slow simmer.
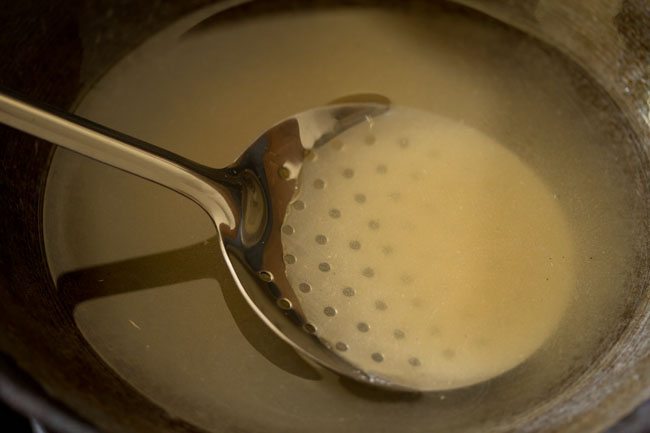
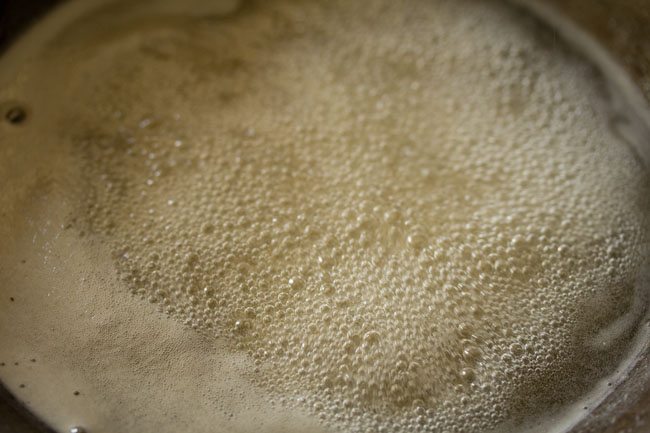
- Let the sugar syrup start bubbling and boiling, then add the gram flour. Note: we are not looking for thread consistency here. Add the gram flour immediately after the simple syrup comes to a boil.
Cooking Gram Flour With Sugar Syrup
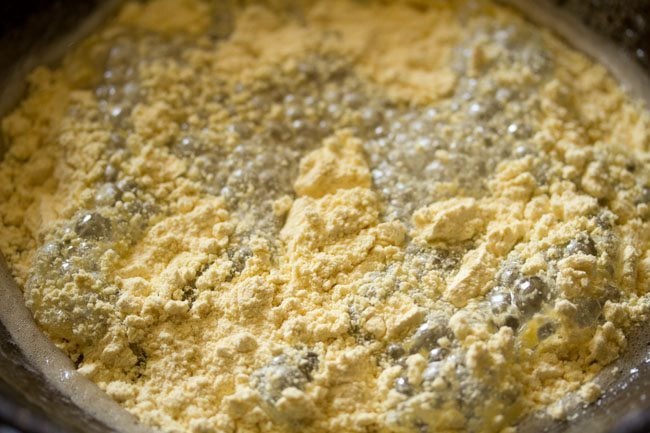
- Add the gram flour in 3 to 4 stages to the sugar syrup. First, add some of the gram flour.
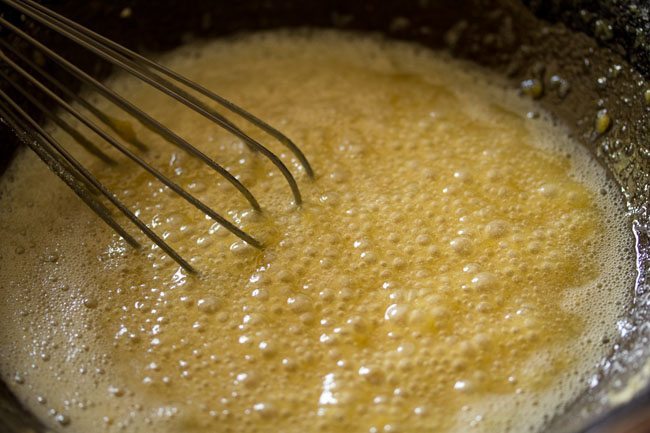
- With a wired whisk, stir the gram flour briskly so that it dissolves with the sugar solution.
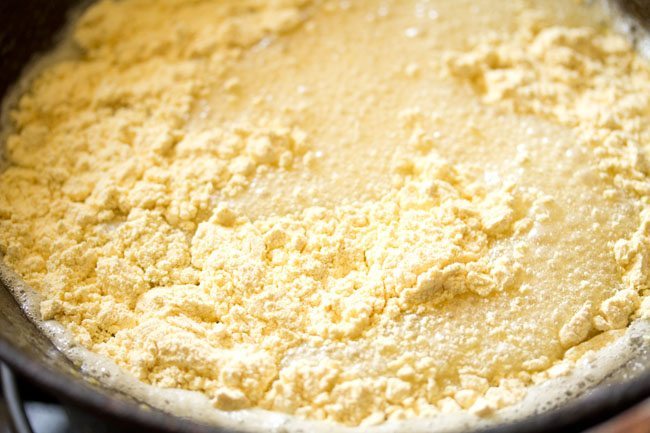
- Now with one hand, using a spoon, add a bit more of the gram flour, and with the other hand continue to whisk.
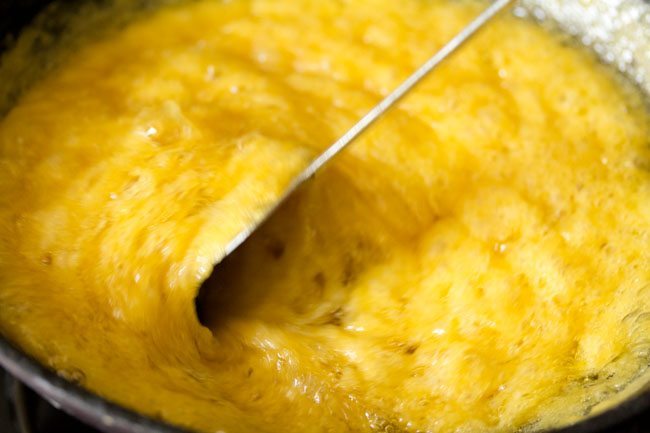
- Continue until all of the gram flour is absorbed into the mixture.
- Stir very well, so that the gram flour is evenly mixed with the sugar syrup.
Add Ghee
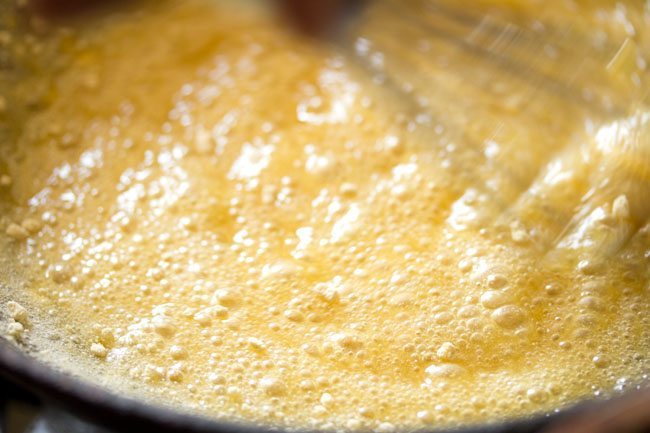
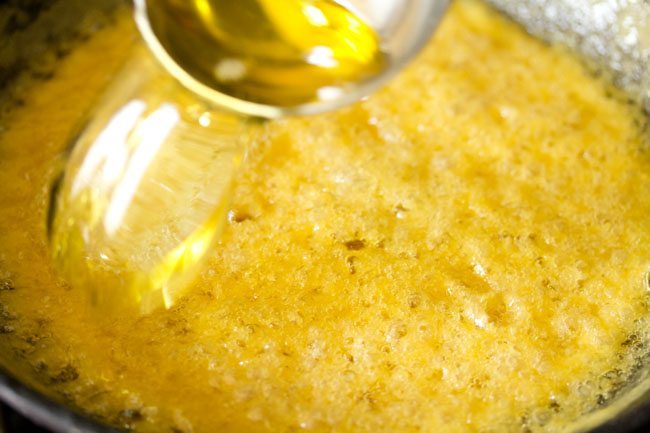
- Working carefully, add ghee in parts. First add a ladle full of the hot ghee.
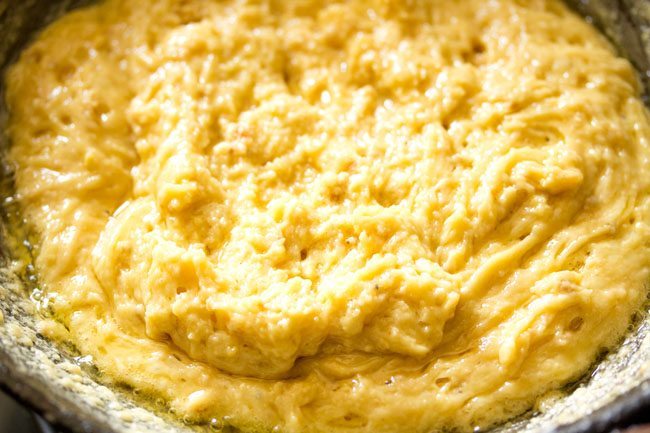
- You will see a lot of bubbles and frothing in the gram flour mixture after you add ghee.
- As soon as you add ghee, mix it with the gram flour with a spoon or spatula.
- Then add the second part of ghee and again mix it very well. Keep the heat to a medium-low or medium.
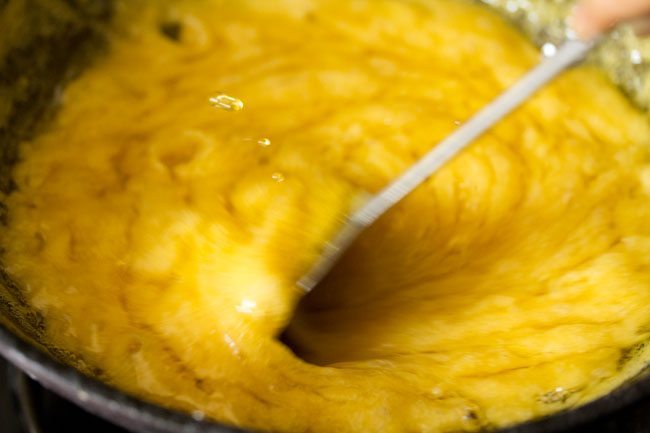
- Continue the pattern – with one hand using a ladle, add ghee, and with the other hand mix it with a spatula – until all of the ghee is absorbed into the mixture.
- Be sure to use a bigger kadai and wear gloves and long sleeves, as there is a lot of sizzling, frothing and bubbling that happens.
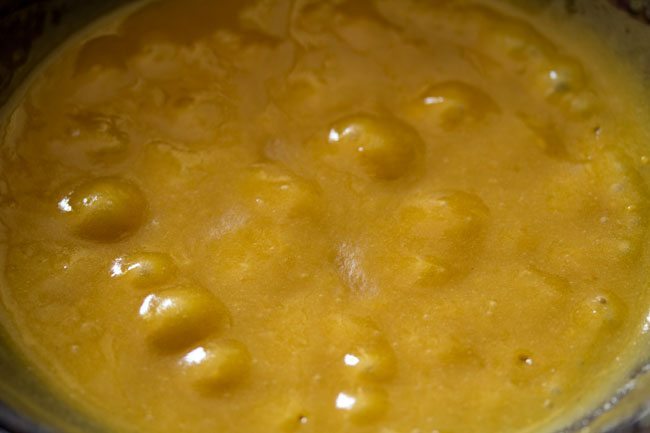
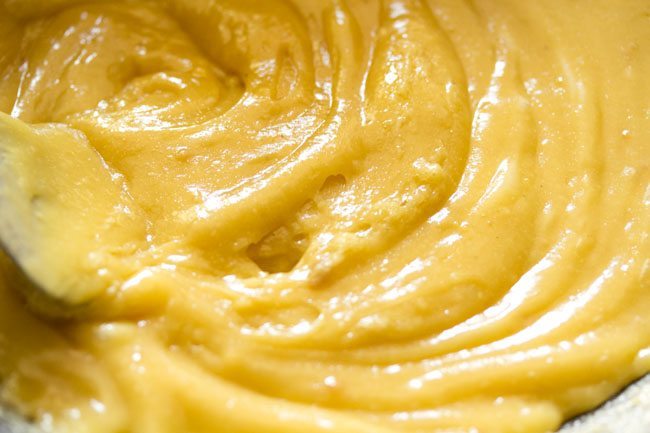
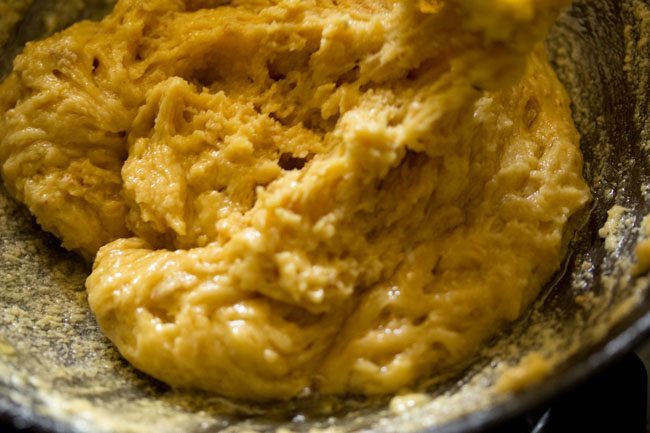
- All the ghee will be absorbed first and what you will see is a smooth, molten mixture.
Cook Mysore Pak Mixture
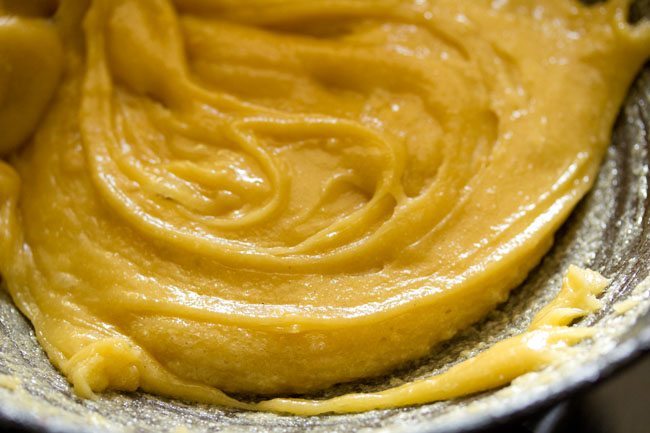
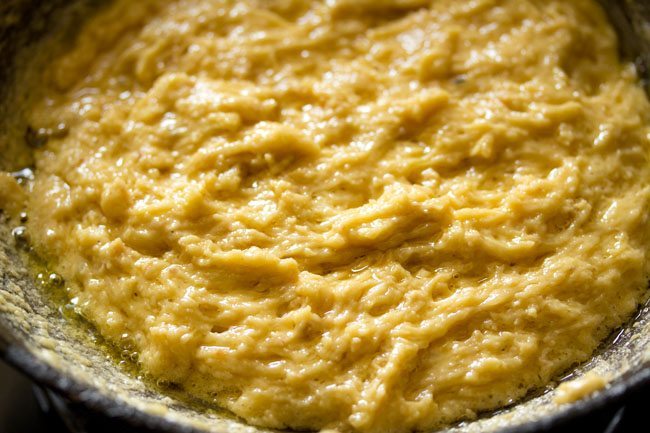
- On a medium-low to medium heat continue to cook and continuously stir the mixture.
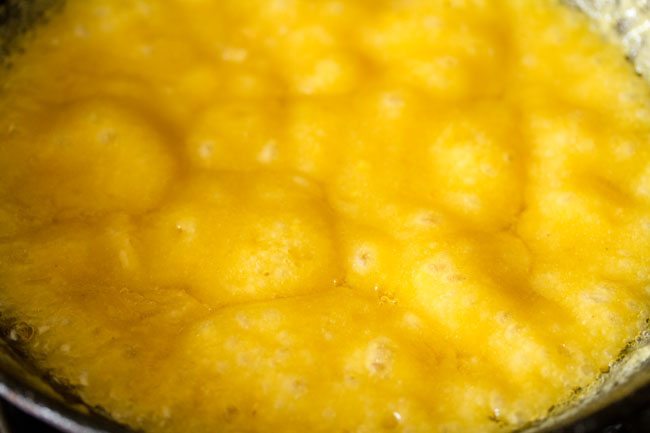
- You have to continue to cook and stir till you start seeing bubbles in the mixture and the ghee is beginning to separate from it. The mixture will also start to leave the sides of the kadai or pan.
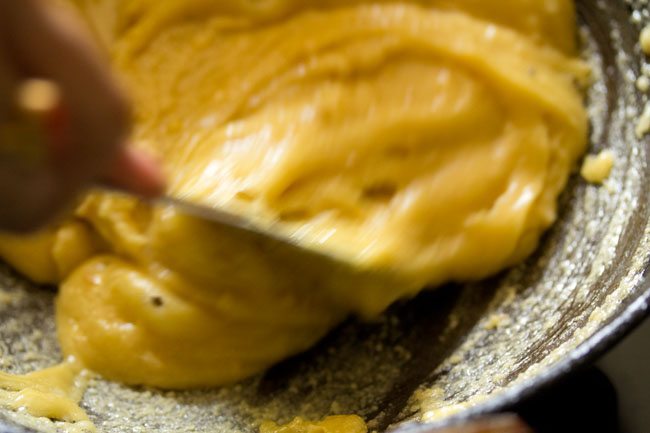
- Continue to cook and stir.
- Note: Be sure to scrape the bottom and sides of the kadai as you stir to prevent browning, sticking and burning. I recommend using a flat steel spatula (palta) as this helps in scraping the mixture.
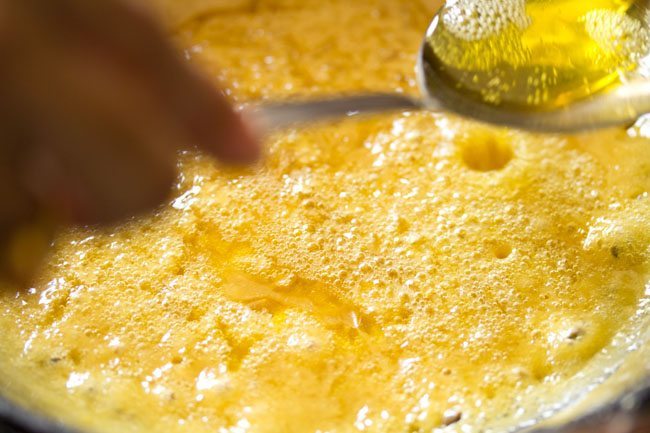
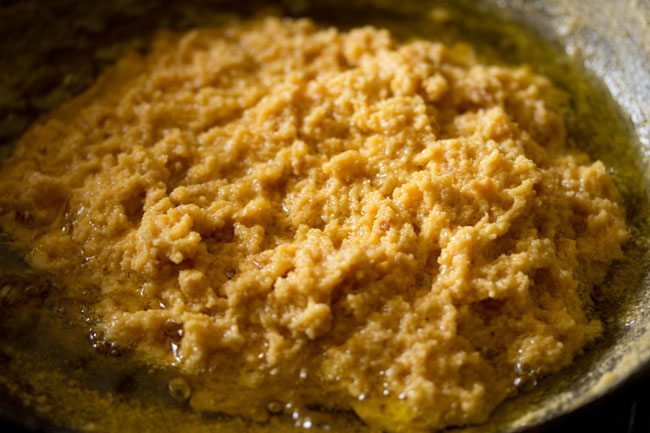
- When the mixture comes together in one mass and you see some ghee at the sides, then continue to stir and scrape.
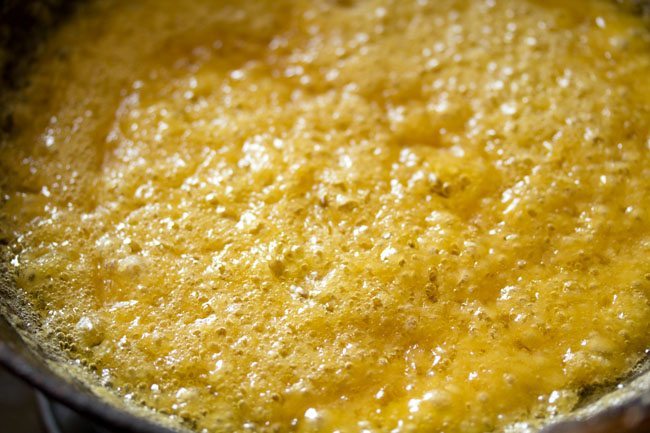
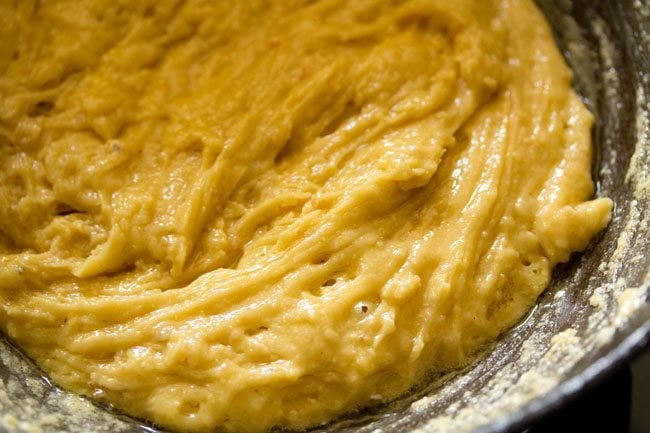
- When you see many small bubbles and holes in the mixture, then switch off the heat. When you reach this soft-ball stage, you have to be attentive. A few seconds here or there will ruin the texture of the mysore pak. If you have a candy thermometer, you’re looking for a temperature of 112C/234F.
- If you cook too much, then you will get a very hard mysore pak. The following picture is to show you the texture to get a hard mysore pak. This photo was taken when working on a recipe – don’t make my mistake! Sharing the photo to show the difference.
Set Mysore Pak
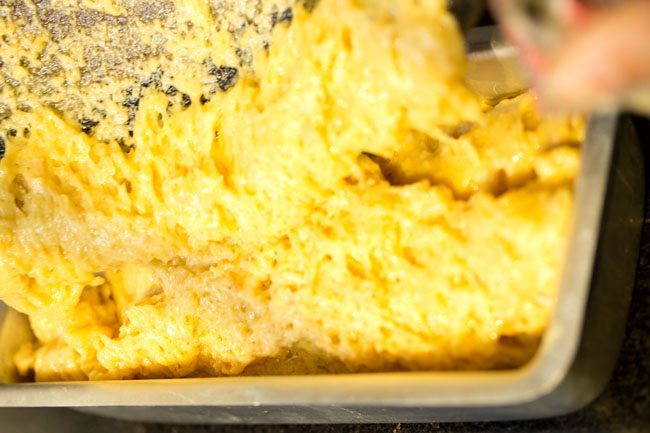
- Immediately and quickly tilt the kadai and pour the whole mixture in the greased pan.
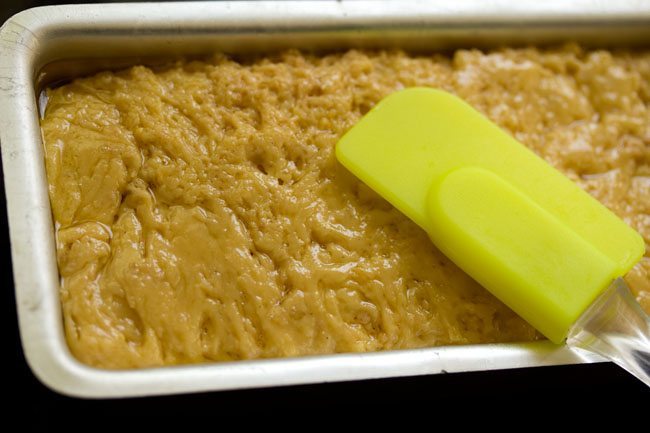
- It should fall in one lot and you shouldn’t need to use a spoon for it. 33. Spread it level in the pan with a spatula, the back of small glass or a small steel bowl.
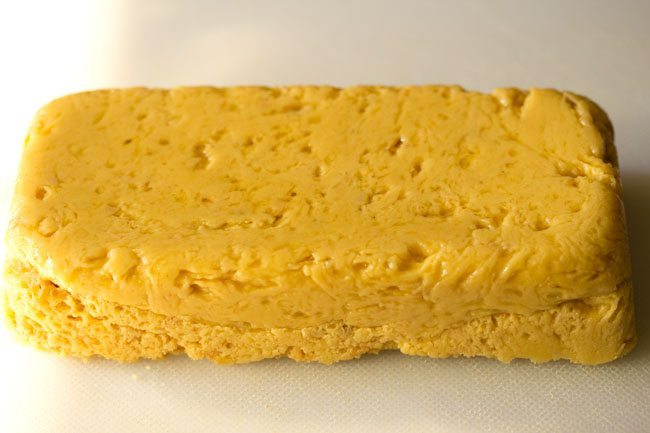
- Let the mysore pak mixture become warm or cool down. If there is too much ghee at the sides or top, then invert the pan after 20 to 30 minutes, so that the excess ghee is removed. You can use this ghee while preparing dosa or greasing idli plates. Once cooled enough to handle, then just invert the pan on a chopping board or tray or plate. Tap the sides and the bottom of the pan. The mysore pak block should fall out of the mold easily.
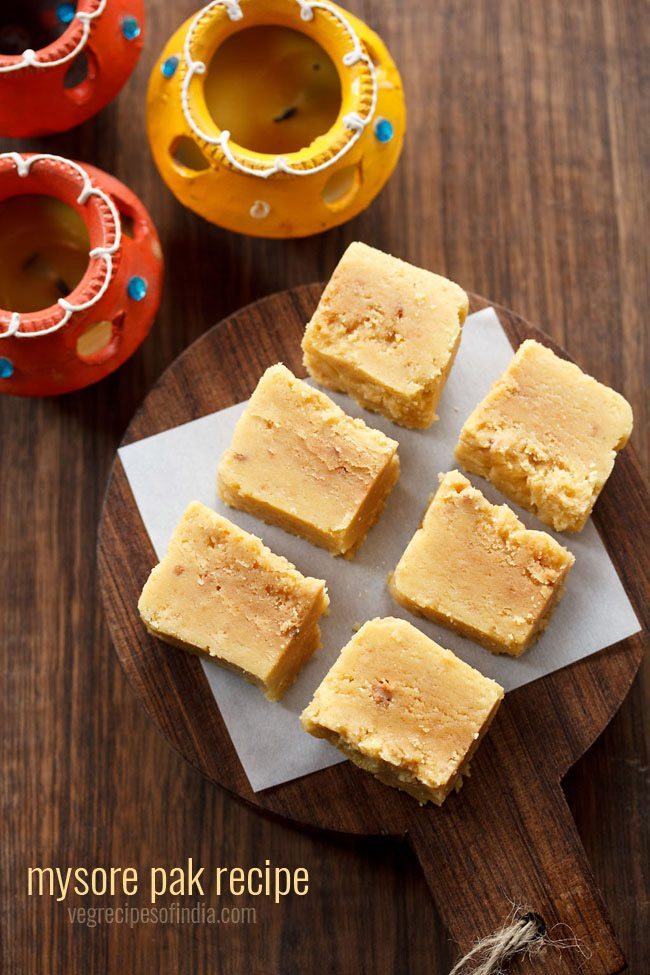
- Slice the mysore pak into your desired shape. Store in an air-tight container. Mysore pak keeps well for 7 to 10 days at room temperature.
- Serve mysore pak as a festive sweet to your loved ones. Enjoy! If you’re still feeling intimidated, check out this easy recipe for 7 Cup Cake. It’s, well, a piece of cake to make! Please be sure to rate the recipe in the recipe card or leave a comment below if you have made it. For more vegetarian inspirations, Sign Up for my emails or follow me on Instagram, Youtube, Facebook, Pinterest or Twitter. Kaju Katli Recipe | How to make Kaju Barfi Badam Halwa Recipe | Rich South Indian Almond Halwa Besan ke Laddu Recipe (Easy Diwali Sweet) Coconut Burfi | Nariyal ki Barfi This Mysore Pak recipe from the archives first published in October 2016 has been republished and updated on 22 October 2022.


title: “Mysore Pak Recipe " ShowToc: true date: “2024-09-04” author: “Jennifer Brooks”
About This Mysore Pak Recipe
Mysore pak recipe is a super delicious and popular sweet with origins at Mysore (also spelled Mysuru) Palace. This traditional recipe is attributed to Kakasura Madappa, the chief chef of Maharaja and food-lover Krishnaraja Wodeyar IV, who ruled until 1912. Pak, paka or pakka means “sweet,” and in this case refers to the sugar syrup the candy is prepared with. But while the name Mysore Pak may explain where the treat comes from, no name could do justice to its flavor. Mysore pak is made with just three ingredients – gram flour, ghee and sugar. However, do not let its simplicity fool you. This, my friends, is a candy-making recipe. Here, following the instructions is paramount to your success. In case you didn’t know, candy making is serious business! Transforming gram flour, sugar and ghee into the soft, fudgy, toffee-flavored sweet takes some real dedication. Prepare yourself for scientific precision followed by a heck of an arm workout. This is not a recipe for the faint of heart. However, if you have ever tried a decadent bite of Mysore Pak, you know that it is well worth the effort. With a superlative texture that varies from being hard or soft, my recipe gives a texture that is neither hard nor very soft. Plus with a flavor that is not too sweet, this candy – rife with notes of nut and toffee – is almost enough to leave you breathless. If you are brave enough to try this recipe, you will have a wonderful sweet that is worthy of celebrations and festivals. The sense of accomplishment after making candy is pretty great, too. So come along with me, if you dare! 😉
How to make Mysore Pak
I have shared extensive process shots of the making of mysore pak with a LOT of details and tips mentioned in the steps. I highly recommend you read this section through at least once before attempting to recreate it.
Prep
- First, set up your ingredients:
1.25 cups sugar (200 to 210 grams sugar)1 cup gram flour (besan) (100 grams)1 cup ghee (200 to 210 grams)
- Sieve the gram flour once or twice. This helps in reducing the lumps if any while mixing gram flour in the sugar syrup.
- A photo of the sifted gram flour below.
- Grease a loaf pan with some ghee. If you don’t have a loaf pan, use any pan or tray which can give you some depth and height, so that you can get rectangular or square pieces of mysore pak.
Make Sugar Solution
- Now add the sugar to a heavy, thick-bottomed kadai. Use a heavy and large aluminium or iron kadai. Please DO NOT use non-stick pan as the heat and friction from stirring can remove the coating.
- Add ½ cup water in the sugar.
- Keep the pan on the stove top. On a medium-low or medium heat, heat the sugar syrup.
- Stir so that the sugar dissolves.
Heat Ghee (Clarified Butter)
- Simultaneously, add the ghee to separate pan and keep it on the stove top. 10. Let the ghee melt on a low heat. The ghee has to be hot when we add it to the gram flour mixture, but it should not exceed a slow simmer.
- Let the sugar syrup start bubbling and boiling, then add the gram flour. Note: we are not looking for thread consistency here. Add the gram flour immediately after the simple syrup comes to a boil.
Cooking Gram Flour With Sugar Syrup
- Add the gram flour in 3 to 4 stages to the sugar syrup. First, add some of the gram flour.
- With a wired whisk, stir the gram flour briskly so that it dissolves with the sugar solution.
- Now with one hand, using a spoon, add a bit more of the gram flour, and with the other hand continue to whisk.
- Continue until all of the gram flour is absorbed into the mixture.
- Stir very well, so that the gram flour is evenly mixed with the sugar syrup.
Add Ghee
- Working carefully, add ghee in parts. First add a ladle full of the hot ghee.
- You will see a lot of bubbles and frothing in the gram flour mixture after you add ghee.
- As soon as you add ghee, mix it with the gram flour with a spoon or spatula.
- Then add the second part of ghee and again mix it very well. Keep the heat to a medium-low or medium.
- Continue the pattern – with one hand using a ladle, add ghee, and with the other hand mix it with a spatula – until all of the ghee is absorbed into the mixture.
- Be sure to use a bigger kadai and wear gloves and long sleeves, as there is a lot of sizzling, frothing and bubbling that happens.
- All the ghee will be absorbed first and what you will see is a smooth, molten mixture.
Cook Mysore Pak Mixture
- On a medium-low to medium heat continue to cook and continuously stir the mixture.
- You have to continue to cook and stir till you start seeing bubbles in the mixture and the ghee is beginning to separate from it. The mixture will also start to leave the sides of the kadai or pan.
- Continue to cook and stir.
- Note: Be sure to scrape the bottom and sides of the kadai as you stir to prevent browning, sticking and burning. I recommend using a flat steel spatula (palta) as this helps in scraping the mixture.
- When the mixture comes together in one mass and you see some ghee at the sides, then continue to stir and scrape.
- When you see many small bubbles and holes in the mixture, then switch off the heat. When you reach this soft-ball stage, you have to be attentive. A few seconds here or there will ruin the texture of the mysore pak. If you have a candy thermometer, you’re looking for a temperature of 112C/234F.
- If you cook too much, then you will get a very hard mysore pak. The following picture is to show you the texture to get a hard mysore pak. This photo was taken when working on a recipe – don’t make my mistake! Sharing the photo to show the difference.
Set Mysore Pak
- Immediately and quickly tilt the kadai and pour the whole mixture in the greased pan.
- It should fall in one lot and you shouldn’t need to use a spoon for it. 33. Spread it level in the pan with a spatula, the back of small glass or a small steel bowl.
- Let the mysore pak mixture become warm or cool down. If there is too much ghee at the sides or top, then invert the pan after 20 to 30 minutes, so that the excess ghee is removed. You can use this ghee while preparing dosa or greasing idli plates. Once cooled enough to handle, then just invert the pan on a chopping board or tray or plate. Tap the sides and the bottom of the pan. The mysore pak block should fall out of the mold easily.
- Slice the mysore pak into your desired shape. Store in an air-tight container. Mysore pak keeps well for 7 to 10 days at room temperature.
- Serve mysore pak as a festive sweet to your loved ones. Enjoy! If you’re still feeling intimidated, check out this easy recipe for 7 Cup Cake. It’s, well, a piece of cake to make! Please be sure to rate the recipe in the recipe card or leave a comment below if you have made it. For more vegetarian inspirations, Sign Up for my emails or follow me on Instagram, Youtube, Facebook, Pinterest or Twitter. Kaju Katli Recipe | How to make Kaju Barfi Badam Halwa Recipe | Rich South Indian Almond Halwa Besan ke Laddu Recipe (Easy Diwali Sweet) Coconut Burfi | Nariyal ki Barfi This Mysore Pak recipe from the archives first published in October 2016 has been republished and updated on 22 October 2022.
