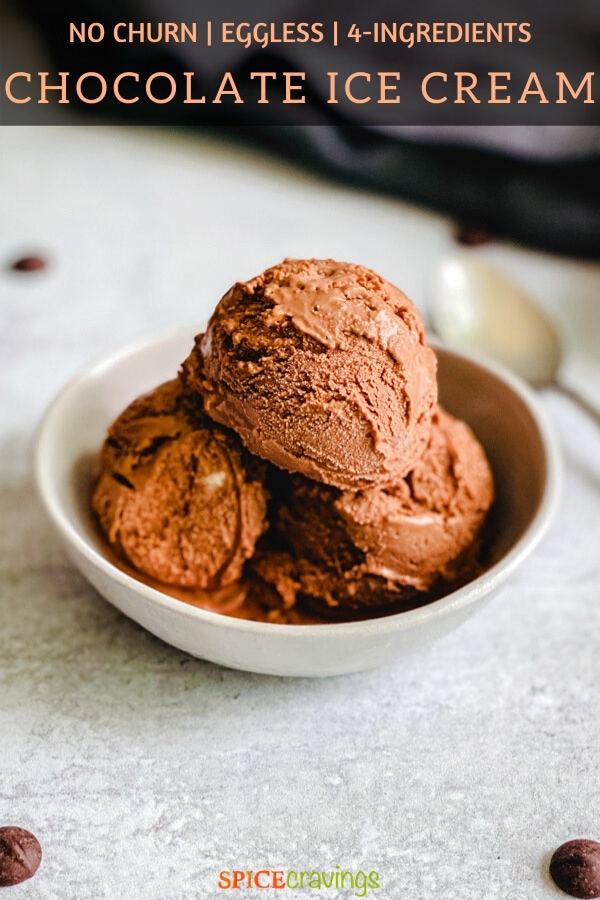
Homemade Chocolate Ice Cream with 4-ingredients
One of my favorite things about summer is frozen desserts. Creamy and dreamy, it’s just the thing you need on a hot summer day.
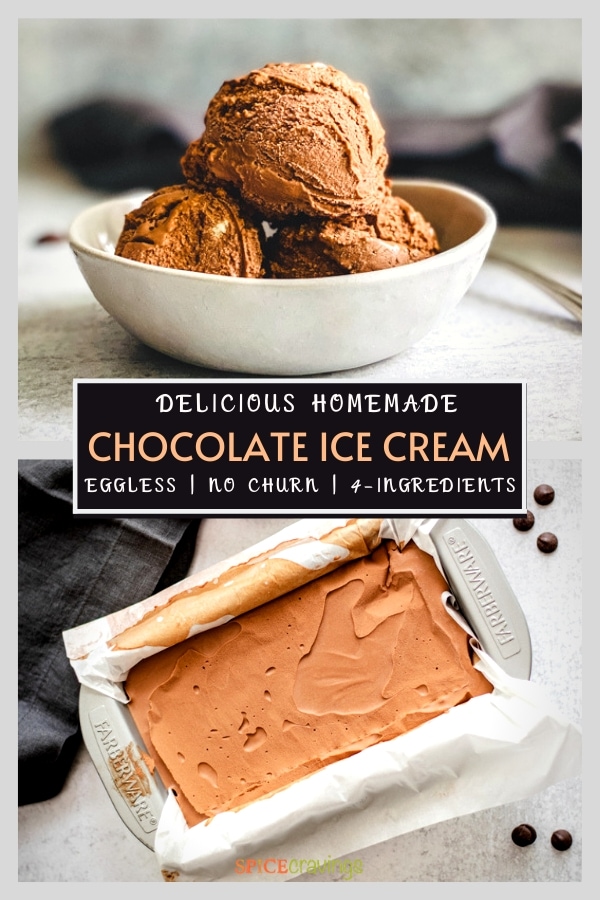
And when you don’t need any fancy gadgets to get there, it makes the sweet treat that much more enjoyable. That’s what this Homemade Chocolate Ice Cream recipe is all about. It is made with 4 simple ingredients without an ice cream maker. All you need is a bowl, a whisk and a little bit of patience. Plus, it’s a great ice cream base recipe. Top it off with your favorite toppings or add a few mix-ins along the way. It serves as a decadent chocolate treat your whole family will enjoy! 🙂
What Does No-Churn Mean?
No-Churn means no ice cream maker. In other words, you don’t need extra equipment or fancy gadgets - all you need is an electric hand mixer or stand mixer for whipping the cream. You can also whip the cream by hand, but this takes much longer and requires some arm strength. I find whipping the cream with an electric mixer much easier.
Much Easier Than Traditional Ice Cream Process
A traditional ice cream recipe is made using an ice cream maker. The results are wonderful, but it requires a complete multi-step process. You must freeze the bowl, make the custard, chill it, churn it, then freeze it. This no-churn recipe takes the same approach with one key step - homemade whipped cream. Once you reach stiff peaks, all that’s left is to gently fold it into a sweetened chocolate mixture. Then simply chill, set, scoop and enjoy!
Ingredients - Notes & Substitutions
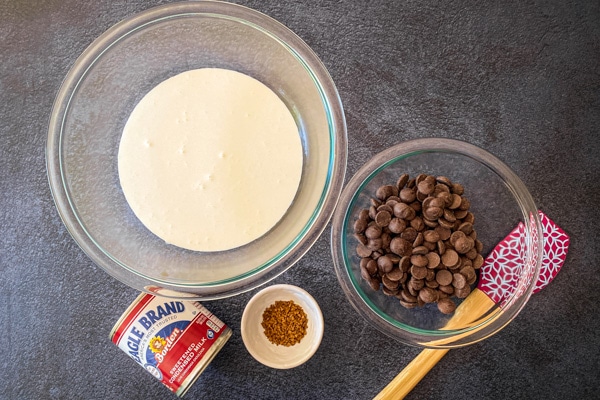
This homemade ice cream is made with four ingredients - bittersweet chocolate chips (or bar), sweetened condensed milk, instant coffee and heavy cream. The coffee is optional, so if you skip that, it’s down to 3-ingredients 🙂
Chocolate: For best results, I prefer using bitter-sweet chocolate chips in this recipe. Alternatively, you can use your favorite brand of chocolate bars chopped up into pieces. The total weight you need is 10 ounces. This is almost a full bag of chocolate chips or 2.5 4oz chocolate bars. If you do decide to use whole chocolate bars, use a serrated knife for easy chopping.Sweetened Condensed Milk: Look for condensed milk in the baking aisle (and make sure not to purchase evaporated milk). There is no need to add additional sugar since the condensed milk is already sweetened. A can of sweetened condensed milk is 14 oz, but I only use 12 oz since the chocolate chips also contain some sweetness. This gives you a sweetness level similar to Baskin Robbin’s Chocolate Ice Cream. If you prefer your ice cream on the sweet side, simply add the entire can.Instant Coffee: The amount of instant coffee is so minimal, all it does is enhance the chocolaty flavor rather imparting a coffee taste. It is optional but highly recommended!Heavy Cream: You will need one pint of heavy cream (sometimes labeled “Heavy Whipping Cream”). For best results, make sure the heavy cream is cold. This makes it easier to whip into stiff peaks. For added insurance, you can place the bowl and electric whisk attachments in the freezer until ready to use.
How to Make No-Churn Ice Cream - Step by Step Instructions
All you have to do is gather together 4 ingredients, a bowl and an electric mixer. Here are the step by step instructions:
1. Melt Chocolate
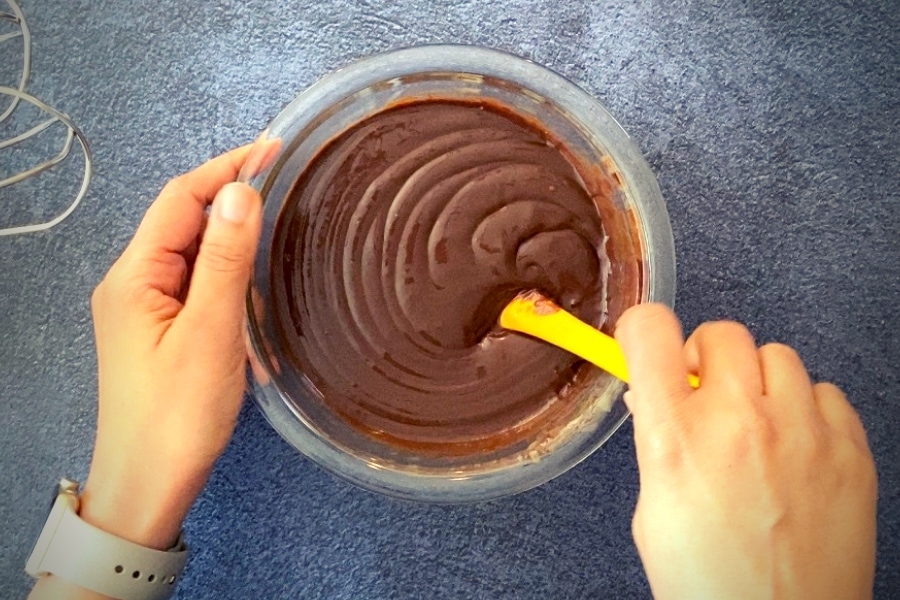
In a microwave-safe mixing bowl, add bittersweet chocolate chips, condensed milk and instant coffee (if using). Microwave for 30 seconds at default ’express/quick’ setting. Stir with a heat-safe spatula or whisk and heat another 30 seconds. Whisk till smooth and chocolate gets incorporated with the condensed milk.
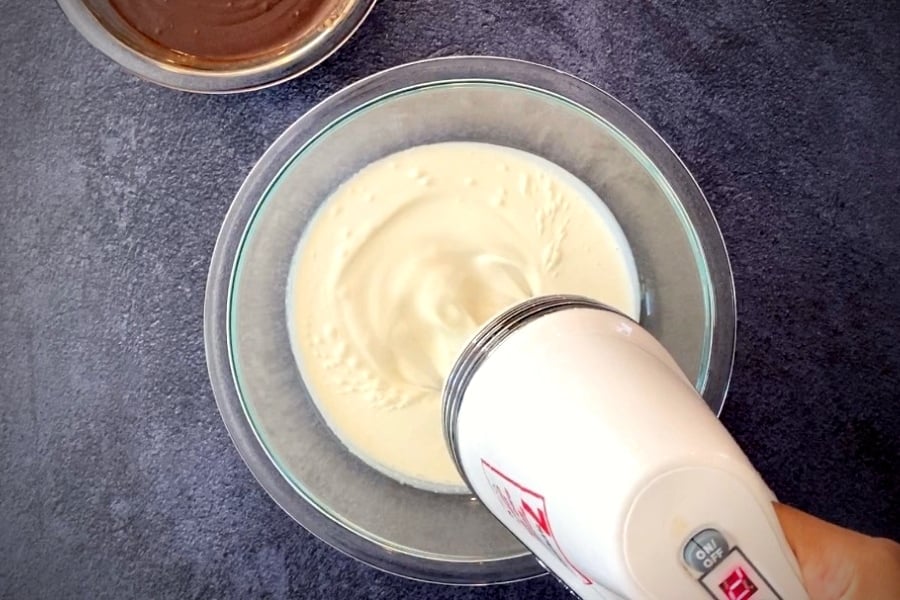
2. Whip Heavy Cream
In a large mixing bowl, add heavy cream and start whipping using a hand mixer. Alternatively, use a stand mixer and use the whisk attachment.
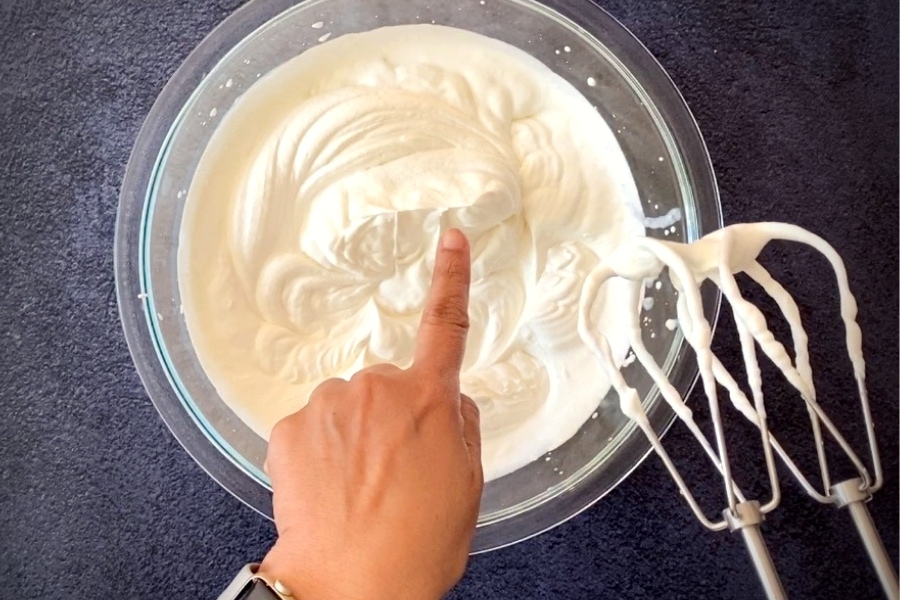
Whip the cream till it forms stiff peaks.
3. Combine Chocolate and Whipped Cream
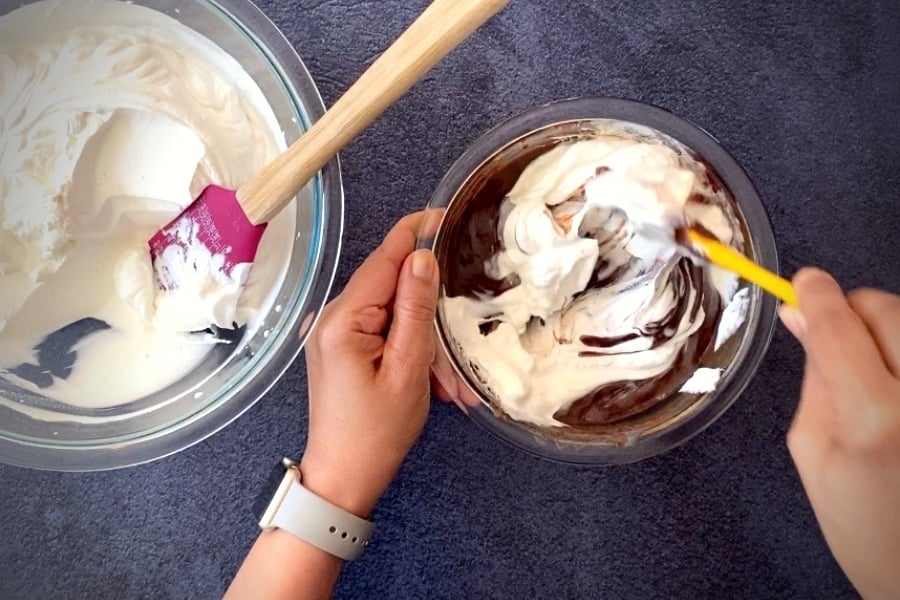
Add a scoop of whipped cream into the melted chocolate and mix it well.
Tip: This helps lighten the weight of the chocolate mixture and makes it easier to fold in later.
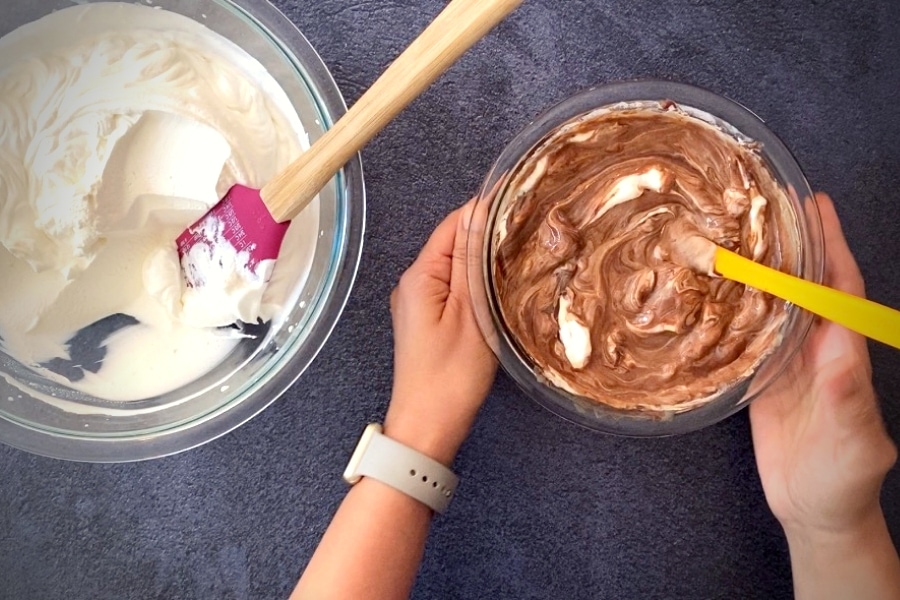
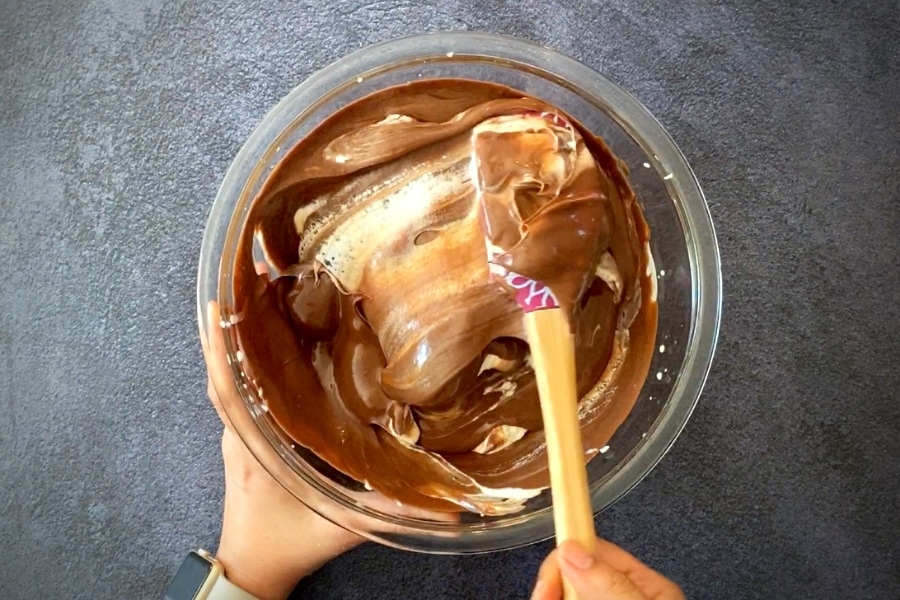
Now add the chocolate mix into the whipped cream. Using a spatula gently fold the two together till the chocolate and cream get fully integrated and you see a smooth milk-chocolate colored batter. (In the process, you might see lumps, don’t worry and keep folding till they’re all smooth)
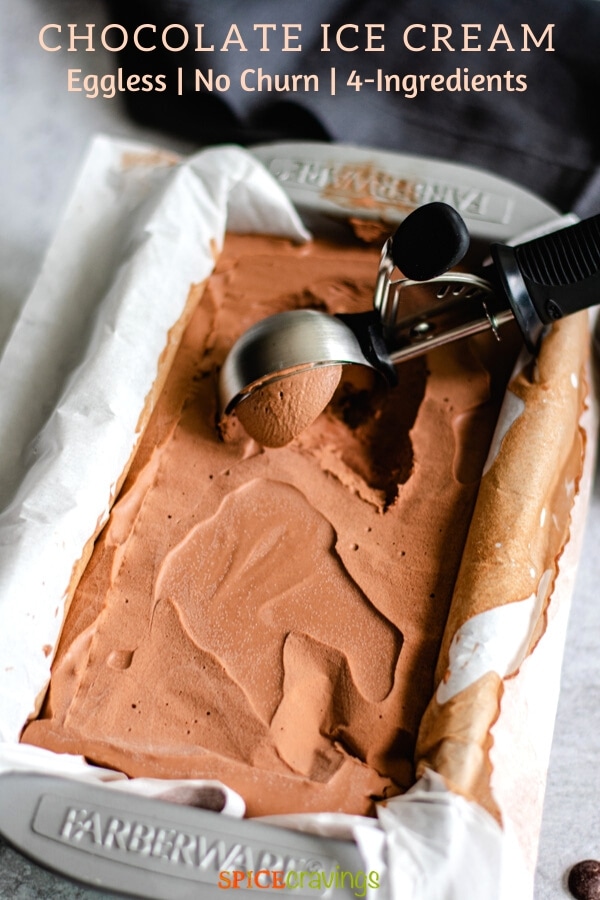
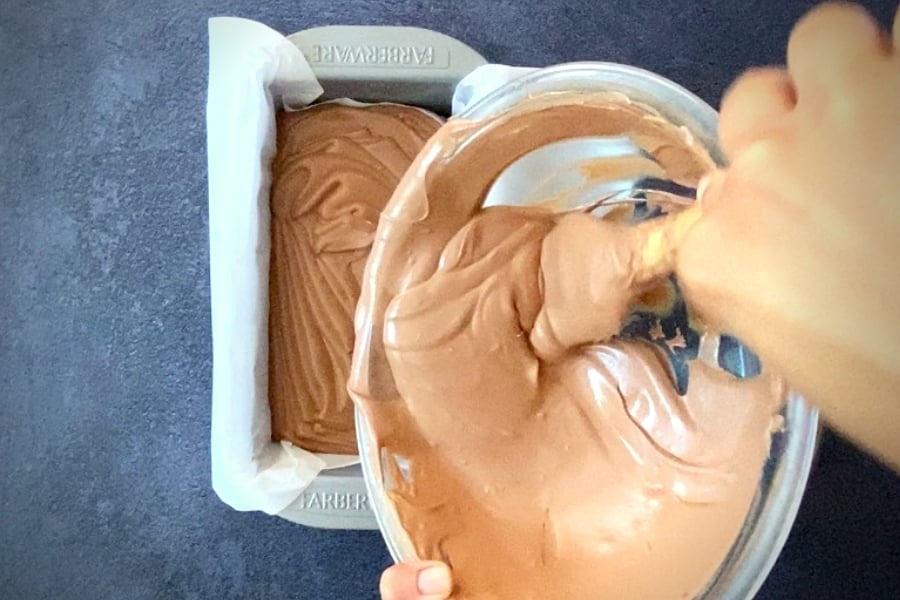
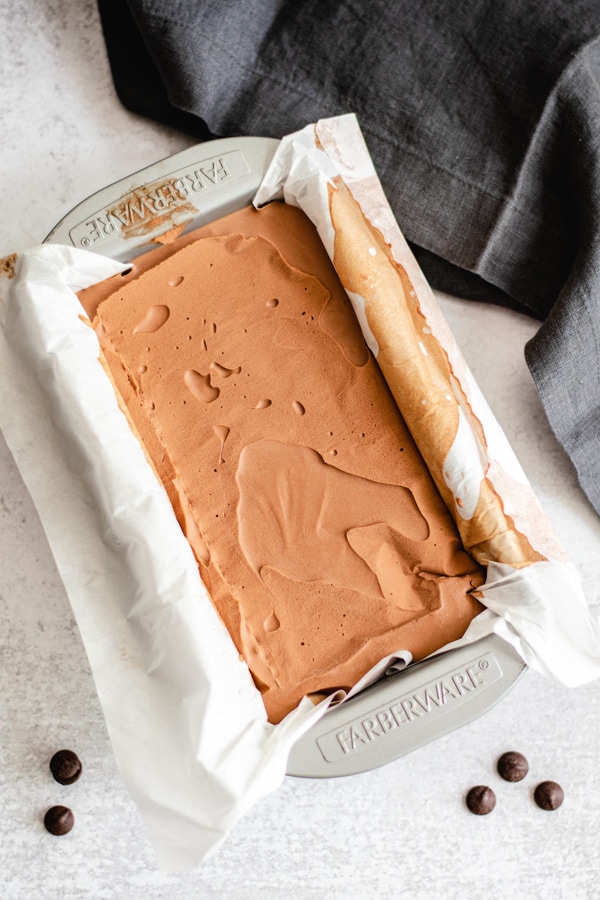
Pour this mix into a parchment-lined metal pan or a glass bowl. Seal it tightly using an airtight lid or a few layers of plastic wrap and stick it in the freezer. Chill for 6-8 hours for the ice cream to set properly.
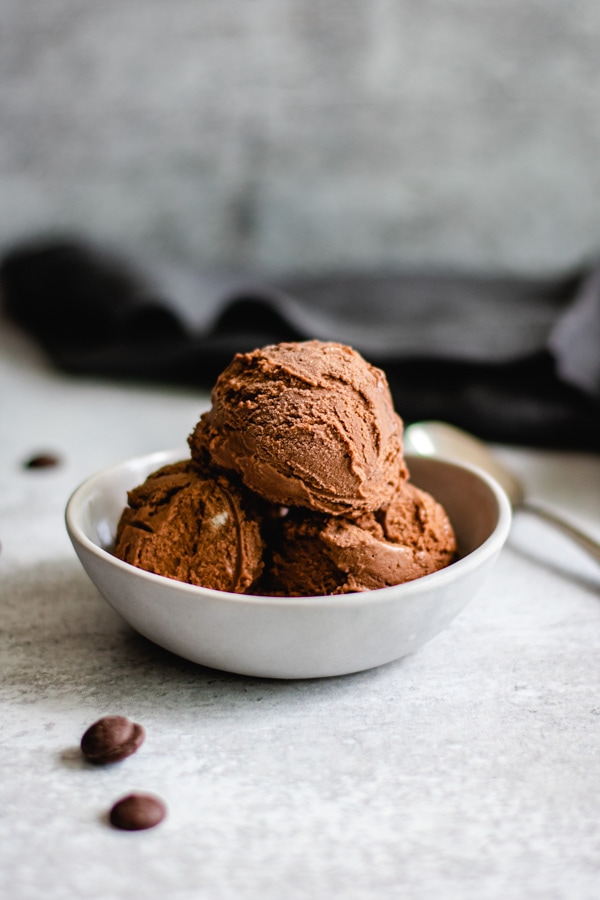
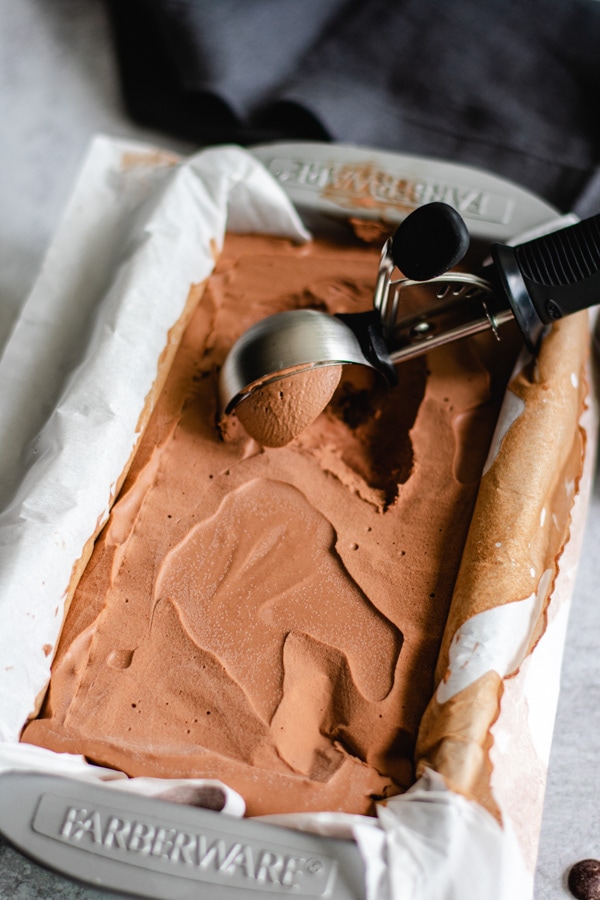
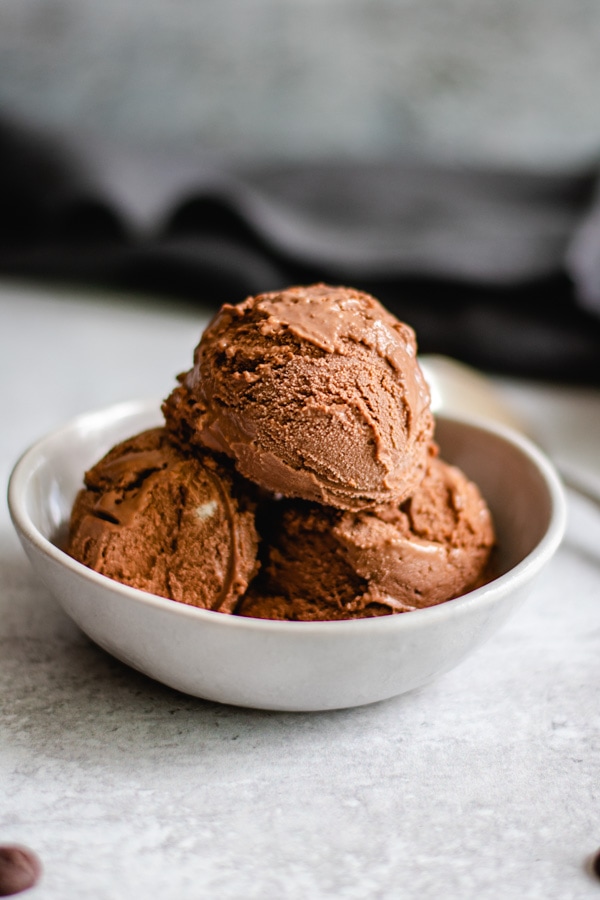
Serve as-is or with your favorite toppings. Enjoy!
Storage Instructions
Ice cream (or any frozen dessert) is a wonderful make-ahead recipe since you need at least 6 hours for the ice cream base to freeze. I like to make it the night before or the morning of the day I am going to serve. It will keep for at least 2 weeks in the freezer (I’m sure it will vanish before that!). Just make sure it is sealed tight after every use so it doesn’t dry out or pick up any odors from the freezer. I typically use a pyrex container to store it, but recently got this ice cream tub and have been loving it.
Serving Suggestions
I love to serve this easy no-churn chocolate ice cream plain and simple. And for those days when I want a dessert a bit more decadent, I place a scoop on top of warm Nutella brownies. Some of my other favorite serving suggestions include:
Drizzling with warm chocolate sauce, peanut butter or dulce de lecheTopping with toasted almonds, walnuts or pecansSprinkling with chocolate or rainbow jimmies
Variations to Try - Create Your Own Ice Cream Flavor
This is a wonderful base recipe for a super simple chocolate ice cream, but there are times when I want to have some fun in the kitchen and create a few ice cream flavors of my own. Definitely try out:
Double Chocolate: Fold in ½ - 1 cup dark chocolate chips or chunks when you fold in the chocolate mixture. I would recommend using mini chips as they get pretty hard when frozen.Rocky Road: Add ½ cup each mini marshmallows and roasted almonds (salted, if you like) at the very end (my daughter’s favorite).Fudge Swirl: Drizzle in ½ cup hot fudge sauce after you pour the ice cream into the pan, then swirl with a palette knife or spatula (hubby’s favorite).
Recipe Notes & Tips:
Use the whole can of sweetened condensed milk for extra sweetness. The proportions in this recipe result in a sweetness level comparable to Baskin Robbins’ Chocolate Ice Cream. If you like it sweeter, use the whole can (14 ounces) of sweetened condensed milk.Instant coffee will enhance the chocolate flavor. Adding just ½ teaspoon of dissolved coffee really brings out the chocolate flavor (you can’t taste the coffee in the ice cream). However, this is an optional step, so feel free to skip it. Optionally, add ½ teaspoon of vanilla extract at the very end.The cream whips faster when cold. Store the pint of heavy cream in the fridge until ready to use. For even more insurance, I like to freeze my bowl and electric whisk attachments until ready to use.It is important to fold the whipped cream and chocolate mixture gently. Folding indicates moving the spatula in a gentle J shape, while simultaneously turning the bowl after each fold. You want to do this slowly and gently as to prevent knocking out all the air in the whipped cream. As soon as the mixture resembles the color of milk chocolate and no streaks of cream remain, it’s ready.Pour into the prepared pan or bowl as close to the surface as possible (not a lot of empty space). This is just another technique that ensures the air stays intact. Delicately pour, cover and freeze until solid.The ice cream will keep for at least 2 weeks. Seal it tight after every use so it doesn’t dry out or pick up any odors from the freezer. Once this is in the freezer for a while, it gets quite hard. I recommend removing it from the freezer 5-10 minutes prior to when you want to scoop a bowl.
More Chocolate Recipes From My Kitchen
Chocolate Covered StrawberriesMini Chocolate Cheesecake - Instant Pot/OvenEasy Banana Chocolate Chip MuffinsChocolate Lava Cake - Instant Pot/Oven4-Ingredient Nutella BrowniesSalted Caramel Molten Lava Cakes - Instant Pot/OvenInstant Pot Fudgy Brownies
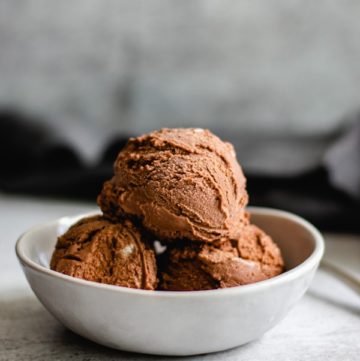
📖 Recipe