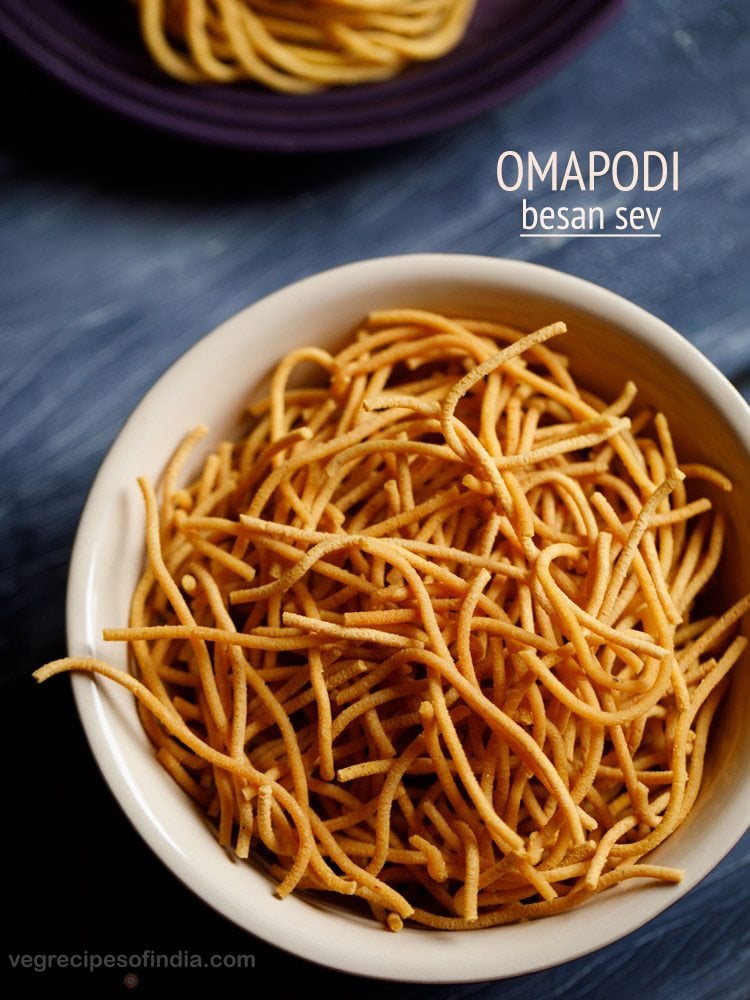
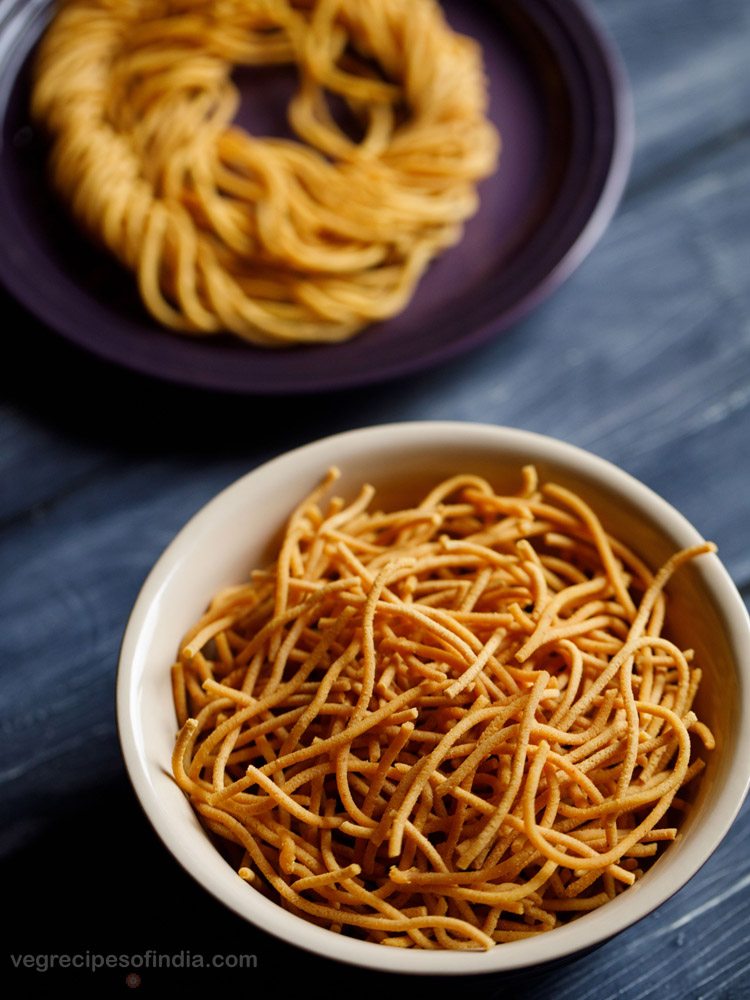
About Omapodi
Making the South Indian style sev called Omapodi is very easy and really does not need you to have much of an expertise in cooking. This is one of those common regional type of sev which is usually prepared as a festive treat during Diwali. Apart from carom seeds or omam, which impart the typical flavor in it, other ingredients that you would need in this Omapodi recipe are gram flour, rice flour, some spice powders, seasonings and oil to deep-fry. So, you see, you don’t even have to spend sleepless nights over sourcing of these ingredients as all of these are basic and are mostly available at our homes. In this Omapodi Recipe, you can increase or decrease the degree of spiciness by altering the quantity of red chili powder. A personal suggestion that I would like to share here is that avoid making this sev too spicy. As then, the taste of ajwain will eventually diminish and the snack will lose its essence.
More On The Recipe
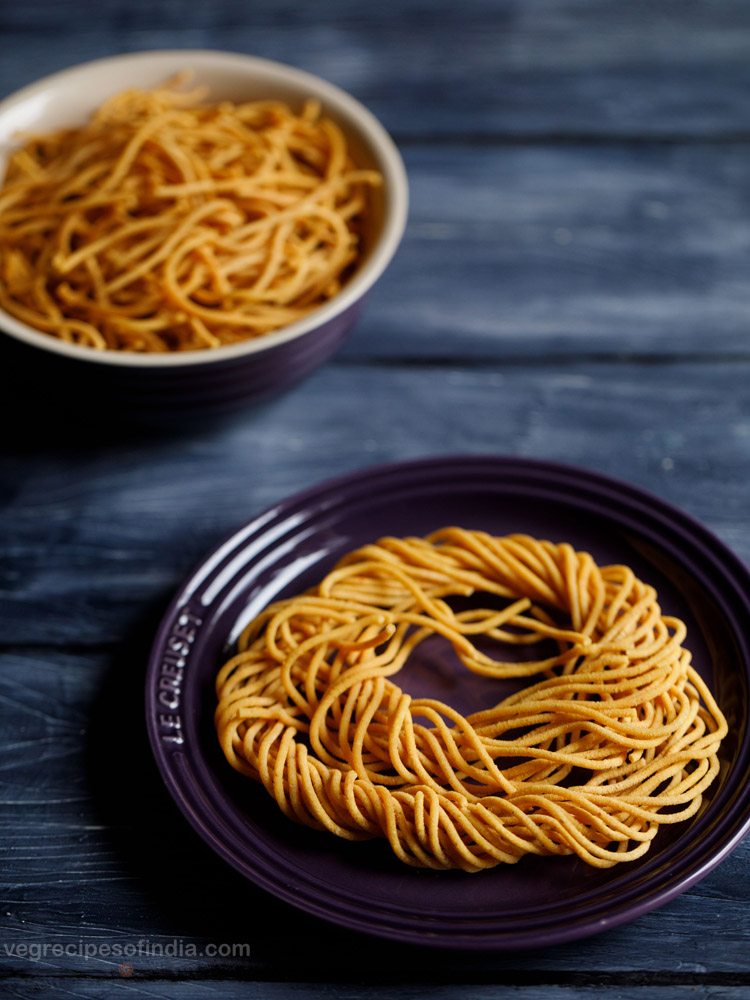
You can make Omapodi or Karapusa a few days before the Diwali festival and store in an air-tight jar or steel box or container. This Omapodi Recipe yields about 300 grams of this particular sev. You can also halve, double or triple the recipe to suit your requirements. Not just a snack by itself, you can use this Omapodi Recipe to make it and then use it to make other popular preparations like this Madras Mixture and Kara Boondi Mixture. It also makes for a great tea-time snack. You and your family and friends can munch on this carom flavored sev, any time of the day or enjoy even while watching a movie or reading a book. Along with Omapodi, you can also give a try to these recipes of Potato Sev and Sev, which I have shared on this blog. Both these will also make for a fabulous snacky treat during your Diwali celebrations.
How to make Omapodi
Preparation
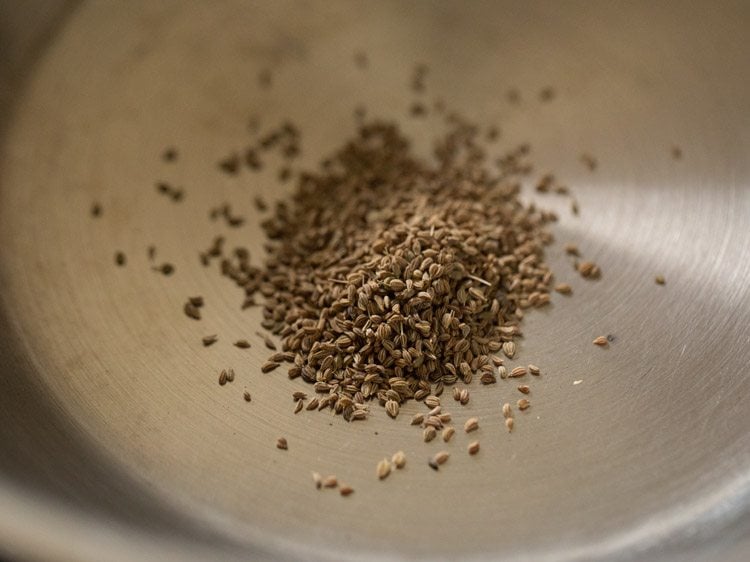
- Heat a small pan and keep the heat to low. Add 1 teaspoon carom seeds (ajwain).
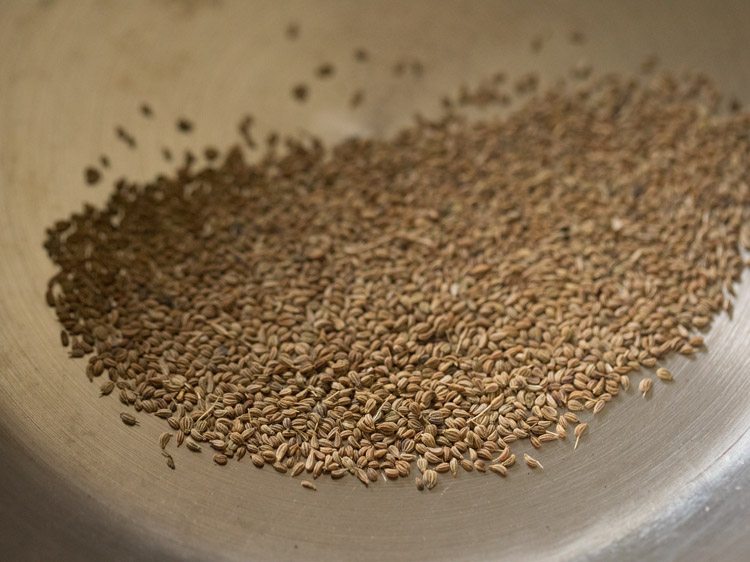
- Stirring often, roast the carom seeds for some seconds or till they are fragrant. No need to brown the seeds. Set aside and let them cool.
- Once cooled, add the carom seeds in a small dry grinder jar or a spice grinder.
- Grind to a fine powder. Set aside. You can also opt to crush or powder the carom seeds using a mortar-pestle. In this scenario, when adding the crushed carom seeds powder, use a tea strainer and sift the powder through it. This helps the dough strands not to break while pressing the dough through the sev press or murukku press.
Make Dough
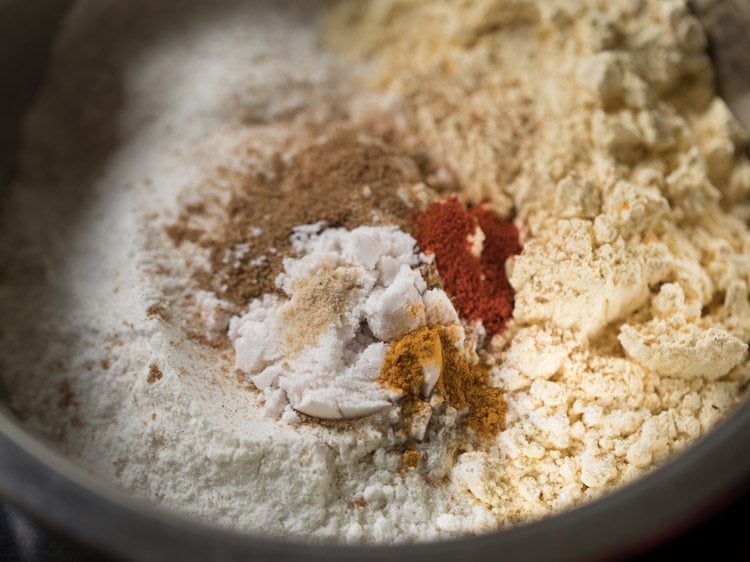
- In a mixing bowl or pan, take 1 cup gram flour (besan) and ½ cup rice flour.
- Add the prepared carom seeds powder.
- Add in 1 generous pinch asafoetida (hing), 2 pinches turmeric powder, ¼ teaspoon red chili powder and 1 teaspoon salt. You can add salt as per taste. You can choose to omit turmeric powder if you prefer. To make a spicy omapodi, you can increase the amount of red chili powder. For more crispiness, you can add a pinch of baking soda also.
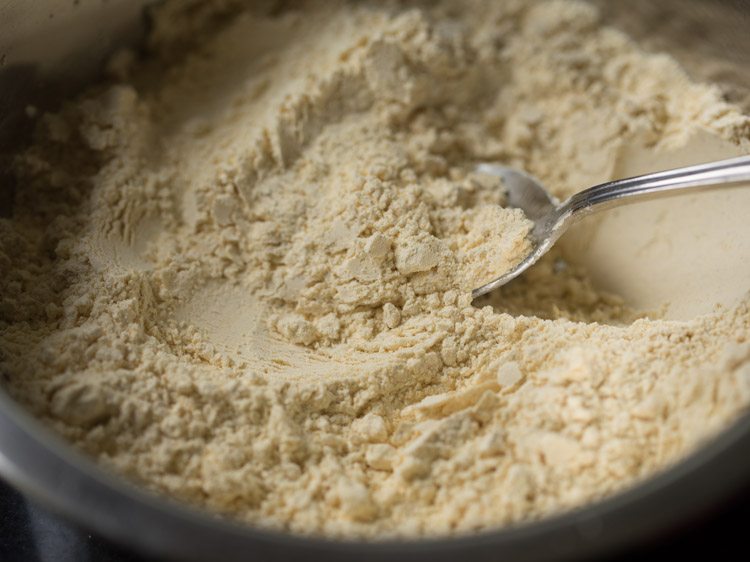
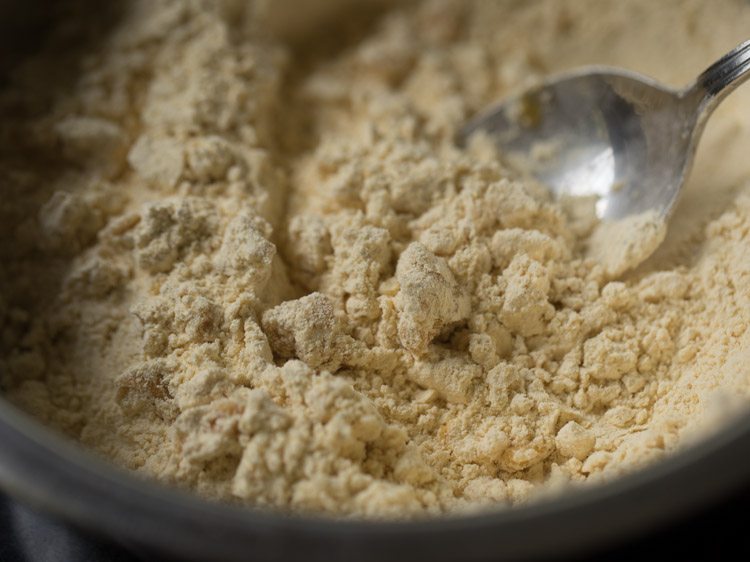
- Mix the ground spices evenly with the flours using a spoon or spatula.
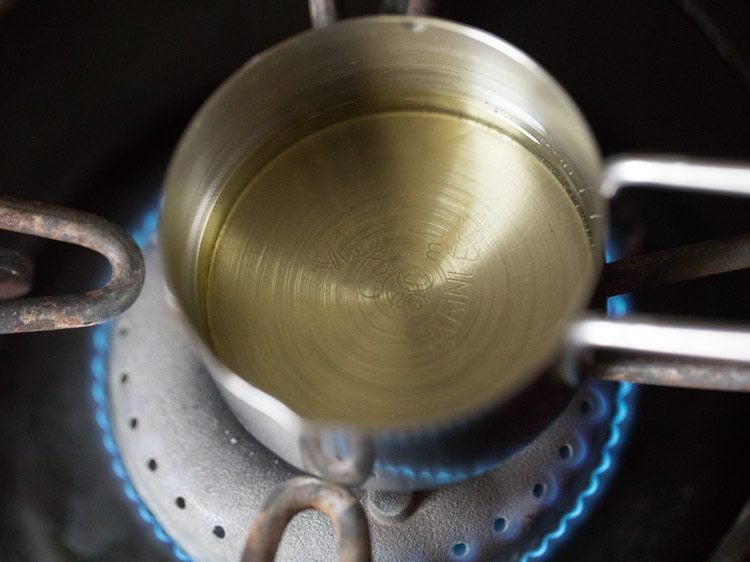
- Next, heat 1 tablespoon oil in a steel bowl or a steel measuring cup.
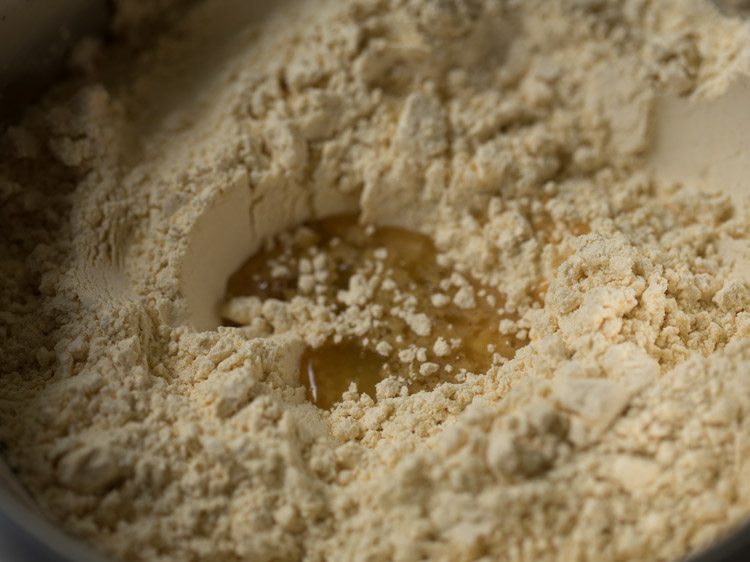
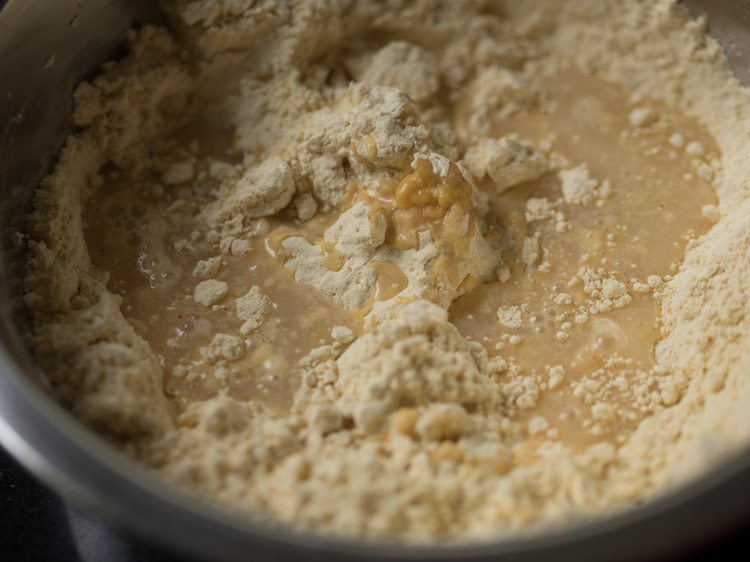
- When the oil becomes hot, add it to the flour mixture. Instead of oil, you can also use ghee or butter.
- With a spoon, mix the oil with the flour mixture.
- Next, add water in portions. First, add 2 to 3 tablespoons water. Mix well and begin to knead to a smooth dough. I added a total of 7 tablespoons water. You can add 6 to 7 tablespoons water, depending on the quality of rice flour and gram flour.
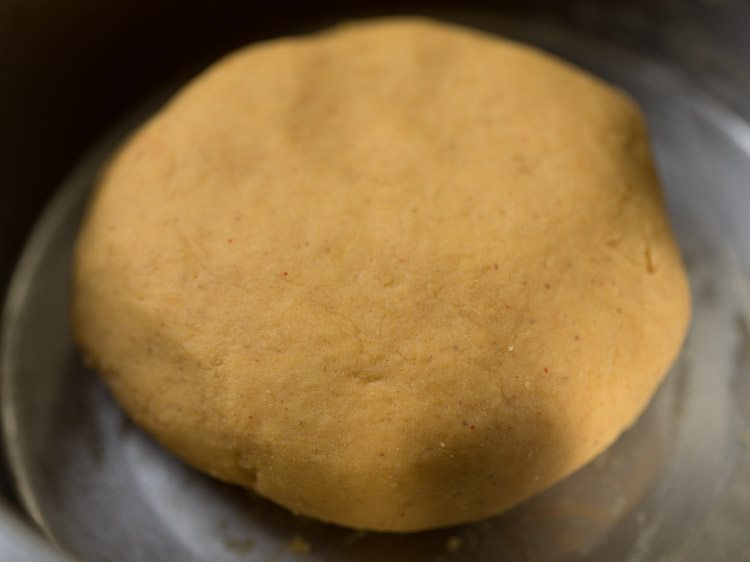
- Knead to a smooth dough. If the dough becomes sticky, add some more gram flour. If the dough looks dry, then add some more water and knead again. Cover the bowl and set aside.
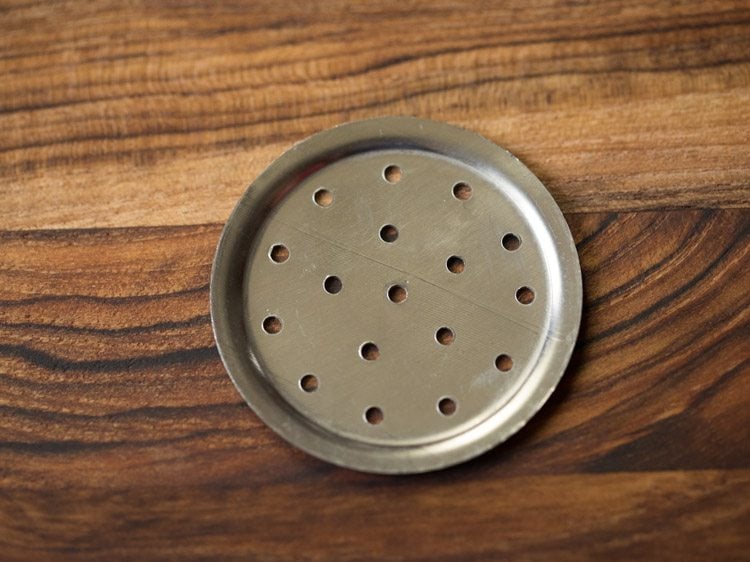
- Use the disc shown in the picture below, for preparing omapodi. You can even use the disc with fine holes. Heat a kadai or pan and add oil as required for deep frying.
- Apply some water or oil in the sev press or murukku maker. Then, take a portion of the omapodi dough and place it inside the sev maker. Cover with the top part and keep aside.
Fry Omapodi
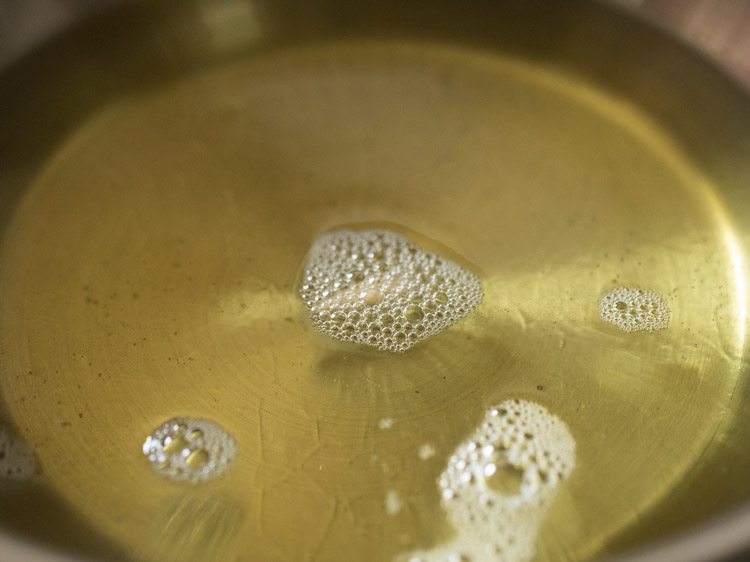
- Let the oil in the kadai become medium hot. Check the oil temperature by adding a tiny piece of the dough. If the small piece comes up gradually and steadily on top, the oil is hot enough to fry. In case it comes up too quickly, then oil is too hot. If it settles down at bottom of kadai or comes up very slowly, the oil is not hot enough for frying.
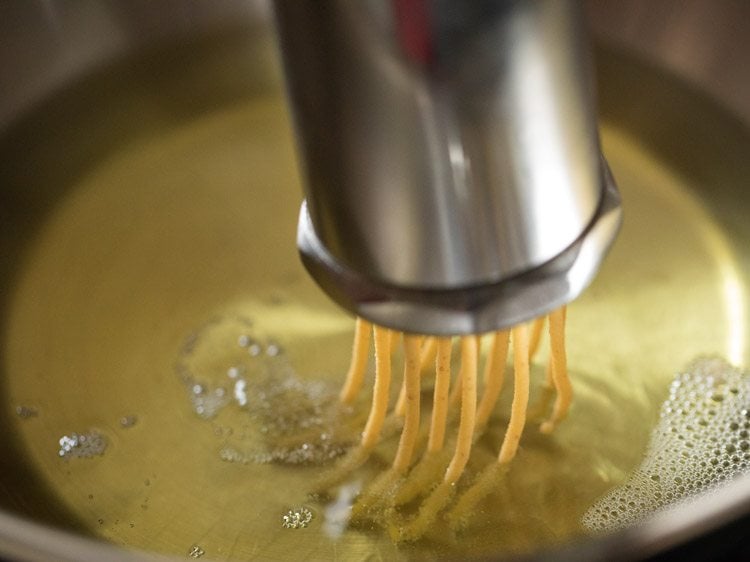
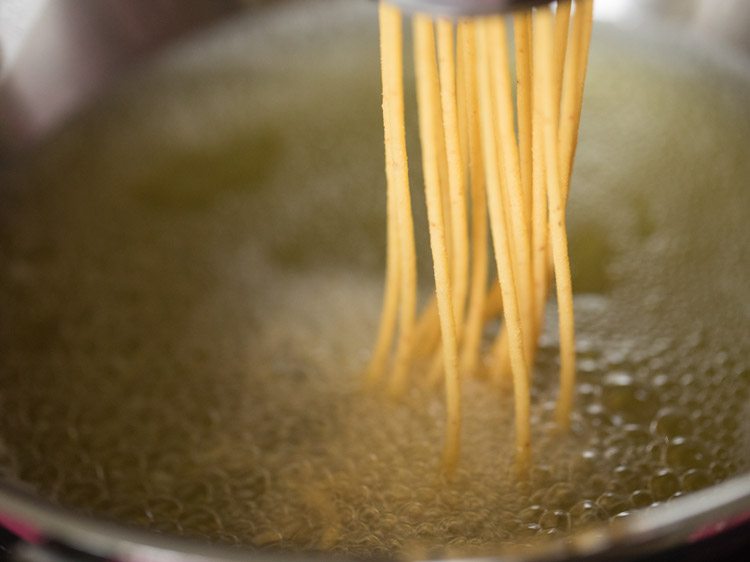
- When the oil is hot enough, directly press holding the sev maker on top of the oil and let the dough strands directly fall in the oil. 18. While pressing, rotate in a concentric circle from the center to outwards. Do not over crowd the kadai with the dough strands. Be careful when pressing the omapodi in the hot oil.
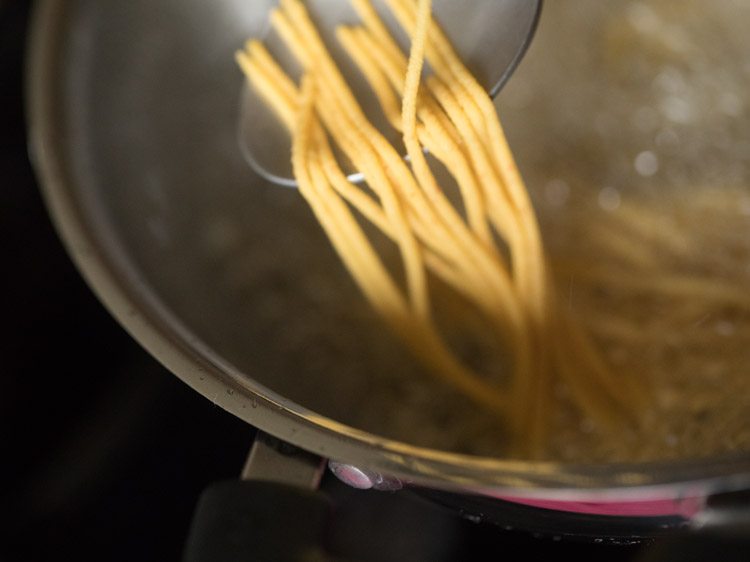
- After it is is pressed in the oil, break the top dough strands with a spoon or knife and let the strands fall in the oil.
- After adding the dough strands, do not touch immediately with the slotted spoon as they will break. Let them get fried first for a minute. They need to become crisp first and then you can turn them over with the slotted spoon.
- Gently begin to turn with a slotted spoon.
- Now, fry the second side.
- You can turn over a couple of times for even frying.
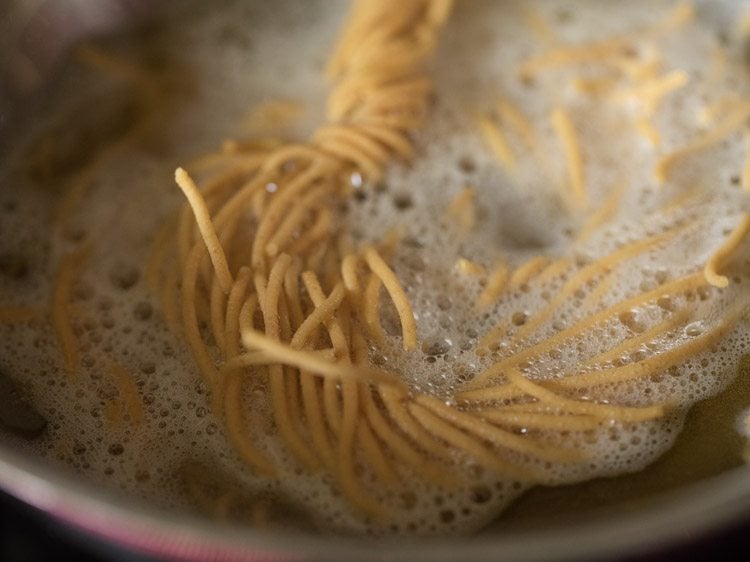
- When the oil stops sizzling, continue to fry for some more seconds till the omapodi is golden and crisp. Turn over as needed, when frying. Do not break omapodi or karapusa while frying as then it becomes an extra work to remove the small pieces from the oil. So, fry the entire round shaped omapodi as one piece and do not break it.
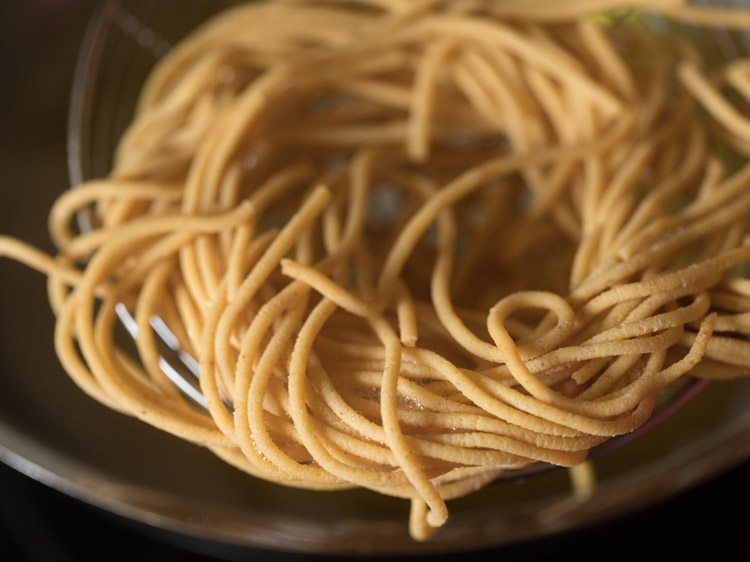
- Once done, remove fried omapodi with a slotted spoon or a strainer spoon draining off the extra oil.
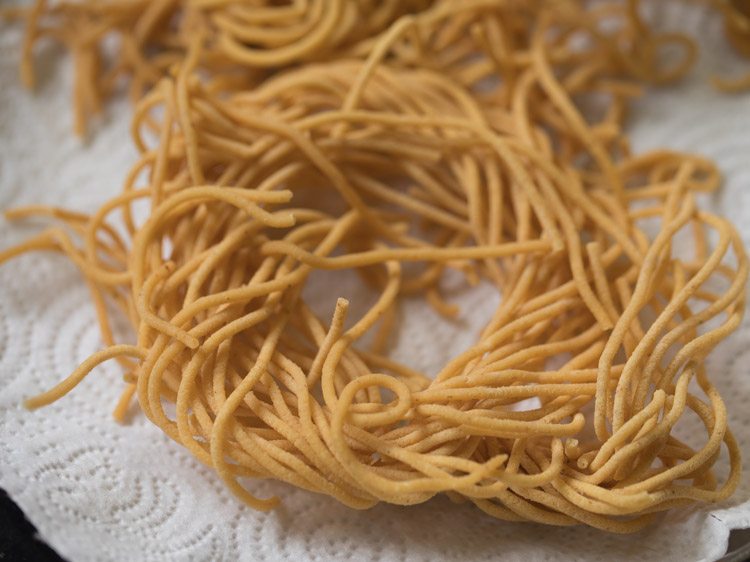
- Place fried Omapodi on kitchen paper towels. Fry the remaining omapodi in batches in the same way.
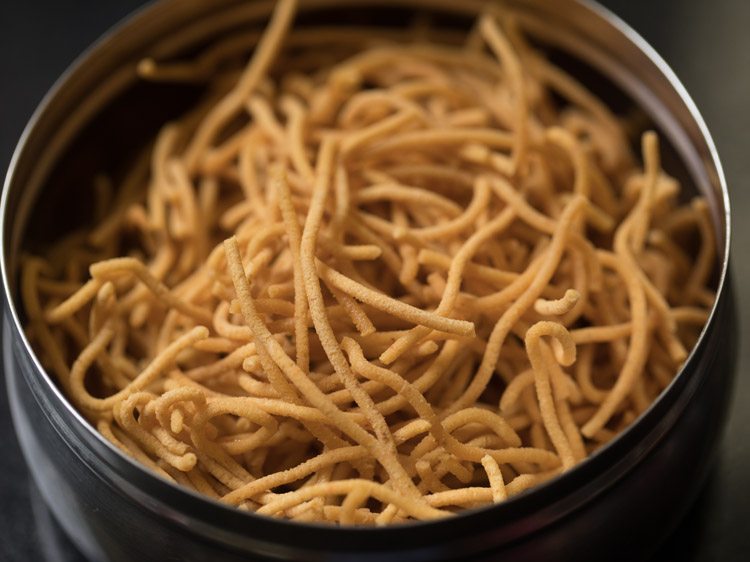
- When it cools, place in an air-tight container or box. Now, while placing it in the container, you can break it, if you want.
- Serve Omapodi as a Diwali snack or tea time snack.
Expert Tips
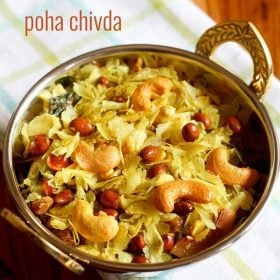
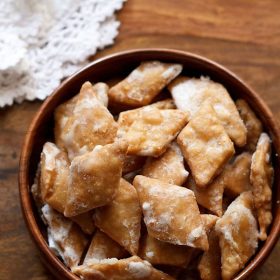
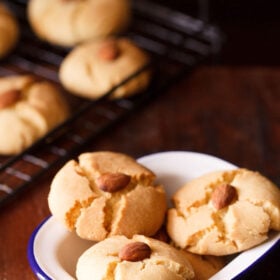
Please be sure to rate the recipe in the recipe card or leave a comment below if you have made it. For more vegetarian inspirations, Sign Up for my emails or follow me on Instagram, Youtube, Facebook, Pinterest or Twitter. Chivda Recipe | Poha Chivda | Namkeen Recipe Shakarpara Recipe | Khurma | Shakkarpare Nankhatai Recipe | Nankhatai Biscuit Butter Murukku | Butter Chakli This Omapodi recipe post from the archives first published in October 2017 has been updated and republished on 21 October 2022.


title: “Omapodi Recipe Karapusa " ShowToc: true date: “2024-09-04” author: “Brandon Irving”
About Omapodi
Making the South Indian style sev called Omapodi is very easy and really does not need you to have much of an expertise in cooking. This is one of those common regional type of sev which is usually prepared as a festive treat during Diwali. Apart from carom seeds or omam, which impart the typical flavor in it, other ingredients that you would need in this Omapodi recipe are gram flour, rice flour, some spice powders, seasonings and oil to deep-fry. So, you see, you don’t even have to spend sleepless nights over sourcing of these ingredients as all of these are basic and are mostly available at our homes. In this Omapodi Recipe, you can increase or decrease the degree of spiciness by altering the quantity of red chili powder. A personal suggestion that I would like to share here is that avoid making this sev too spicy. As then, the taste of ajwain will eventually diminish and the snack will lose its essence.
More On The Recipe
You can make Omapodi or Karapusa a few days before the Diwali festival and store in an air-tight jar or steel box or container. This Omapodi Recipe yields about 300 grams of this particular sev. You can also halve, double or triple the recipe to suit your requirements. Not just a snack by itself, you can use this Omapodi Recipe to make it and then use it to make other popular preparations like this Madras Mixture and Kara Boondi Mixture. It also makes for a great tea-time snack. You and your family and friends can munch on this carom flavored sev, any time of the day or enjoy even while watching a movie or reading a book. Along with Omapodi, you can also give a try to these recipes of Potato Sev and Sev, which I have shared on this blog. Both these will also make for a fabulous snacky treat during your Diwali celebrations.
How to make Omapodi
Preparation
- Heat a small pan and keep the heat to low. Add 1 teaspoon carom seeds (ajwain).
- Stirring often, roast the carom seeds for some seconds or till they are fragrant. No need to brown the seeds. Set aside and let them cool.
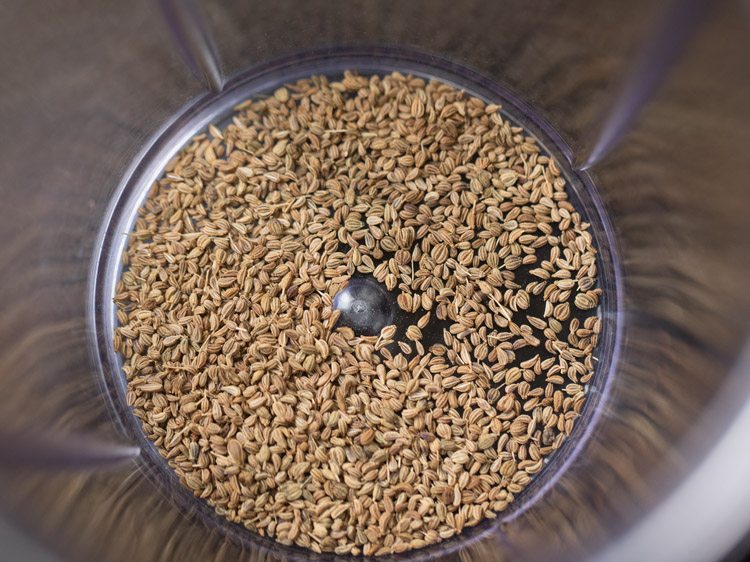
- Once cooled, add the carom seeds in a small dry grinder jar or a spice grinder.
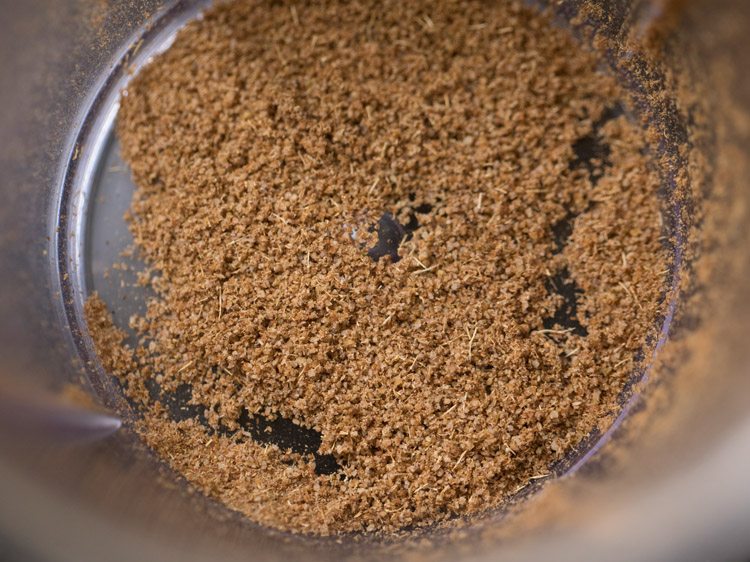
- Grind to a fine powder. Set aside. You can also opt to crush or powder the carom seeds using a mortar-pestle. In this scenario, when adding the crushed carom seeds powder, use a tea strainer and sift the powder through it. This helps the dough strands not to break while pressing the dough through the sev press or murukku press.
Make Dough
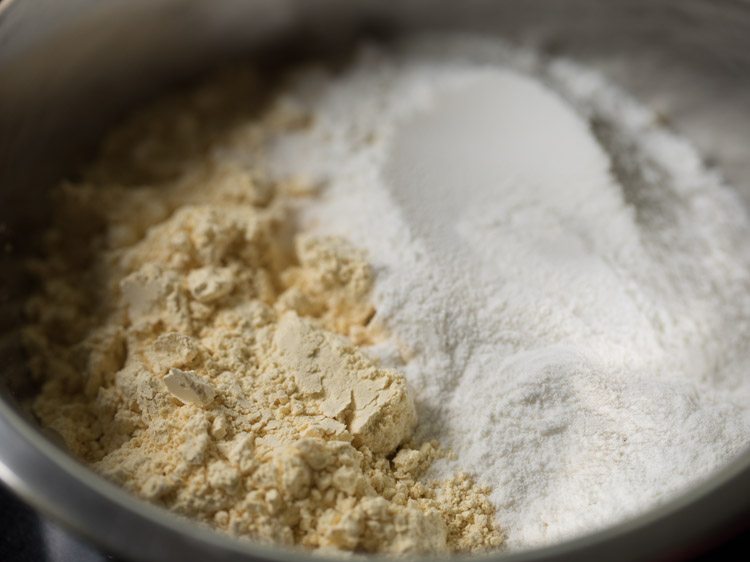
- In a mixing bowl or pan, take 1 cup gram flour (besan) and ½ cup rice flour.
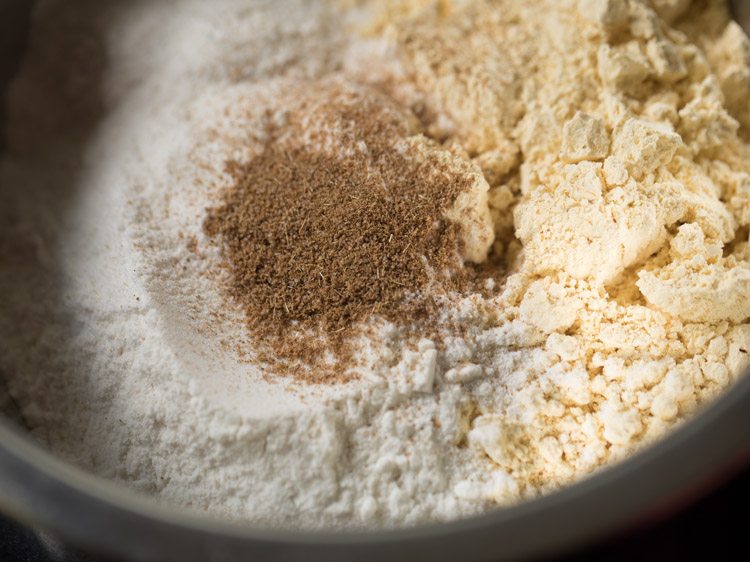
- Add the prepared carom seeds powder.
- Add in 1 generous pinch asafoetida (hing), 2 pinches turmeric powder, ¼ teaspoon red chili powder and 1 teaspoon salt. You can add salt as per taste. You can choose to omit turmeric powder if you prefer. To make a spicy omapodi, you can increase the amount of red chili powder. For more crispiness, you can add a pinch of baking soda also.
- Mix the ground spices evenly with the flours using a spoon or spatula.
- Next, heat 1 tablespoon oil in a steel bowl or a steel measuring cup.
- When the oil becomes hot, add it to the flour mixture. Instead of oil, you can also use ghee or butter.
- With a spoon, mix the oil with the flour mixture.
- Next, add water in portions. First, add 2 to 3 tablespoons water. Mix well and begin to knead to a smooth dough. I added a total of 7 tablespoons water. You can add 6 to 7 tablespoons water, depending on the quality of rice flour and gram flour.
- Knead to a smooth dough. If the dough becomes sticky, add some more gram flour. If the dough looks dry, then add some more water and knead again. Cover the bowl and set aside.
- Use the disc shown in the picture below, for preparing omapodi. You can even use the disc with fine holes. Heat a kadai or pan and add oil as required for deep frying.
- Apply some water or oil in the sev press or murukku maker. Then, take a portion of the omapodi dough and place it inside the sev maker. Cover with the top part and keep aside.
Fry Omapodi
- Let the oil in the kadai become medium hot. Check the oil temperature by adding a tiny piece of the dough. If the small piece comes up gradually and steadily on top, the oil is hot enough to fry. In case it comes up too quickly, then oil is too hot. If it settles down at bottom of kadai or comes up very slowly, the oil is not hot enough for frying.
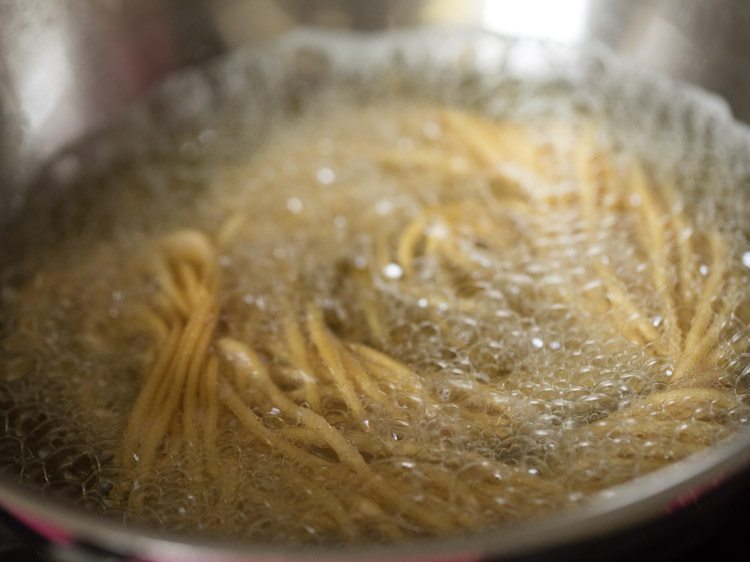
- When the oil is hot enough, directly press holding the sev maker on top of the oil and let the dough strands directly fall in the oil. 18. While pressing, rotate in a concentric circle from the center to outwards. Do not over crowd the kadai with the dough strands. Be careful when pressing the omapodi in the hot oil.
- After it is is pressed in the oil, break the top dough strands with a spoon or knife and let the strands fall in the oil.
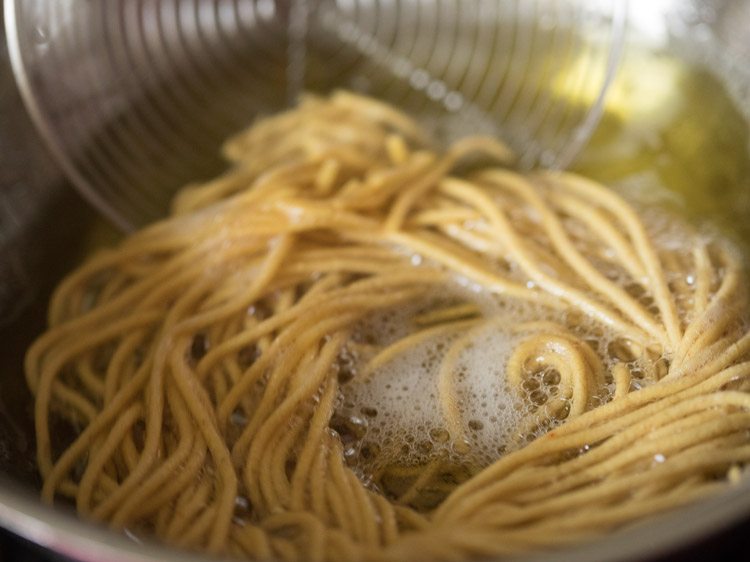
- After adding the dough strands, do not touch immediately with the slotted spoon as they will break. Let them get fried first for a minute. They need to become crisp first and then you can turn them over with the slotted spoon.
- Gently begin to turn with a slotted spoon.
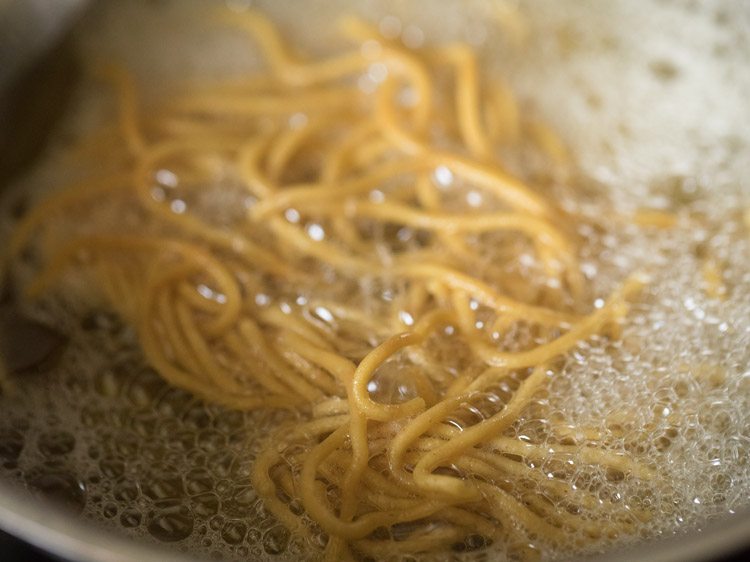
- Now, fry the second side.
- You can turn over a couple of times for even frying.
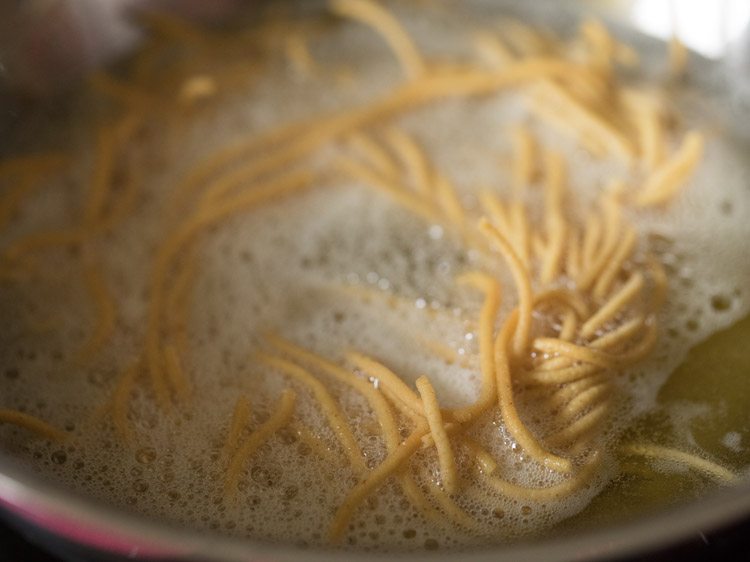
- When the oil stops sizzling, continue to fry for some more seconds till the omapodi is golden and crisp. Turn over as needed, when frying. Do not break omapodi or karapusa while frying as then it becomes an extra work to remove the small pieces from the oil. So, fry the entire round shaped omapodi as one piece and do not break it.
- Once done, remove fried omapodi with a slotted spoon or a strainer spoon draining off the extra oil.
- Place fried Omapodi on kitchen paper towels. Fry the remaining omapodi in batches in the same way.
- When it cools, place in an air-tight container or box. Now, while placing it in the container, you can break it, if you want.
- Serve Omapodi as a Diwali snack or tea time snack.
Expert Tips
Please be sure to rate the recipe in the recipe card or leave a comment below if you have made it. For more vegetarian inspirations, Sign Up for my emails or follow me on Instagram, Youtube, Facebook, Pinterest or Twitter. Chivda Recipe | Poha Chivda | Namkeen Recipe Shakarpara Recipe | Khurma | Shakkarpare Nankhatai Recipe | Nankhatai Biscuit Butter Murukku | Butter Chakli This Omapodi recipe post from the archives first published in October 2017 has been updated and republished on 21 October 2022.
