More on Ragi Idli
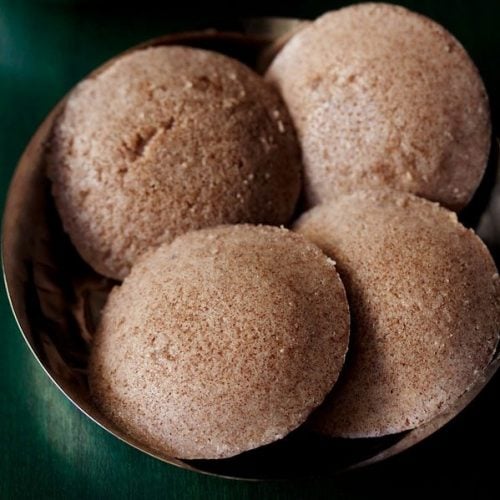
At home, idli is our favorite breakfast since a long, long time. I mean we never really get bored of eating these soft, cushiony steamed rice cakes dunked in a bowl of piping hot Sambar. Most of the times, accompanied with a comforting Coconut Chutney as well. So, I make these fluffy rice-lentil cakes usually on weekends. This Ragi Idli recipe has finger millet flour (ragi/nachni atta), idli rice, urad dal and poha (flattened rice). Given the health benefits of ragi, these idli automatically become a more nutritious choice. I even add some ragi flour to my dosa batter and to our everyday dough for chapati or roti. Thus, giving a boost to the content of fiber, calcium, protein and other essential nutrients. Although, I still have to master the art of baking breads, cakes or cookies with the finger millet flour. The batter of this Ragi Idli recipe will be helpful to you for making idlis one day and also dosas the next day. The proportion of rice, urad dal and ragi flour in the recipe results in soft idlis as well as crisp dosas. You can even refrigerate the batter for a couple of days without any fuss. Not just this Ragi Idli, there’s so much else that you can do with ragi. For instance, try out these equally tasty recipes like Ragi Dosa, Ragi Mudde and Ragi Malt.
How to make Ragi Idli
Soak Rice and Lentils
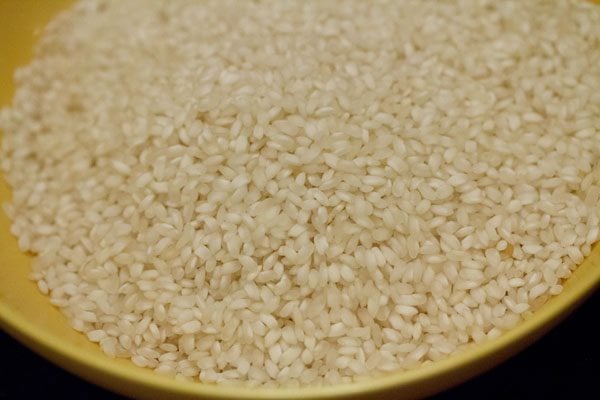
- Take 1 cup idli rice or parboiled rice (ukda chawal, sela chawal) in a bowl.
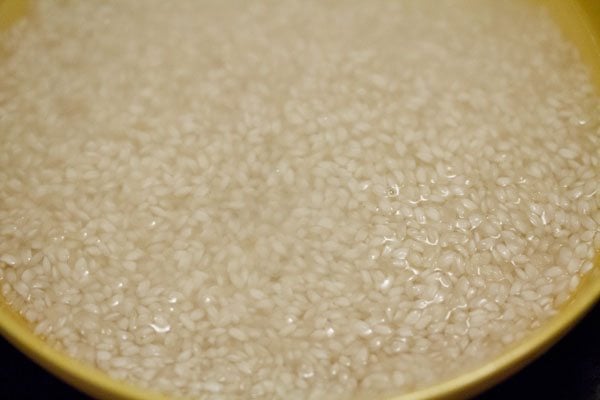
- Rinse the rice grains a couple of times. Then, add 1 to 1.5 cups water and keep aside.
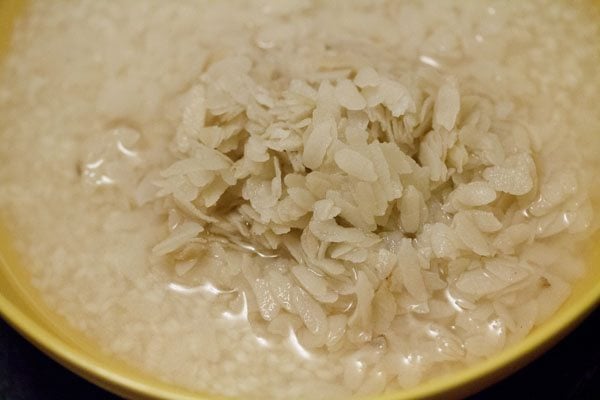
- Rinse ¼ cup thick poha (flattened rice) once or twice and add to the rice. Mix well. Cover and keep aside for 4 to 5 hours.
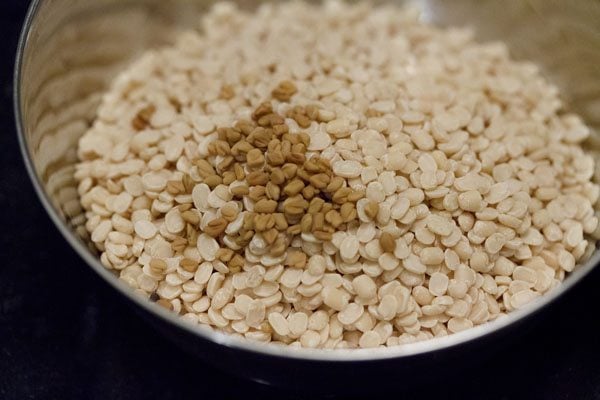
- In another bowl, take ½ cup urad dal and ¼ teaspoon fenugreek seeds.
- Rinse for a couple of times and soak the urad dal and fenugreek seeds together in 1 cup water for 4 to 5 hours.
Make Batter
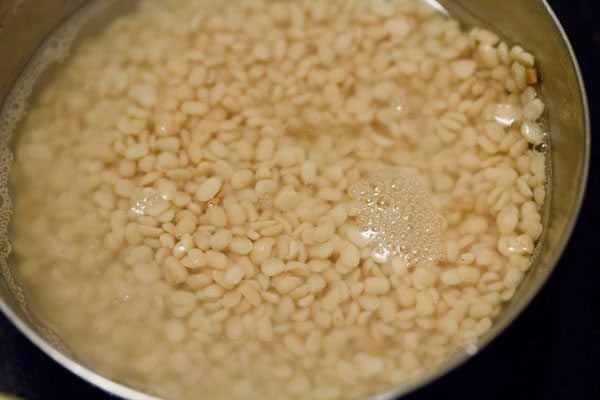
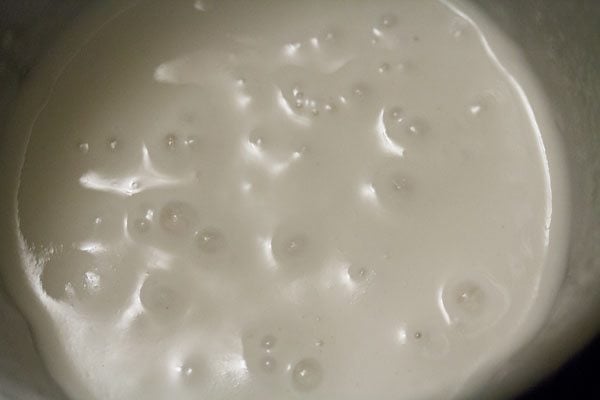
- After 4 to 5 hours, drain the urad dal-fenugreek seeds and add in a grinder jar or a sturdy blender. Add water in parts. Initially, I added ¼ cup of water and ground for some seconds. Then, I added ¼ cup water and continued to grind the lentils.
- Grind the urad dal and fenugreek seeds till you get a smooth and fluffy batter. Add water in parts while grinding. I added ½ cup water overall for grinding. Remove the batter in a bowl or pan.
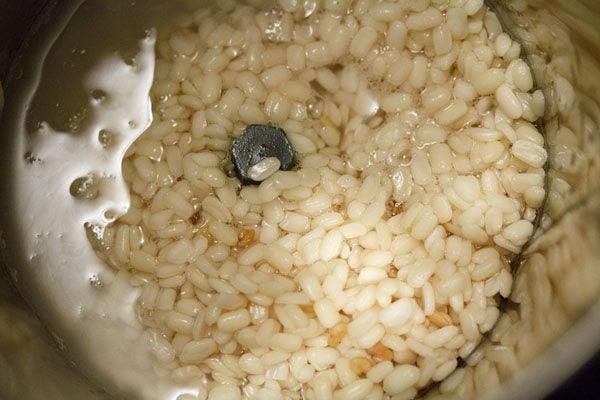
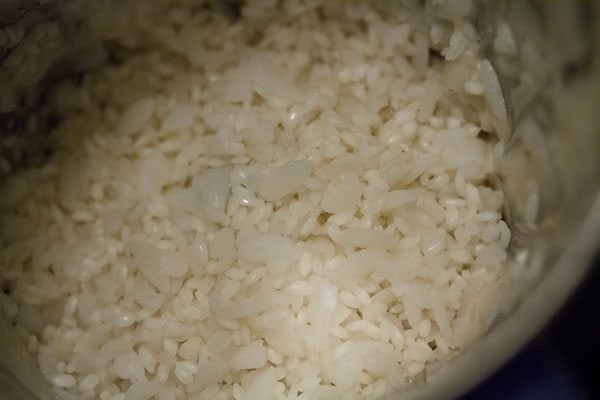
- Next, drain the idli rice and poha. Add them to the same grinder jar. Depending on your jar capacity, you can grind these in 2 to 3 batches. For the first round, I used ½ cup water and for the next round, I added ¼ cup water. So, I used ¾ cup water overall for grinding the idli rice and poha.
- Grind the rice-poha till smooth or a fine granular consistency in the batter is achieved.
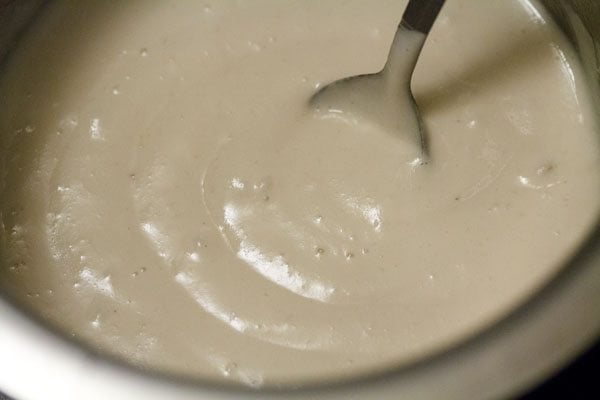
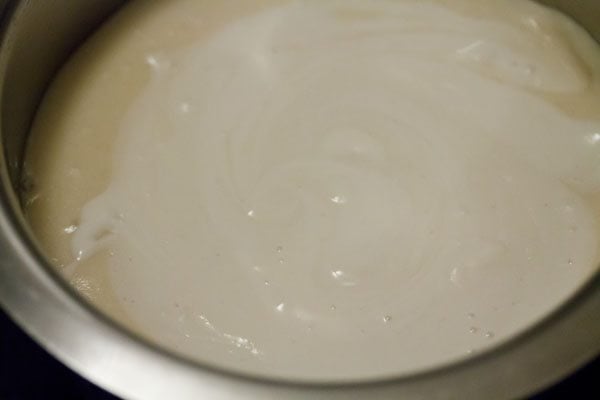
- Pour the rice-poha batter in the same bowl containing the urad dal batter.
- Mix both the batters very well.
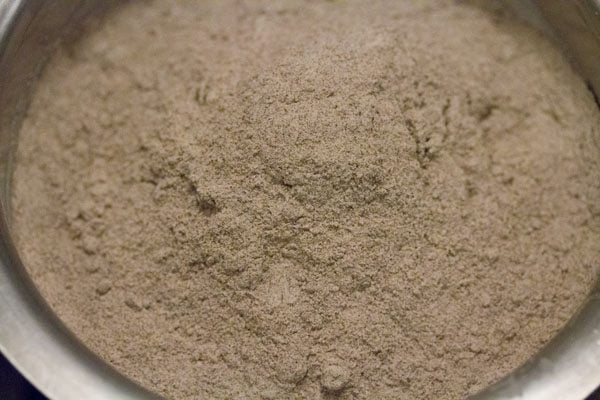
- Now, add 1 cup ragi flour (nachni or finger millet flour).
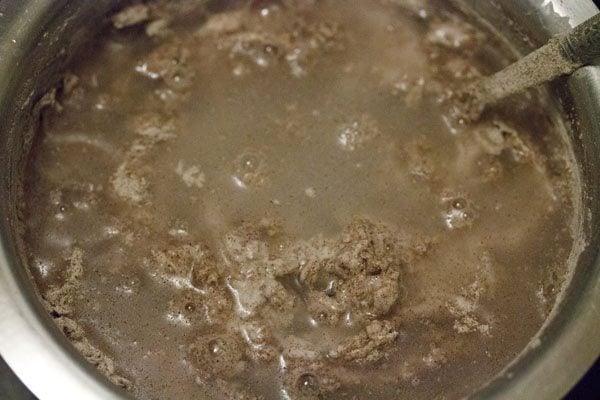
- Add ½ cup water. You can adjust the quantity of water depending on the consistency of the batter.
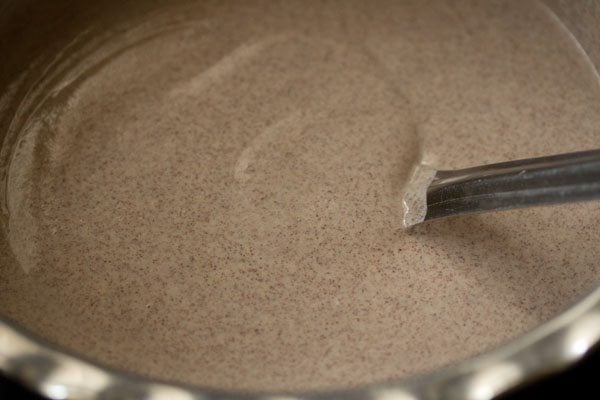
- Mix very well with a spoon or with your hands. Break the lumps if any. Mix to a smooth batter. A bit of handwork is required while mixing the ragi flour with the idli batter. Alternatively, you can mix the ragi flour in ½ cup water (preferably warm) in a separate bowl. Then, add this ragi batter to idli batter. There would be no lump formation this way and also less strain while mixing.
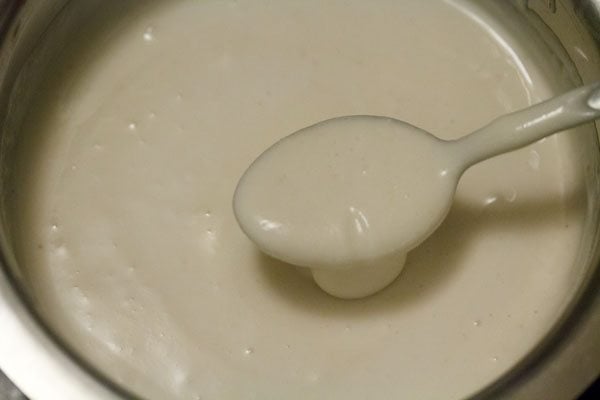
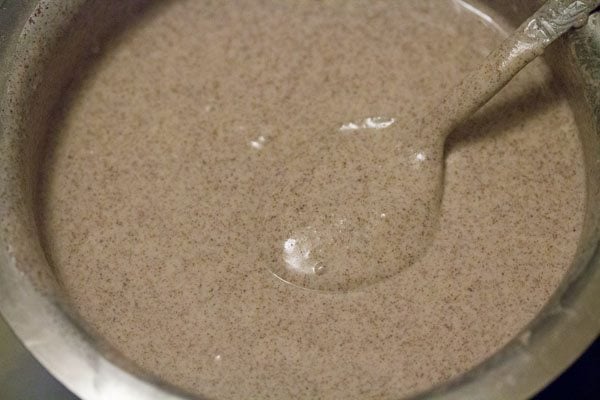
- Cover the bowl or pan with a lid and let it ferment overnight, for 8 to 9 hours or more depending on the temperature conditions in your city.
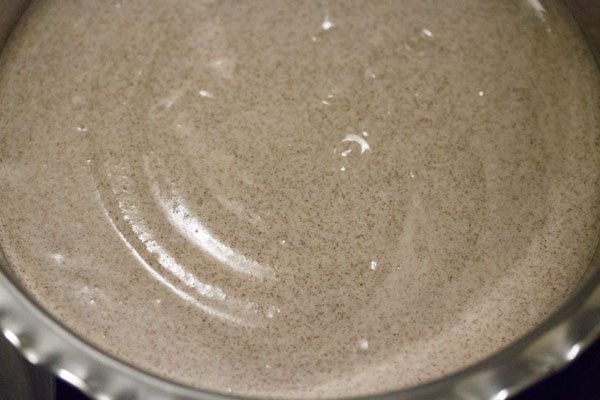
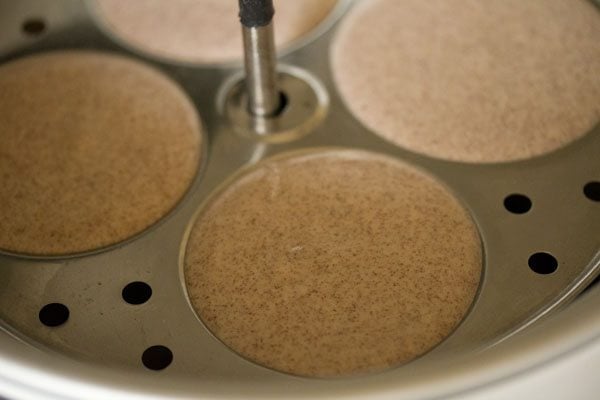
- The ragi idli batter the next day.
- Add salt and mix well. I added salt the next day due to it being a cold season in my city. In a warmer climate, add salt before you keep the batter for fermentation. If the batter does not increase in volume, then add ¼ teaspoon baking soda in the batter. Mix well and then proceed to steam the idlis.
Make Ragi Idli
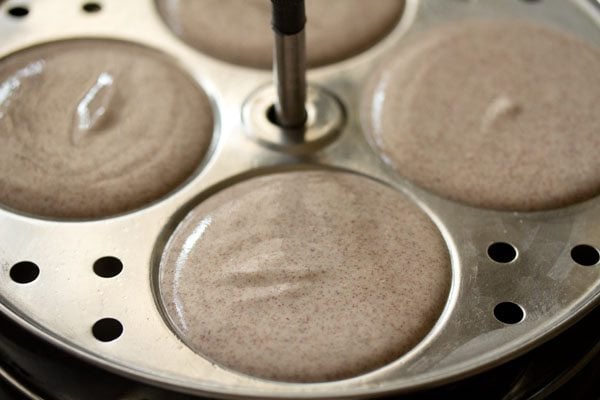
- Grease the idli moulds with some oil. Pour the batter in the moulds.
- Before placing the idli stand, add 2 to 2.5 cups water in an electric cooker, steamer or pressure cooker or instant pot. Bring this water to a simmer or boil. Then, carefully place the idli stand in the hot water. For an electric cooker and steamer cover with its lid and steam. For the pressure cooker, remove the vent weight/whistle from the cooker and secure the lid tightly on the cooker. For instant pot, cover with the Instant pot glass lid having a steam vent or use the regular IP lid with the vent kept in the venting position. Use the ‘steam’ function and steam on high pressure for 12 to 15 minutes. Keep in mind to track the time using a timer.
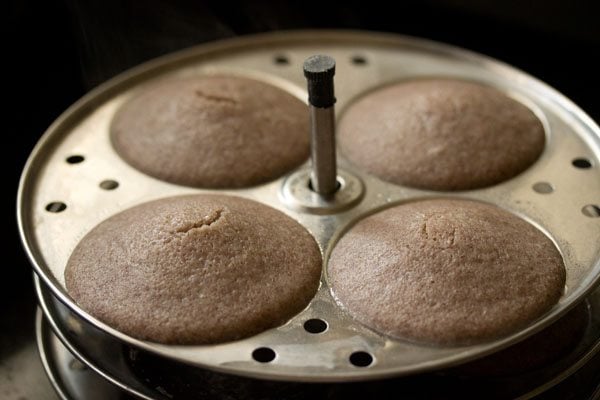
- Steam the idlis for 12 to 15 minutes. Depending on the equipment you have used, it may take less or more time. Once done, a tooth pick inserted in the center of the idli should come out clean and not be sticky. Allow a standing time of 1 to 2 minutes. You can steam the idlis in batches. The leftover batter can be refrigerated and you can make ragi dosa or ragi uttapams with it.
- Dip a spoon or butter knife in water and slide them through the idlis. Remove and place the ragi idli in a warm container like a casserole.
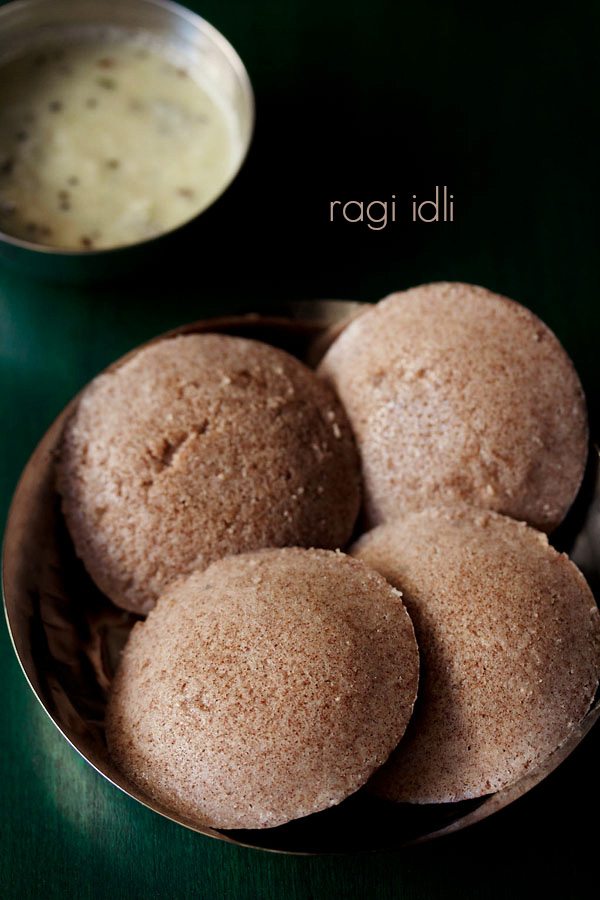
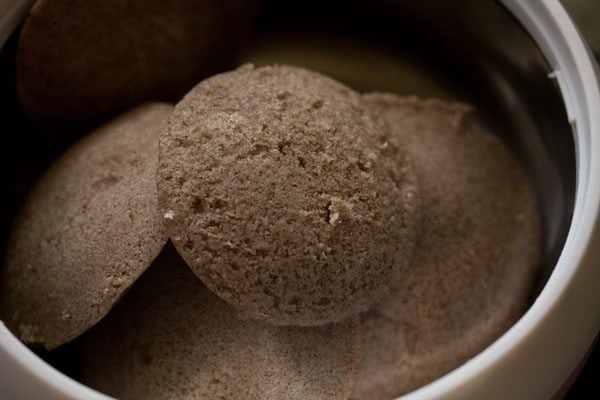
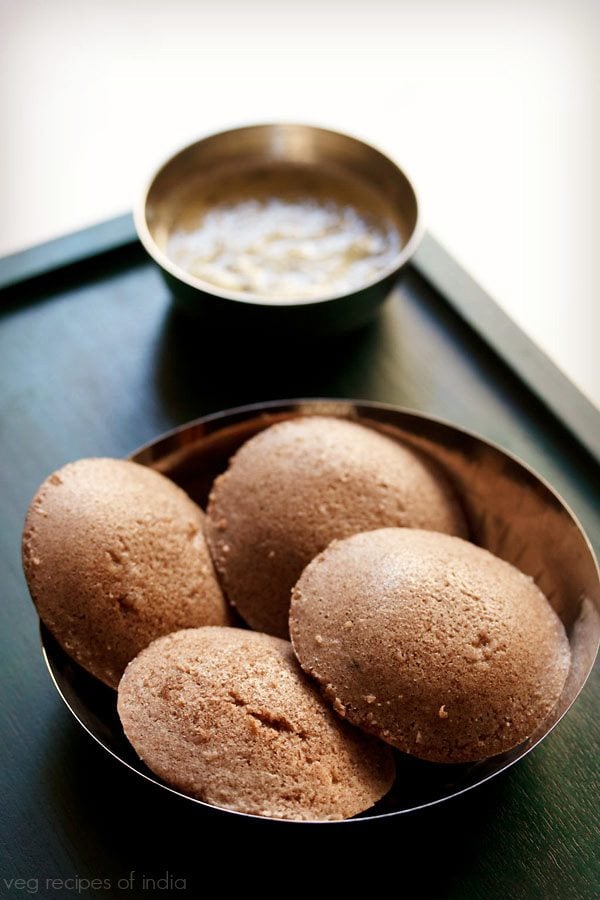
- Serve Ragi Idli with coconut chutney and sambar.
Health Benefits Of Ragi
The grain ragi or finger millet, is brimming with health benefits. It is a superfood and excellent for kids and adults alike. Other local names of the finger millet are nachni (Marathi), madua (Bengali), kezhvaragu (Tamil), etc. Ragi is a good source of fiber, proteins, vitamins and minerals. The presence of cholesterol and sodium in ragi is also negligible, which makes it great for the heart. Plus,
Because of the key nutrients present in ragi, it is considered as a holistic food for breakfast. Just the right thing to eat in your morning meal to activate the digestive juices and fill you with energy for the rest of the day.Ragi is organically gluten free. Hence, can be easily used in place of wheat for your chapatis, idli, dosa, uttapam, porridge and even sweets/desserts. This Ragi Kheer is the proof!As it helps to improve cholesterol and blood sugar levels, finger millet is a valuable choice for diabetics.The essential amino acids in finger millet help in the repair of muscle tissues, development of enamel and teeth, and reduces chances of gum diseases.Ragi is known to improve bone density. Hence, strengthen bones.It is helpful in treating anemia, enhances the nervous system and lessens the chances of inflammation.
Expert Tips
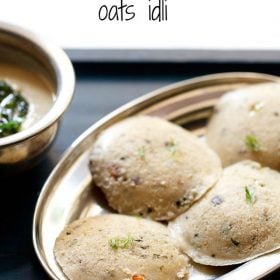
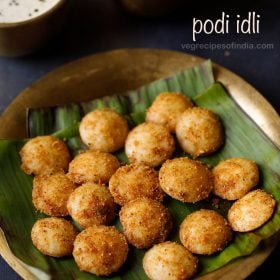
Please be sure to rate the recipe in the recipe card or leave a comment below if you have made it. For more vegetarian inspirations, Sign Up for my emails or follow me on Instagram, Youtube, Facebook, Pinterest or Twitter. Rava Idli (Easy and No Fermentation) Quick Oats Idli (Requires No Fermentation) Podi Idli Recipe (With Mini Idli or Small Idli) Masala Idli | Leftover Idli Recipes This Ragi Idli recipe post from the archives first published in February 2016 has been updated and republished on 3 September 2022.


title: “Ragi Idli Recipe How To Make Ragi Idli " ShowToc: true date: “2024-09-27” author: “Beatrice Smith”
More on Ragi Idli
At home, idli is our favorite breakfast since a long, long time. I mean we never really get bored of eating these soft, cushiony steamed rice cakes dunked in a bowl of piping hot Sambar. Most of the times, accompanied with a comforting Coconut Chutney as well. So, I make these fluffy rice-lentil cakes usually on weekends. This Ragi Idli recipe has finger millet flour (ragi/nachni atta), idli rice, urad dal and poha (flattened rice). Given the health benefits of ragi, these idli automatically become a more nutritious choice. I even add some ragi flour to my dosa batter and to our everyday dough for chapati or roti. Thus, giving a boost to the content of fiber, calcium, protein and other essential nutrients. Although, I still have to master the art of baking breads, cakes or cookies with the finger millet flour. The batter of this Ragi Idli recipe will be helpful to you for making idlis one day and also dosas the next day. The proportion of rice, urad dal and ragi flour in the recipe results in soft idlis as well as crisp dosas. You can even refrigerate the batter for a couple of days without any fuss. Not just this Ragi Idli, there’s so much else that you can do with ragi. For instance, try out these equally tasty recipes like Ragi Dosa, Ragi Mudde and Ragi Malt.
How to make Ragi Idli
Soak Rice and Lentils
- Take 1 cup idli rice or parboiled rice (ukda chawal, sela chawal) in a bowl.
- Rinse the rice grains a couple of times. Then, add 1 to 1.5 cups water and keep aside.
- Rinse ¼ cup thick poha (flattened rice) once or twice and add to the rice. Mix well. Cover and keep aside for 4 to 5 hours.
- In another bowl, take ½ cup urad dal and ¼ teaspoon fenugreek seeds.
- Rinse for a couple of times and soak the urad dal and fenugreek seeds together in 1 cup water for 4 to 5 hours.
Make Batter
- After 4 to 5 hours, drain the urad dal-fenugreek seeds and add in a grinder jar or a sturdy blender. Add water in parts. Initially, I added ¼ cup of water and ground for some seconds. Then, I added ¼ cup water and continued to grind the lentils.
- Grind the urad dal and fenugreek seeds till you get a smooth and fluffy batter. Add water in parts while grinding. I added ½ cup water overall for grinding. Remove the batter in a bowl or pan.
- Next, drain the idli rice and poha. Add them to the same grinder jar. Depending on your jar capacity, you can grind these in 2 to 3 batches. For the first round, I used ½ cup water and for the next round, I added ¼ cup water. So, I used ¾ cup water overall for grinding the idli rice and poha.
- Grind the rice-poha till smooth or a fine granular consistency in the batter is achieved.
- Pour the rice-poha batter in the same bowl containing the urad dal batter.
- Mix both the batters very well.
- Now, add 1 cup ragi flour (nachni or finger millet flour).
- Add ½ cup water. You can adjust the quantity of water depending on the consistency of the batter.
- Mix very well with a spoon or with your hands. Break the lumps if any. Mix to a smooth batter. A bit of handwork is required while mixing the ragi flour with the idli batter. Alternatively, you can mix the ragi flour in ½ cup water (preferably warm) in a separate bowl. Then, add this ragi batter to idli batter. There would be no lump formation this way and also less strain while mixing.
- Cover the bowl or pan with a lid and let it ferment overnight, for 8 to 9 hours or more depending on the temperature conditions in your city.
- The ragi idli batter the next day.
- Add salt and mix well. I added salt the next day due to it being a cold season in my city. In a warmer climate, add salt before you keep the batter for fermentation. If the batter does not increase in volume, then add ¼ teaspoon baking soda in the batter. Mix well and then proceed to steam the idlis.
Make Ragi Idli
- Grease the idli moulds with some oil. Pour the batter in the moulds.
- Before placing the idli stand, add 2 to 2.5 cups water in an electric cooker, steamer or pressure cooker or instant pot. Bring this water to a simmer or boil. Then, carefully place the idli stand in the hot water. For an electric cooker and steamer cover with its lid and steam. For the pressure cooker, remove the vent weight/whistle from the cooker and secure the lid tightly on the cooker. For instant pot, cover with the Instant pot glass lid having a steam vent or use the regular IP lid with the vent kept in the venting position. Use the ‘steam’ function and steam on high pressure for 12 to 15 minutes. Keep in mind to track the time using a timer.
- Steam the idlis for 12 to 15 minutes. Depending on the equipment you have used, it may take less or more time. Once done, a tooth pick inserted in the center of the idli should come out clean and not be sticky. Allow a standing time of 1 to 2 minutes. You can steam the idlis in batches. The leftover batter can be refrigerated and you can make ragi dosa or ragi uttapams with it.
- Dip a spoon or butter knife in water and slide them through the idlis. Remove and place the ragi idli in a warm container like a casserole.
- Serve Ragi Idli with coconut chutney and sambar.
Health Benefits Of Ragi
The grain ragi or finger millet, is brimming with health benefits. It is a superfood and excellent for kids and adults alike. Other local names of the finger millet are nachni (Marathi), madua (Bengali), kezhvaragu (Tamil), etc. Ragi is a good source of fiber, proteins, vitamins and minerals. The presence of cholesterol and sodium in ragi is also negligible, which makes it great for the heart. Plus,
Because of the key nutrients present in ragi, it is considered as a holistic food for breakfast. Just the right thing to eat in your morning meal to activate the digestive juices and fill you with energy for the rest of the day.Ragi is organically gluten free. Hence, can be easily used in place of wheat for your chapatis, idli, dosa, uttapam, porridge and even sweets/desserts. This Ragi Kheer is the proof!As it helps to improve cholesterol and blood sugar levels, finger millet is a valuable choice for diabetics.The essential amino acids in finger millet help in the repair of muscle tissues, development of enamel and teeth, and reduces chances of gum diseases.Ragi is known to improve bone density. Hence, strengthen bones.It is helpful in treating anemia, enhances the nervous system and lessens the chances of inflammation.
Expert Tips
Please be sure to rate the recipe in the recipe card or leave a comment below if you have made it. For more vegetarian inspirations, Sign Up for my emails or follow me on Instagram, Youtube, Facebook, Pinterest or Twitter. Rava Idli (Easy and No Fermentation) Quick Oats Idli (Requires No Fermentation) Podi Idli Recipe (With Mini Idli or Small Idli) Masala Idli | Leftover Idli Recipes This Ragi Idli recipe post from the archives first published in February 2016 has been updated and republished on 3 September 2022.
