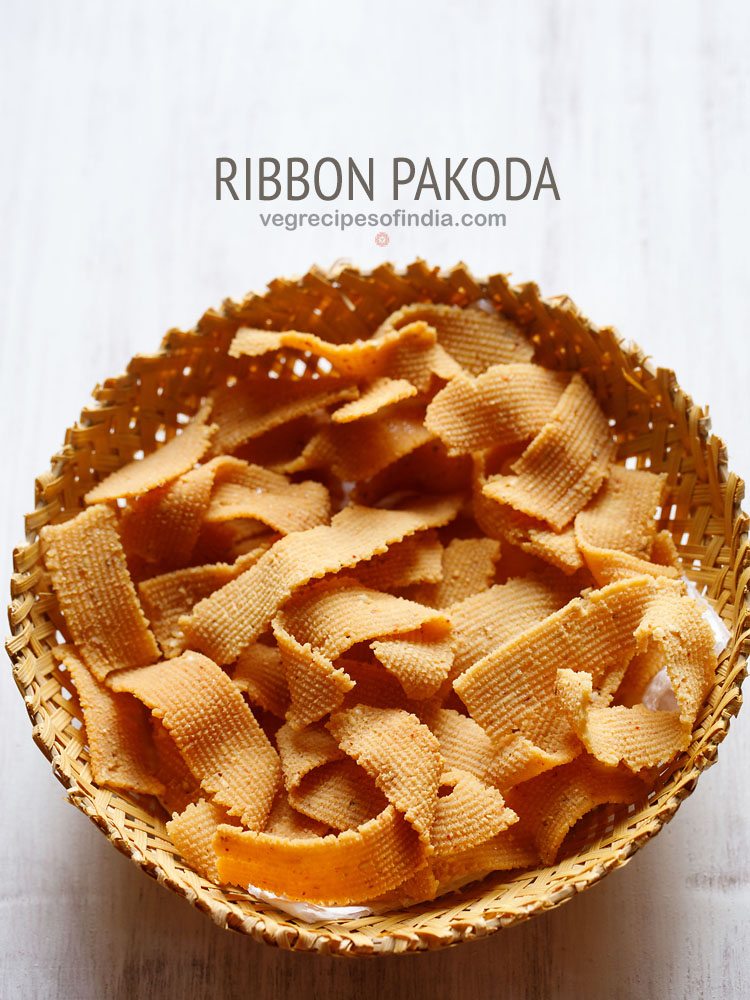
More on Ribbon Pakoda
There are many ways that you can bring in variations in the preparation of murukku. This is usually done by altering the proportions of rice flour, gram flour (besan) and oil or butter. To enhance the flavors and make it more interesting and festive like, you can modify the recipe by adding various spices and herbs. Similar is the case with Ribbon Pakoda Recipe as well. Even the Ribbon Pakoda can be prepared in a variety of ways with different proportions of gram flour and rice flour. Some versions may also use roasted gram flour in their recipes. Addition of roasted gram flour makes it even more crunchy and crispy. So, whenever I also make it at home, I do add some roasted chana dal flour to get crispier results. This recipe of Ribbon Murukku also uses roasted chana dal flour (gram flour/besan) and is super simple to make. Other than this, there are other variations of this popular South Indian snack like Murukku and Butter Murukku, which you must really try. Another favorite from this lot is this instant Maharashtrian Chakli recipe. This Ribbon Pakoda Recipe roughly yields about 250 grams of the snack and lasts for up to 4 to 5 days. You can also halve or double the recipe without any hesitance. These pretty looking murukku make for those perfect munchies for snacking during Diwali, Ganesh Chaturthi or any other Indian festival.
How to make Ribbon Pakoda
Grind and Sifting Ingredients
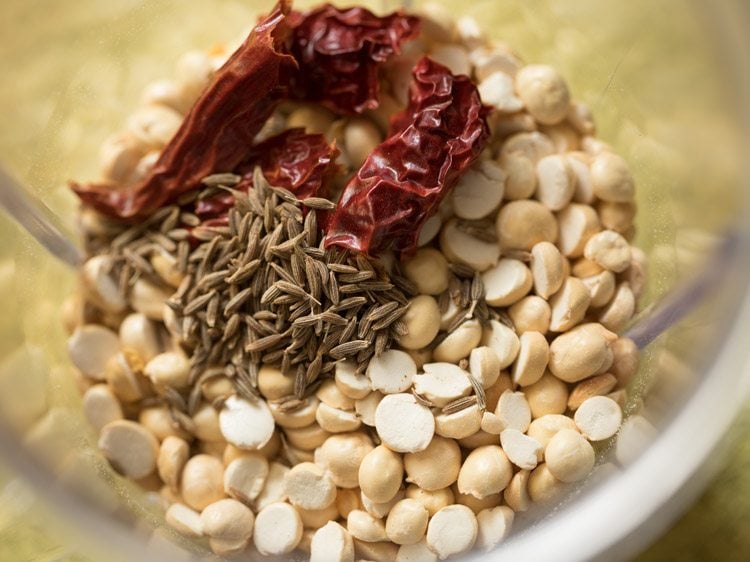
- In a grinder jar or a spice grinder, take ½ cup roasted chana dal, 1 dried red chilli (broken and seeds removed) and ½ teaspoon cumin seeds. You can add ½ to 1 teaspoon red chili powder and ½ teaspoon cumin powder instead of dried red chili and cumin seeds.
- Grind to a fine powder. Set aside. For spicier Ribbon Pakoda, add 2 to 3 dried red chilies. You can opt to add green chili paste instead of dried red chili. Ginger paste, garlic paste or onion paste can also be added.
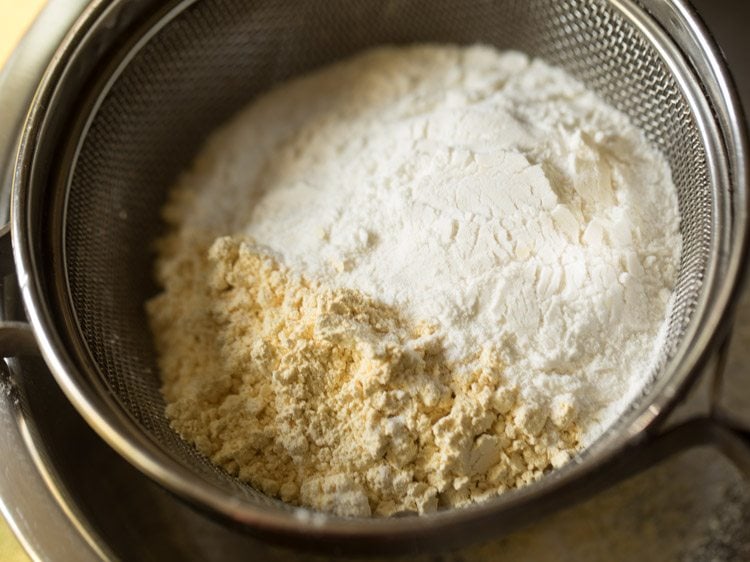
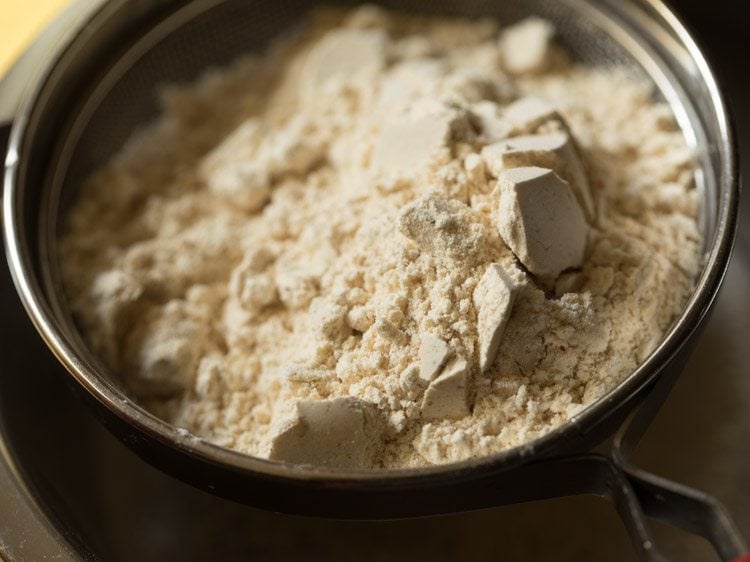
- Take a plate, pan or a large mixing bowl. Place a sieve on top of it. Add ½ cup gram flour (besan) and ½ cup heaped rice flour.
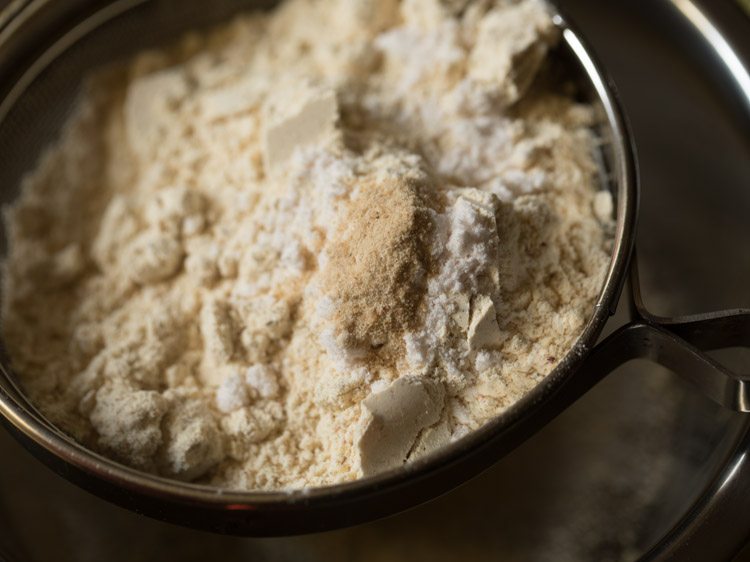
- Then, add the prepared spiced chana dal powder.
- Add 1 teaspoon salt.
- Add ⅛ teaspoon or about 2 pinches asafoetida (hing).
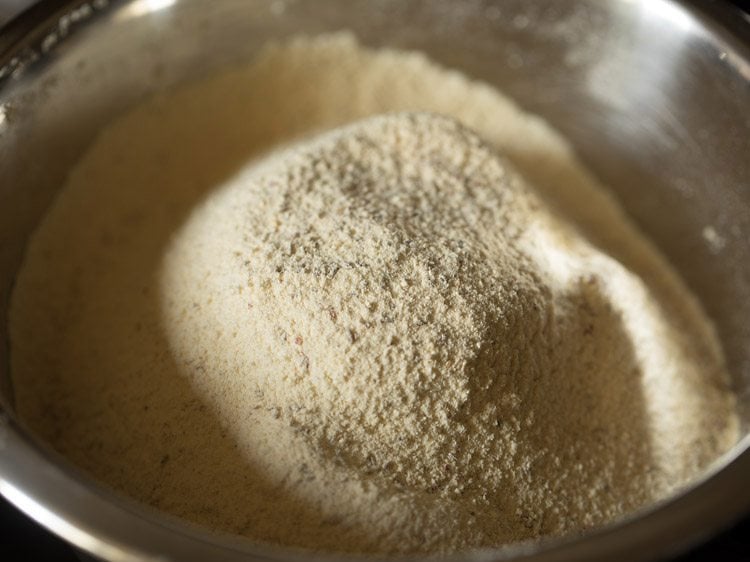
- Sift all the ingredients together.
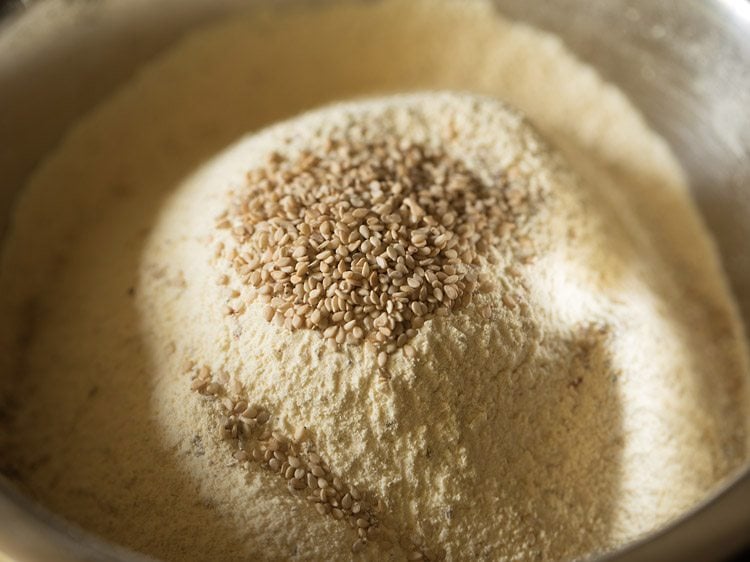
- Add 1 teaspoon white sesame seeds. Set aside. Sesame seeds are optional and can be skipped.
Make Dough
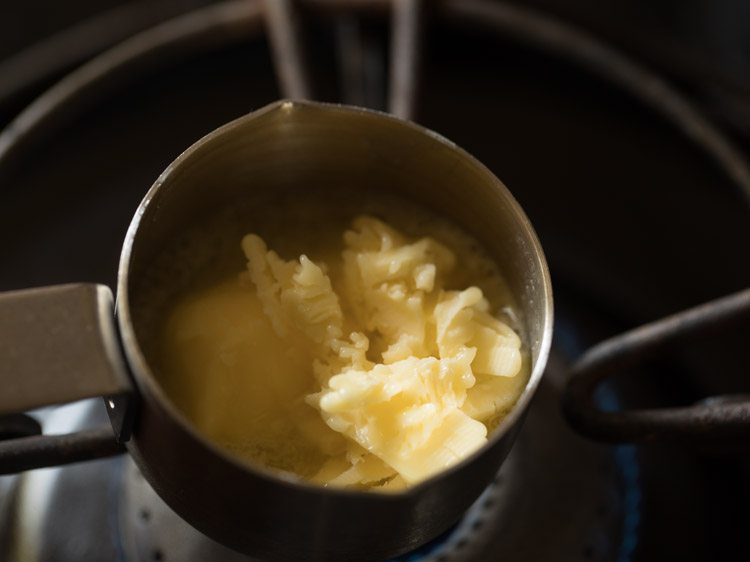
- In a small pan or bowl, heat 2 tablespoons butter or oil on low flame. I have used salted butter, you can even use unsalted butter.
- Heat till the butter melts. Instead of butter, you can also use oil.
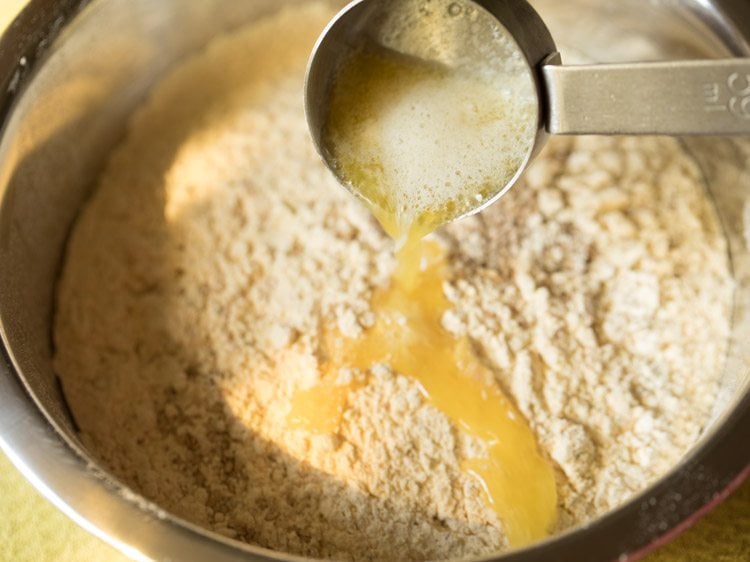
- Now, add the melted butter in the sifted mixture.
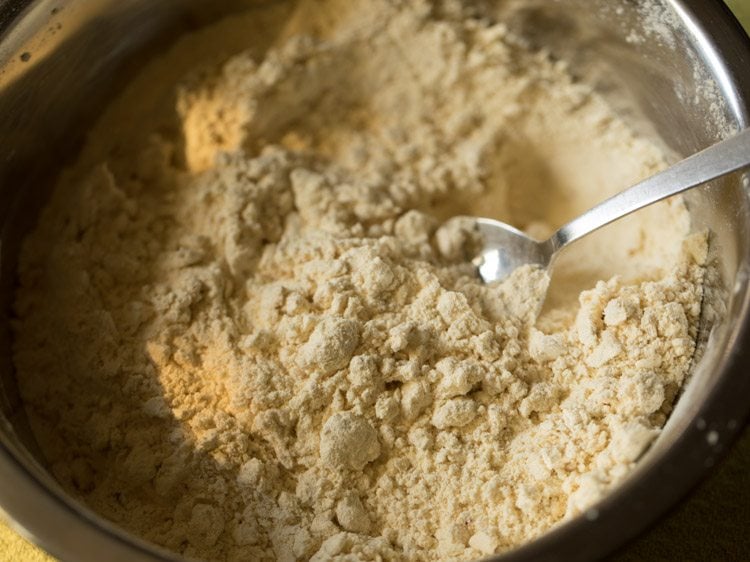
- With a spoon or spatula, mix the butter with the mixture. Mix very well. Check the taste. If required, add some more salt.
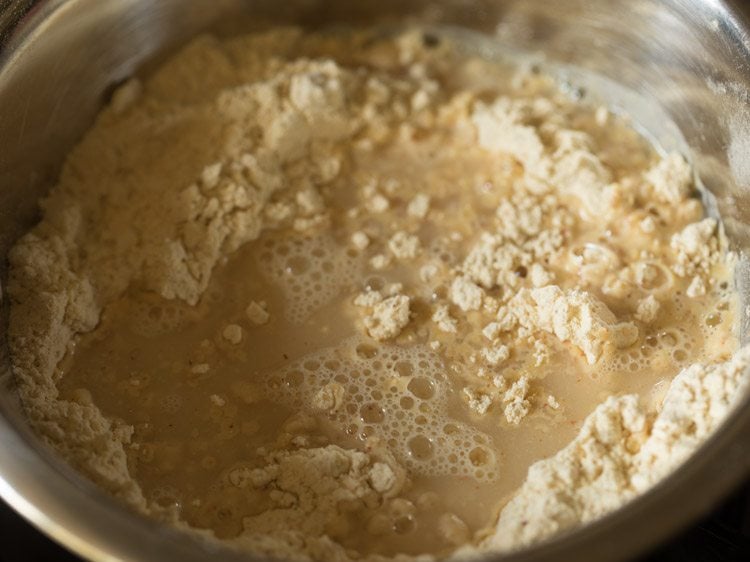
- Now, start adding ⅓ cup water, in parts.
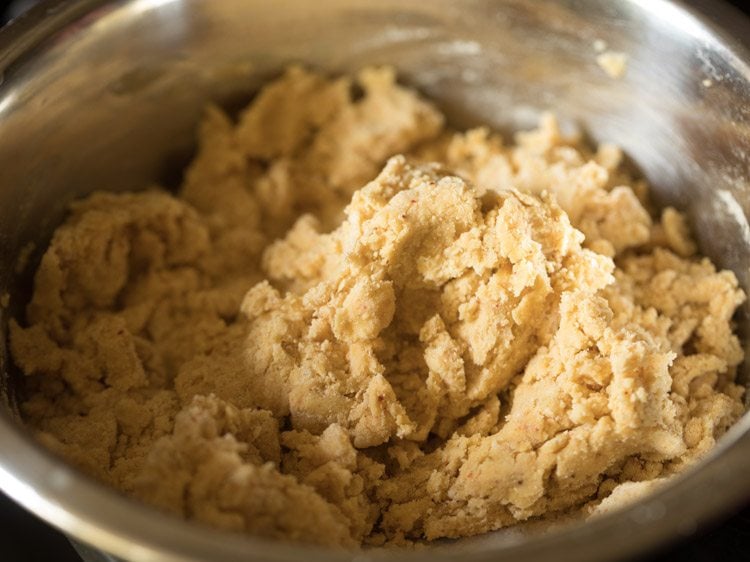
- Begin to knead the flour.
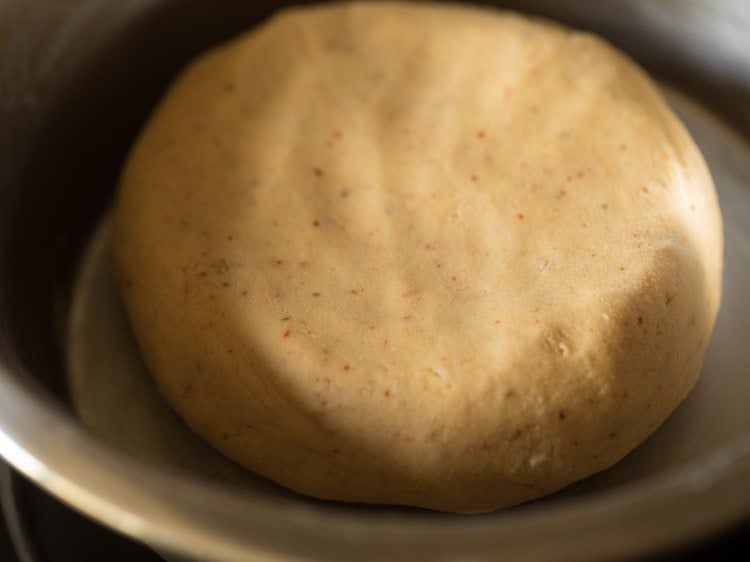
- Knead to a smooth, non-sticky dough, adding water as required. Cover and keep aside. If the dough becomes sticky, you can add some more gram flour. If the dough looks dry, add some more water.
Fry Ribbon Pakoda
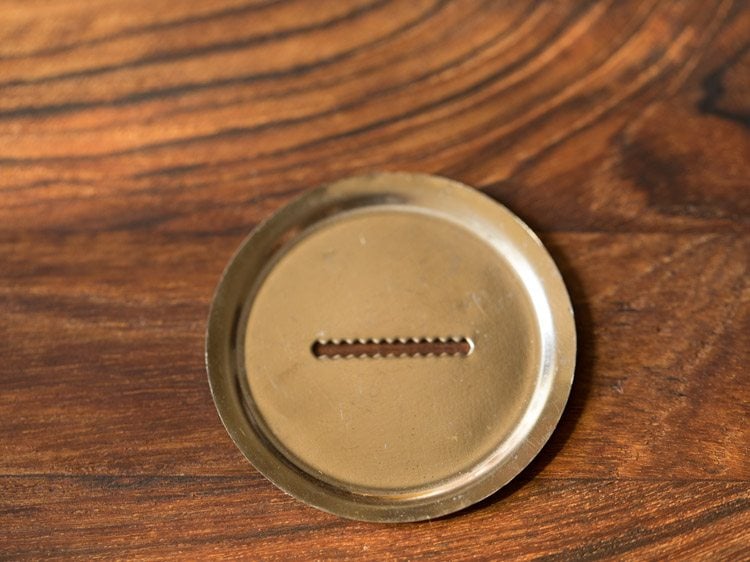
- Use the disc shown in the below picture for preparing Ribbon Pakoda. This one has serrated edges. You can even use the plain one without the serrated edges. Also, heat a kadai and add oil as required for deep frying.
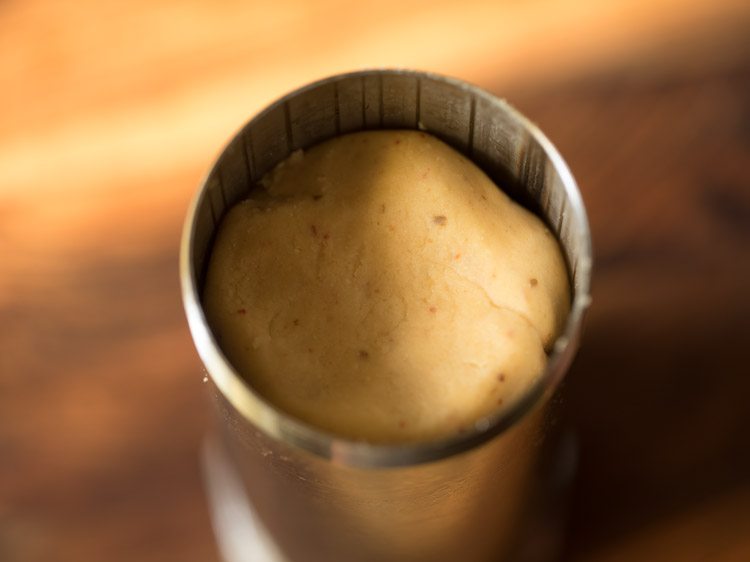
- Apply some water or oil in the chakli press/murukku maker. Then, take a portion of the dough and place it inside the murukku maker. Cover and seal tightly with the top part and set aside.
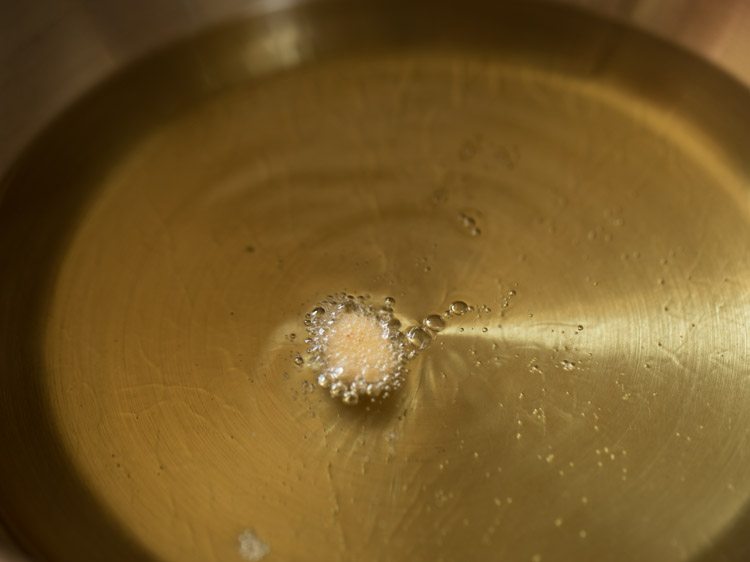
- Let the oil in the kadai become medium hot. Check the oil temperature by adding a small piece of the dough. If the dough comes up gradually and steadily on top, the oil is hot enough to fry. In case it comes up too quickly, then oil is too hot. If it settles down at bottom of kadai or comes up very slowly, the oil is not hot enough.
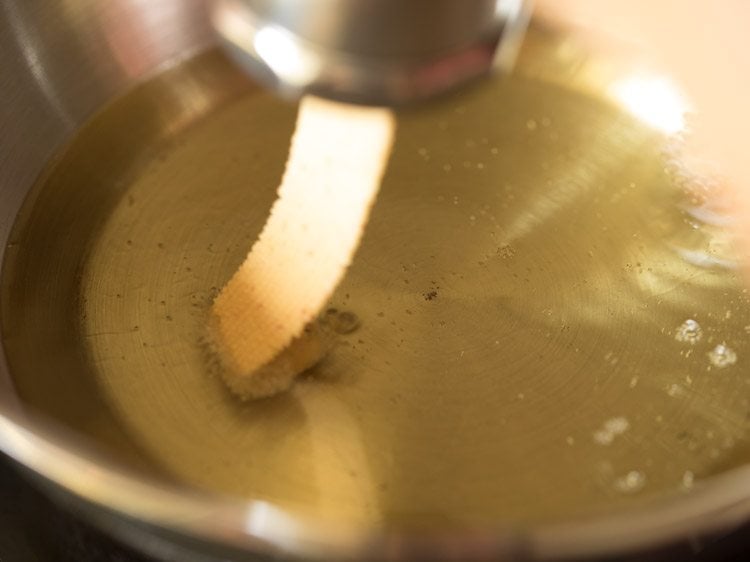
- When the oil is moderately hot, directly press holding the murukku maker on top of the oil and let the Ribbon Murukku directly fall in the oil.
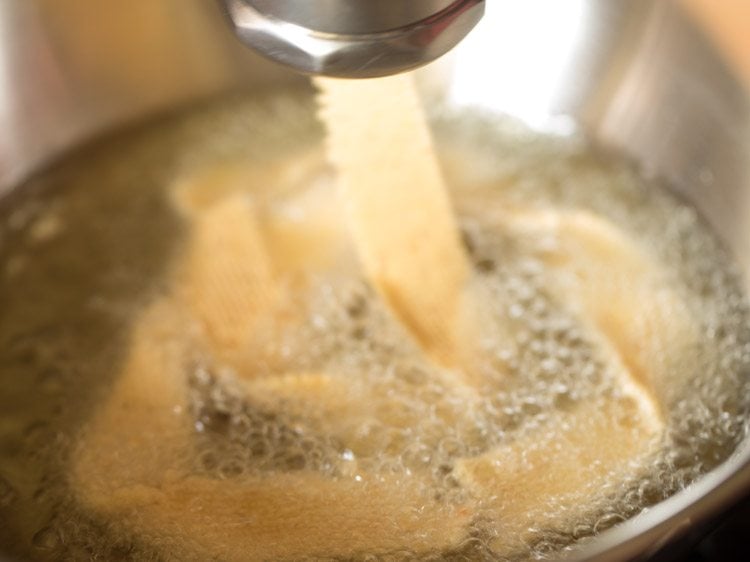
- While pressing, rotate the murukku press in a concentric circle from the center to outwards on top of the kadai or pan. Remember not to over crowd the kadai. Add as much as needed, without overcrowding the kadai.
- After adding the Ribbon Murukku, do not touch them immediately with the slotted spoon as they will break. Let them get fried first. They need to become crisp first and then only you can turn them over with the slotted spoon or spider spoon.
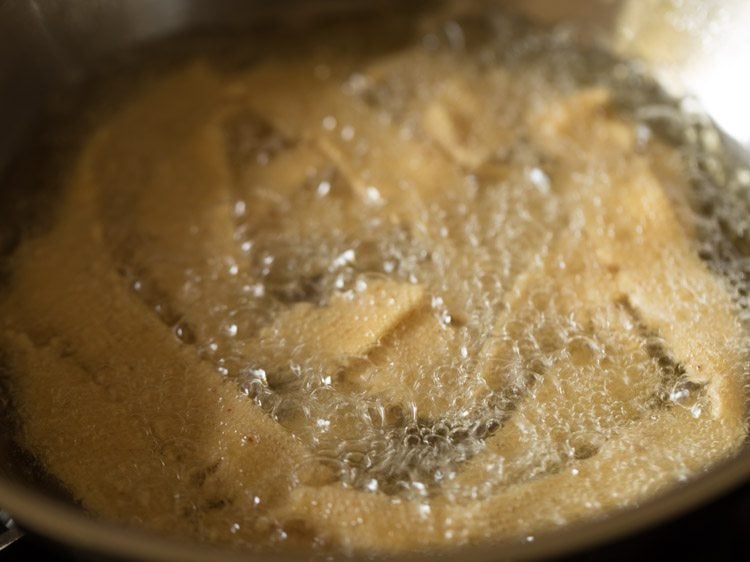
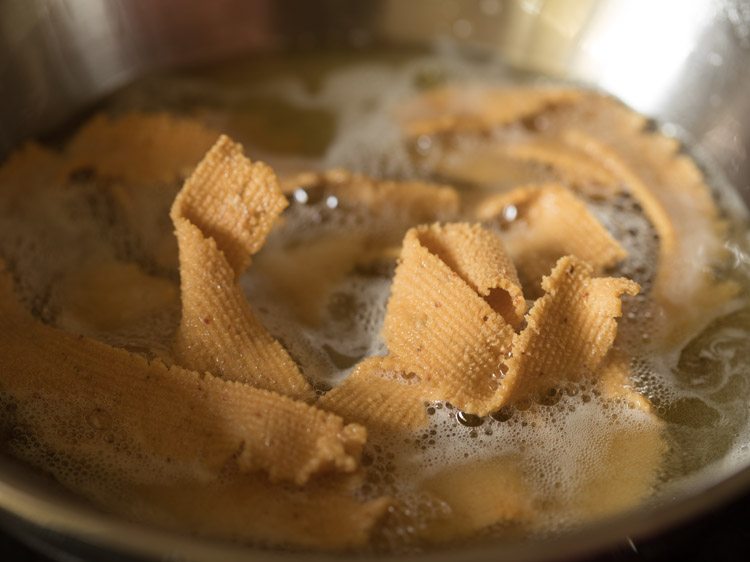
- Fry till the Ribbon Murukku has become light golden.
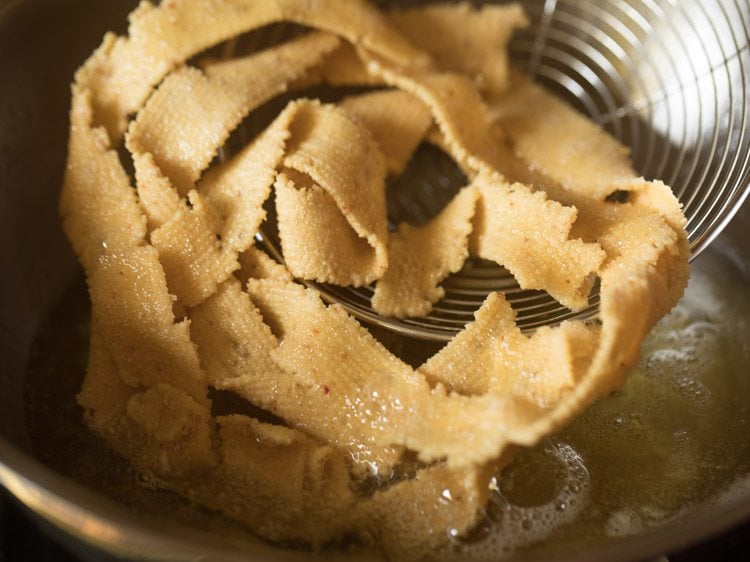
- Turn over the murukkus gently with a slotted spoon.
- Now, fry this side also till it becomes light golden.
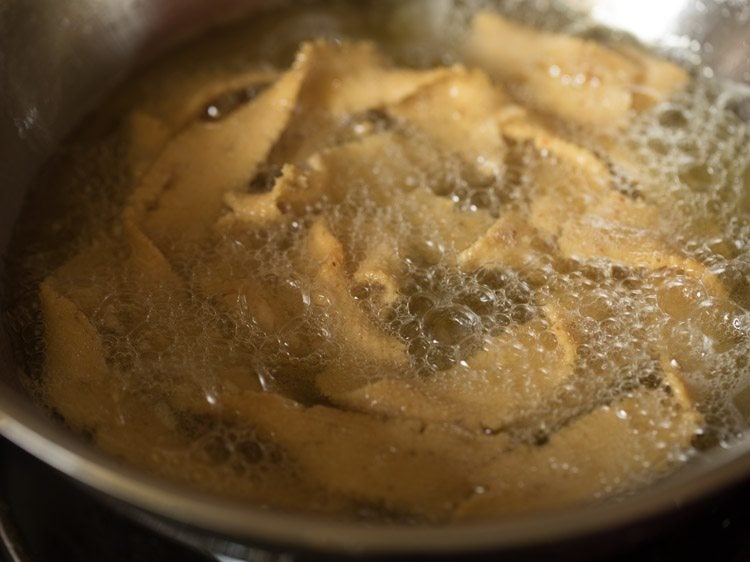
- Turn over a couple of times for even frying. Fry till the murukkus are crisp and golden.
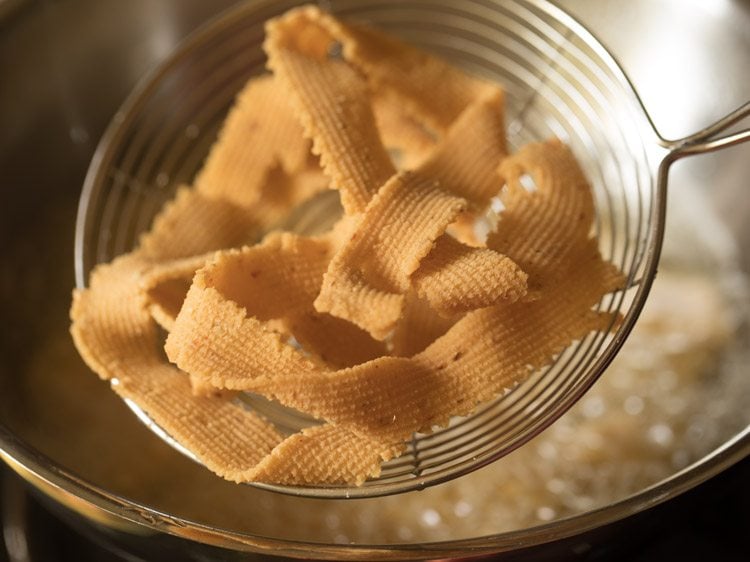
- When the oil stops sizzling, it means the Ribbon Pakoda are fried. Remove them with a slotted spoon or a spider spoon. Do not over brown or else the they will become slightly dense. Also, do not fry on low heat, or else the they absorb too much oil.
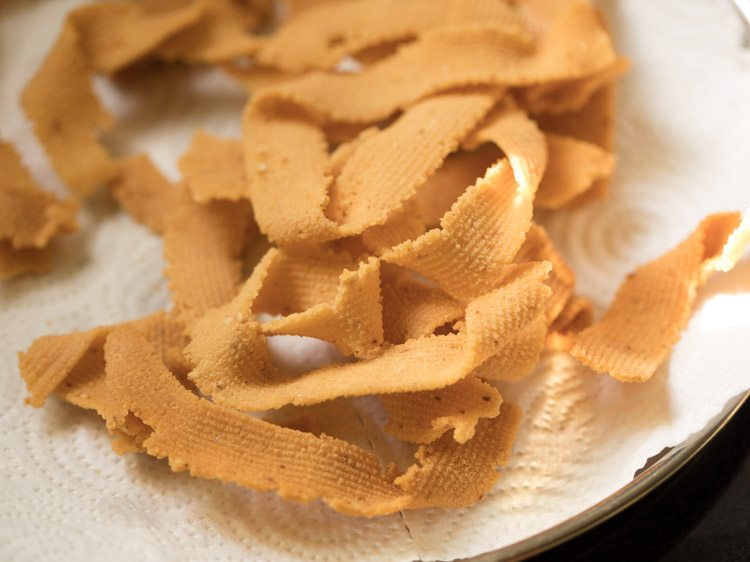
- Place them on kitchen paper towels. Fry the remaining ribbon pakoda in the same way in batches.
- When the Ribbon Pakoda are cooled at room temperature, place them in an air tight container or jar.
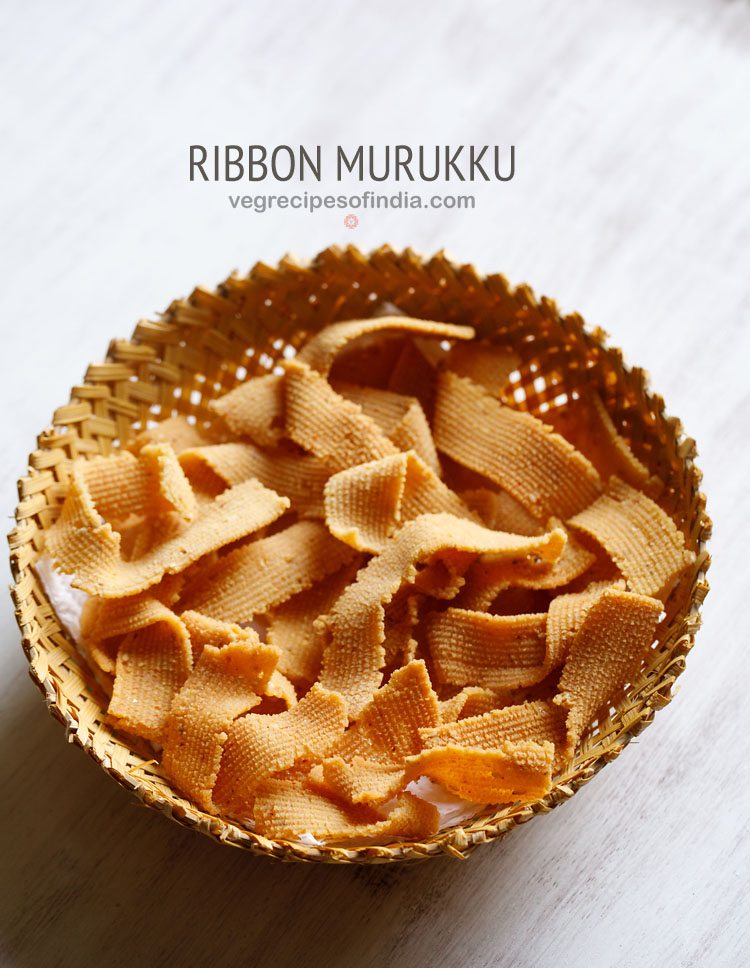
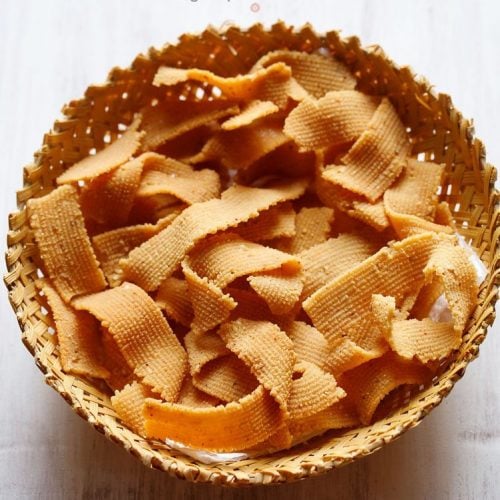
- Serve Ribbon Pakoda as a Diwali snack or tea time snack.
Expert Tips
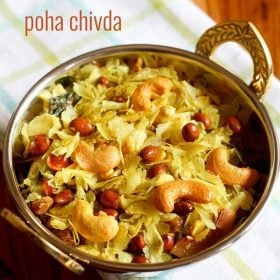
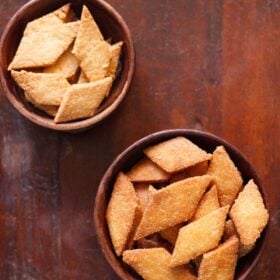
Please be sure to rate the recipe in the recipe card or leave a comment below if you have made it. For more vegetarian inspirations, Sign Up for my emails or follow me on Instagram, Youtube, Facebook, Pinterest or Twitter. Chivda Recipe | Poha Chivda | Namkeen Recipe Shankarpali Recipe – Sweet & Savory Shankarpali Nankhatai Recipe | Nankhatai Biscuit Shakarpara Recipe | Khurma | Shakkarpare This Ribbon Pakoda recipe post from the archives first published in September 2017 has been updated and republished on 20 October 2022.


title: “Ribbon Pakoda Ribbon Murukku " ShowToc: true date: “2024-10-03” author: “Mary Winsley”
More on Ribbon Pakoda
There are many ways that you can bring in variations in the preparation of murukku. This is usually done by altering the proportions of rice flour, gram flour (besan) and oil or butter. To enhance the flavors and make it more interesting and festive like, you can modify the recipe by adding various spices and herbs. Similar is the case with Ribbon Pakoda Recipe as well. Even the Ribbon Pakoda can be prepared in a variety of ways with different proportions of gram flour and rice flour. Some versions may also use roasted gram flour in their recipes. Addition of roasted gram flour makes it even more crunchy and crispy. So, whenever I also make it at home, I do add some roasted chana dal flour to get crispier results. This recipe of Ribbon Murukku also uses roasted chana dal flour (gram flour/besan) and is super simple to make. Other than this, there are other variations of this popular South Indian snack like Murukku and Butter Murukku, which you must really try. Another favorite from this lot is this instant Maharashtrian Chakli recipe. This Ribbon Pakoda Recipe roughly yields about 250 grams of the snack and lasts for up to 4 to 5 days. You can also halve or double the recipe without any hesitance. These pretty looking murukku make for those perfect munchies for snacking during Diwali, Ganesh Chaturthi or any other Indian festival.
How to make Ribbon Pakoda
Grind and Sifting Ingredients
- In a grinder jar or a spice grinder, take ½ cup roasted chana dal, 1 dried red chilli (broken and seeds removed) and ½ teaspoon cumin seeds. You can add ½ to 1 teaspoon red chili powder and ½ teaspoon cumin powder instead of dried red chili and cumin seeds.
- Grind to a fine powder. Set aside. For spicier Ribbon Pakoda, add 2 to 3 dried red chilies. You can opt to add green chili paste instead of dried red chili. Ginger paste, garlic paste or onion paste can also be added.
- Take a plate, pan or a large mixing bowl. Place a sieve on top of it. Add ½ cup gram flour (besan) and ½ cup heaped rice flour.
- Then, add the prepared spiced chana dal powder.
- Add 1 teaspoon salt.
- Add ⅛ teaspoon or about 2 pinches asafoetida (hing).
- Sift all the ingredients together.
- Add 1 teaspoon white sesame seeds. Set aside. Sesame seeds are optional and can be skipped.
Make Dough
- In a small pan or bowl, heat 2 tablespoons butter or oil on low flame. I have used salted butter, you can even use unsalted butter.
- Heat till the butter melts. Instead of butter, you can also use oil.
- Now, add the melted butter in the sifted mixture.
- With a spoon or spatula, mix the butter with the mixture. Mix very well. Check the taste. If required, add some more salt.
- Now, start adding ⅓ cup water, in parts.
- Begin to knead the flour.
- Knead to a smooth, non-sticky dough, adding water as required. Cover and keep aside. If the dough becomes sticky, you can add some more gram flour. If the dough looks dry, add some more water.
Fry Ribbon Pakoda
- Use the disc shown in the below picture for preparing Ribbon Pakoda. This one has serrated edges. You can even use the plain one without the serrated edges. Also, heat a kadai and add oil as required for deep frying.
- Apply some water or oil in the chakli press/murukku maker. Then, take a portion of the dough and place it inside the murukku maker. Cover and seal tightly with the top part and set aside.
- Let the oil in the kadai become medium hot. Check the oil temperature by adding a small piece of the dough. If the dough comes up gradually and steadily on top, the oil is hot enough to fry. In case it comes up too quickly, then oil is too hot. If it settles down at bottom of kadai or comes up very slowly, the oil is not hot enough.
- When the oil is moderately hot, directly press holding the murukku maker on top of the oil and let the Ribbon Murukku directly fall in the oil.
- While pressing, rotate the murukku press in a concentric circle from the center to outwards on top of the kadai or pan. Remember not to over crowd the kadai. Add as much as needed, without overcrowding the kadai.
- After adding the Ribbon Murukku, do not touch them immediately with the slotted spoon as they will break. Let them get fried first. They need to become crisp first and then only you can turn them over with the slotted spoon or spider spoon.
- Fry till the Ribbon Murukku has become light golden.
- Turn over the murukkus gently with a slotted spoon.
- Now, fry this side also till it becomes light golden.
- Turn over a couple of times for even frying. Fry till the murukkus are crisp and golden.
- When the oil stops sizzling, it means the Ribbon Pakoda are fried. Remove them with a slotted spoon or a spider spoon. Do not over brown or else the they will become slightly dense. Also, do not fry on low heat, or else the they absorb too much oil.
- Place them on kitchen paper towels. Fry the remaining ribbon pakoda in the same way in batches.
- When the Ribbon Pakoda are cooled at room temperature, place them in an air tight container or jar.
- Serve Ribbon Pakoda as a Diwali snack or tea time snack.
Expert Tips
Please be sure to rate the recipe in the recipe card or leave a comment below if you have made it. For more vegetarian inspirations, Sign Up for my emails or follow me on Instagram, Youtube, Facebook, Pinterest or Twitter. Chivda Recipe | Poha Chivda | Namkeen Recipe Shankarpali Recipe – Sweet & Savory Shankarpali Nankhatai Recipe | Nankhatai Biscuit Shakarpara Recipe | Khurma | Shakkarpare This Ribbon Pakoda recipe post from the archives first published in September 2017 has been updated and republished on 20 October 2022.
