About Sweet Shankarpali
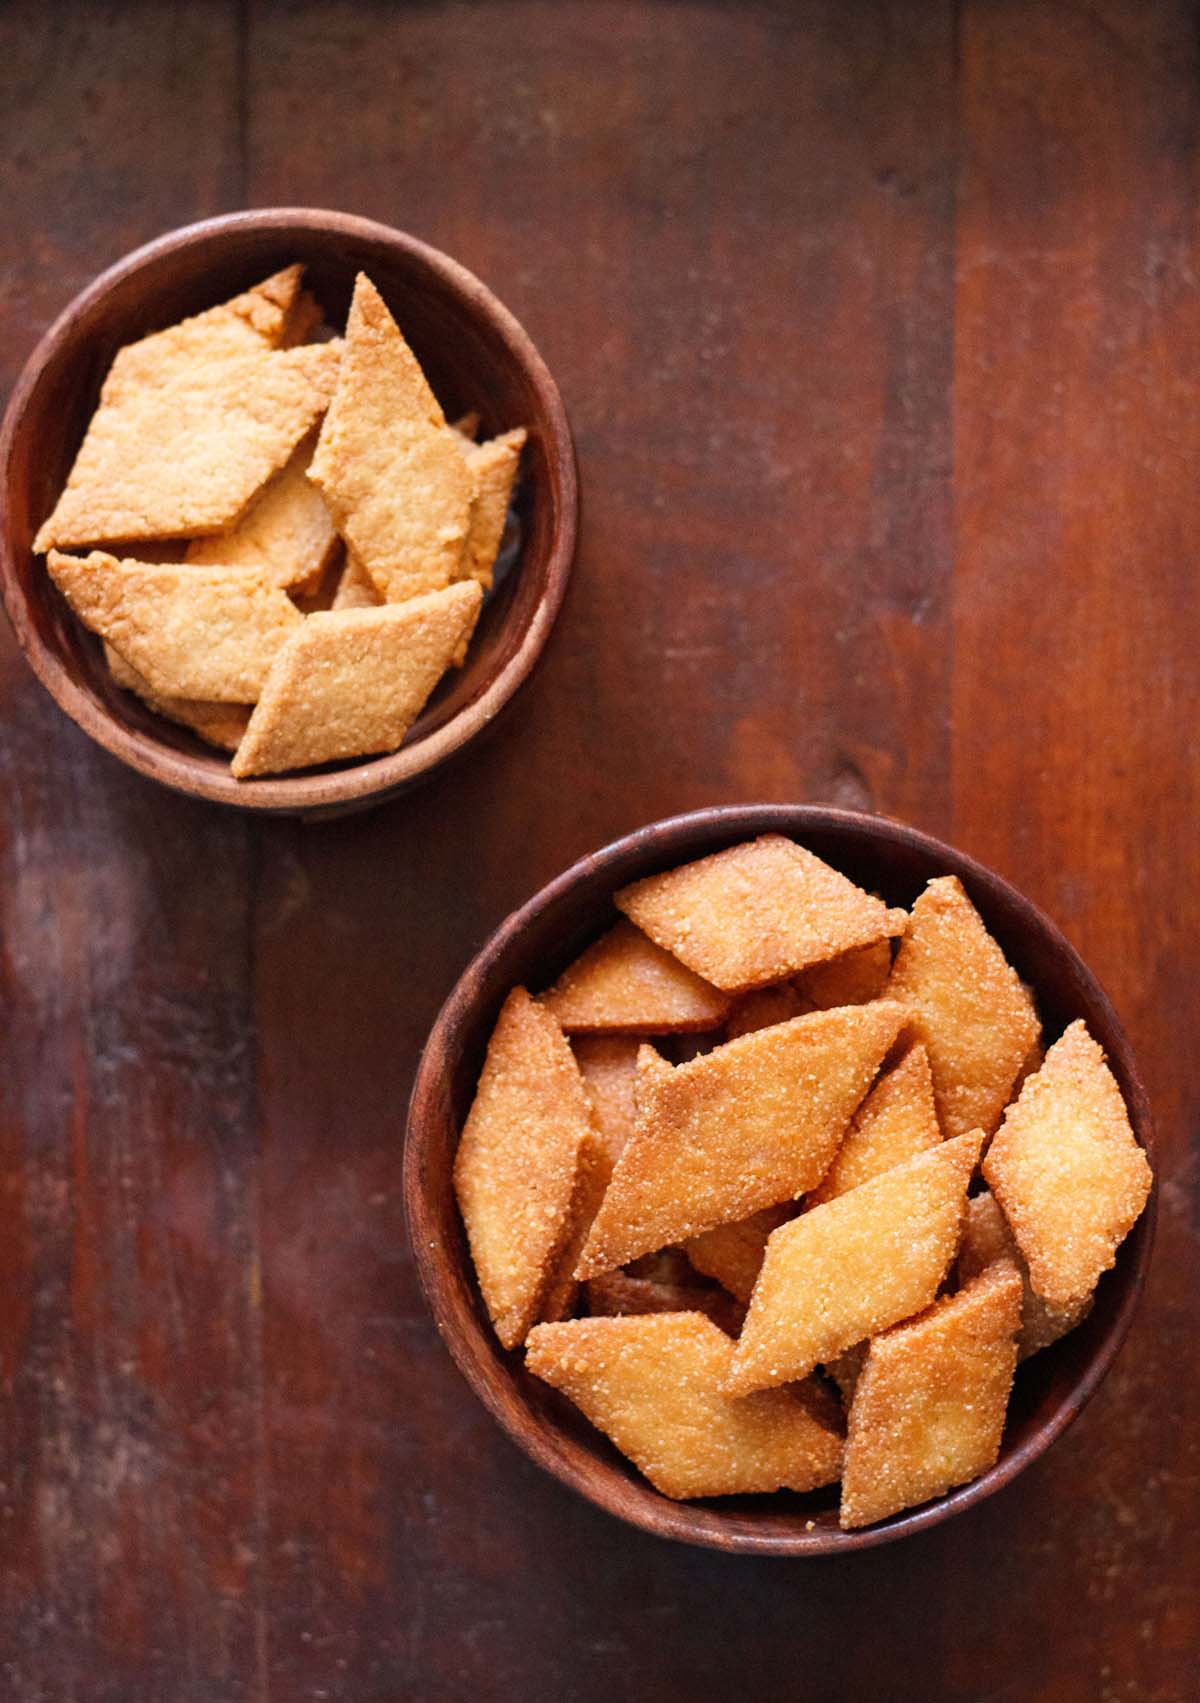
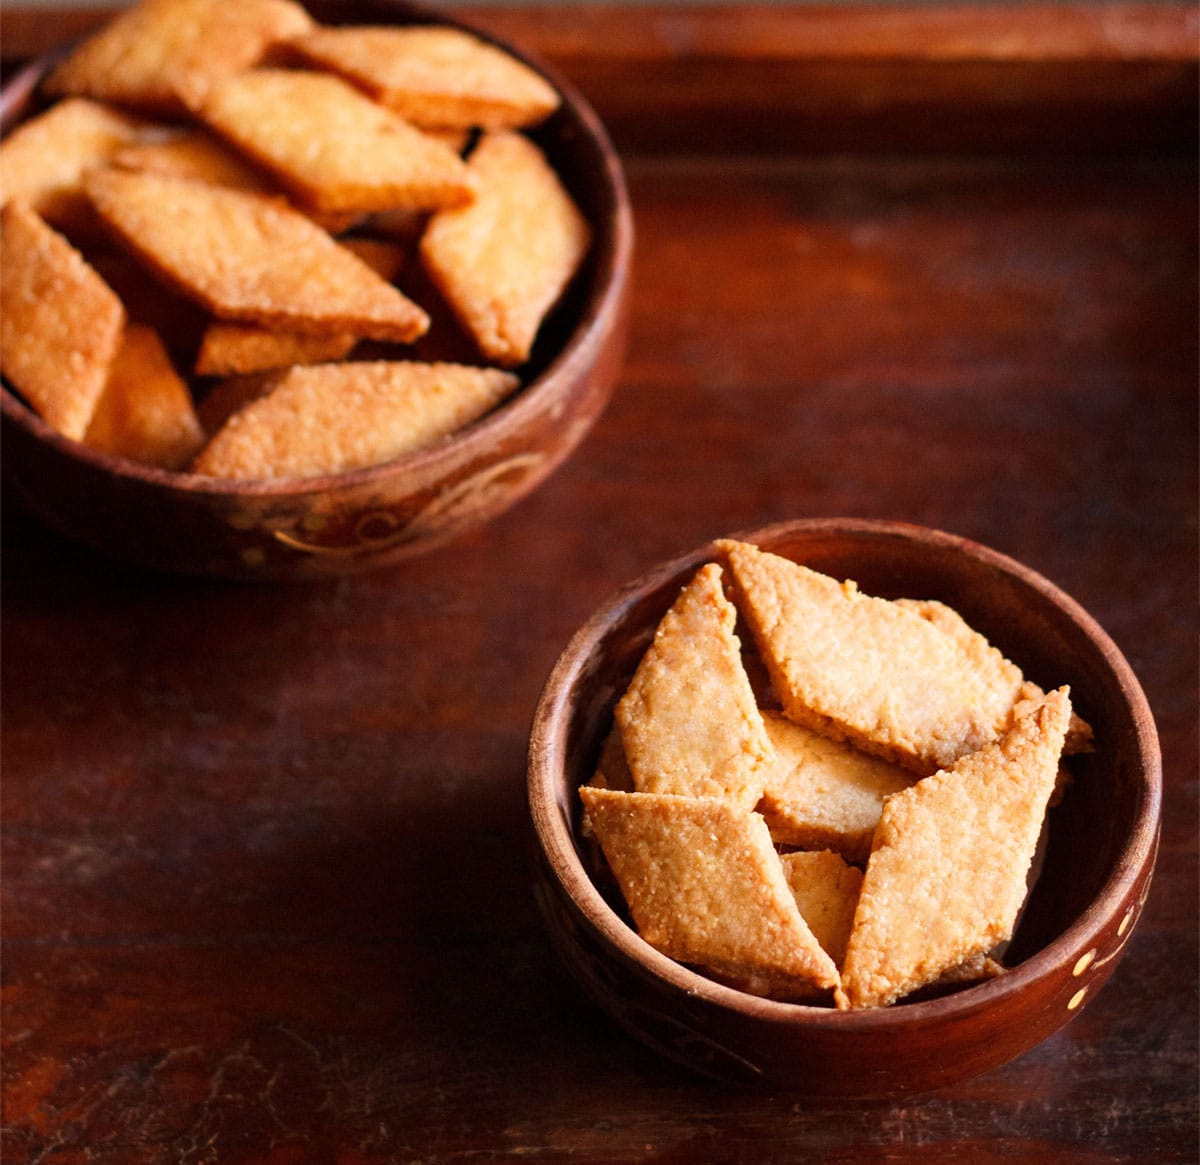
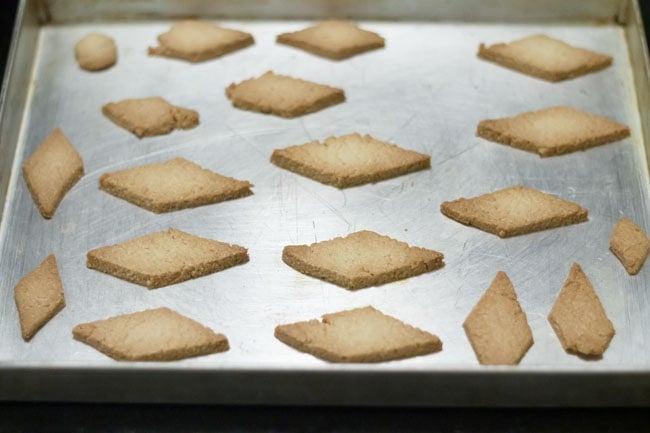
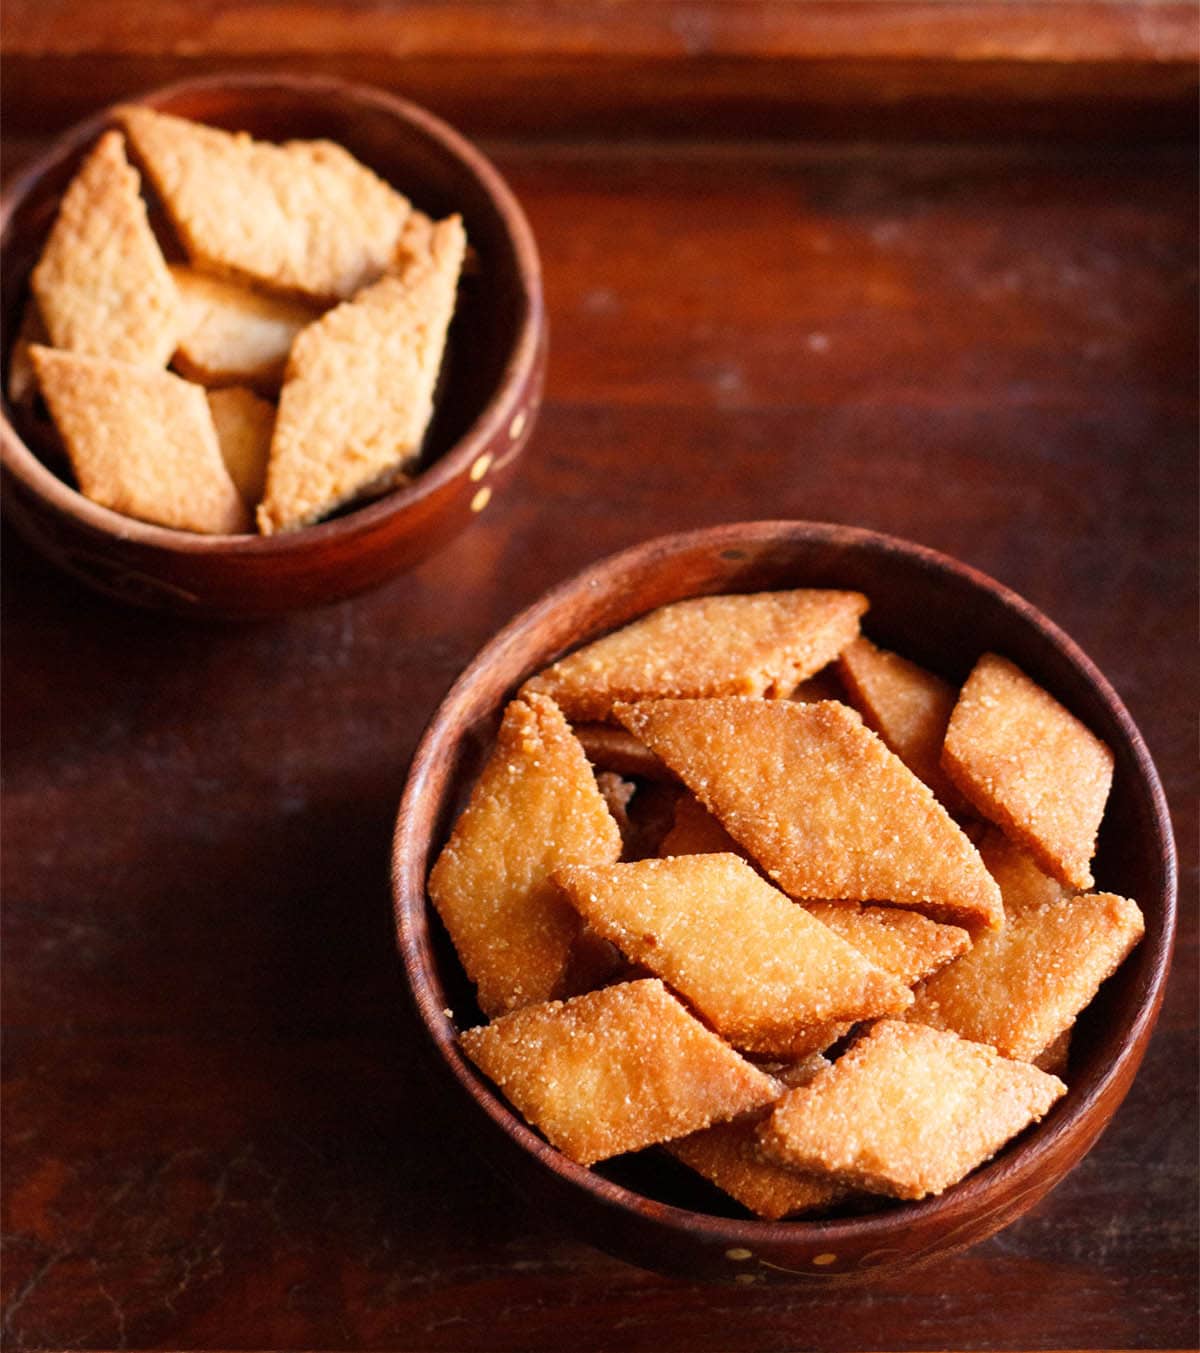
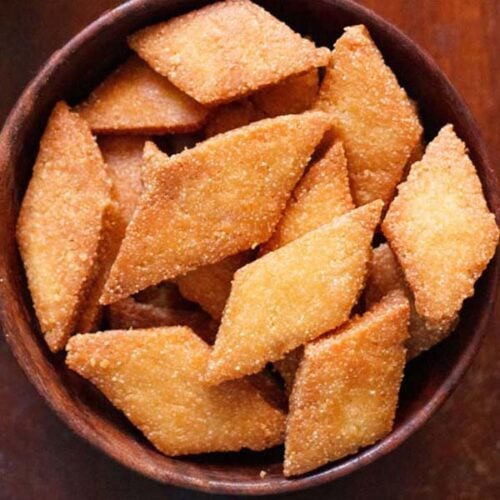
Shankarpali is also known as Diamond Cuts in South India. However the proportion of ingredients for diamond cuts is different. This results in a crispy and puffy texture in the diamond cuts unlike shankarpali that has a cookie like texture. Shakkar Pare is very similar to shankarpali and is made in North India. There are some differences in the preparation of these snacks. The sweet variation of shankarpali recipe is made with either sugar or jaggery. It is crispy and includes all-purpose flour, rava (semolina) and ghee. For this shankarpali recipe, I have used sugar. My recipe gives you a crispy and crunchy sweet shankarpali that you will like. Shankarpali can be fried or baked. Fried shankarpali is darker in color while baked shankarpali is usually lighter. Both taste amazing but have a slightly different texture. The image below shows baked shankarpali. Fried shankarpali tends to puffs up more than baked ones and they also have a more crumbly texture. In contrast, baked shankarpali are softer and have a similar taste to baked cookies. You can use the frying method or the healthy baking method. Shankarpali is typically served with other Diwali Snacks for the Diwali festival.
About Khare Shankarpali
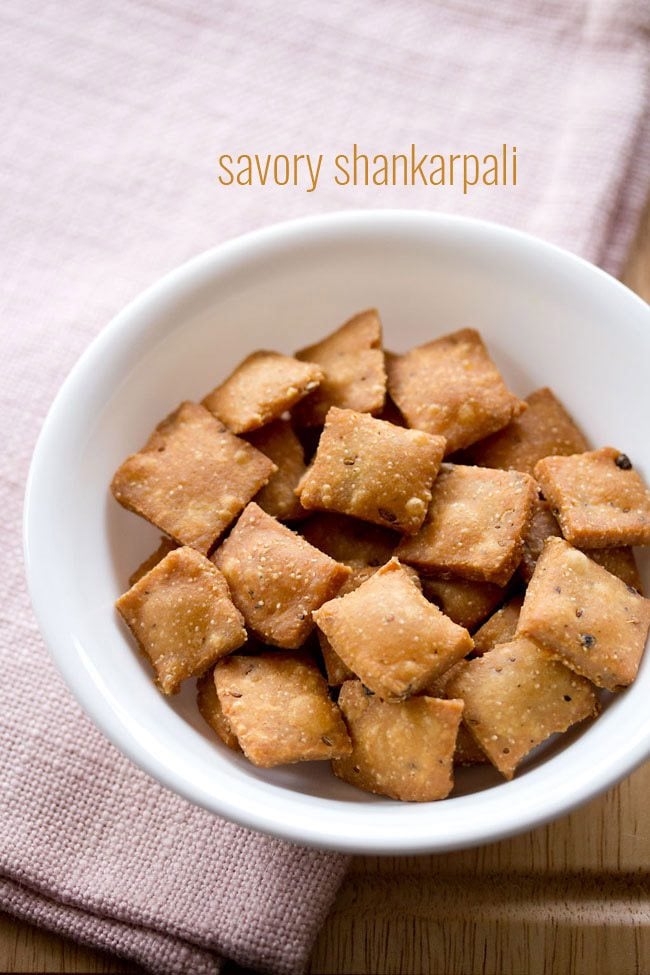
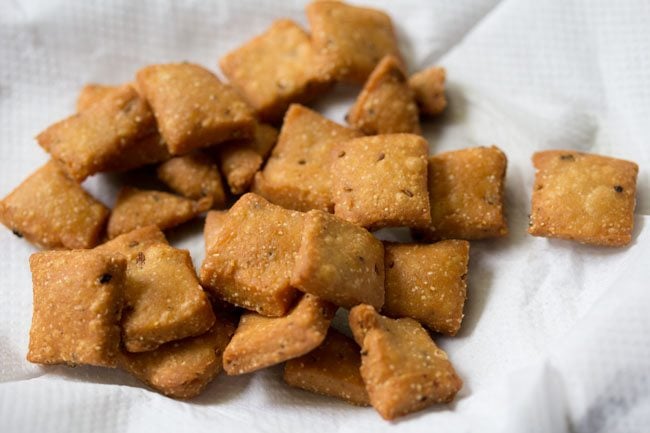
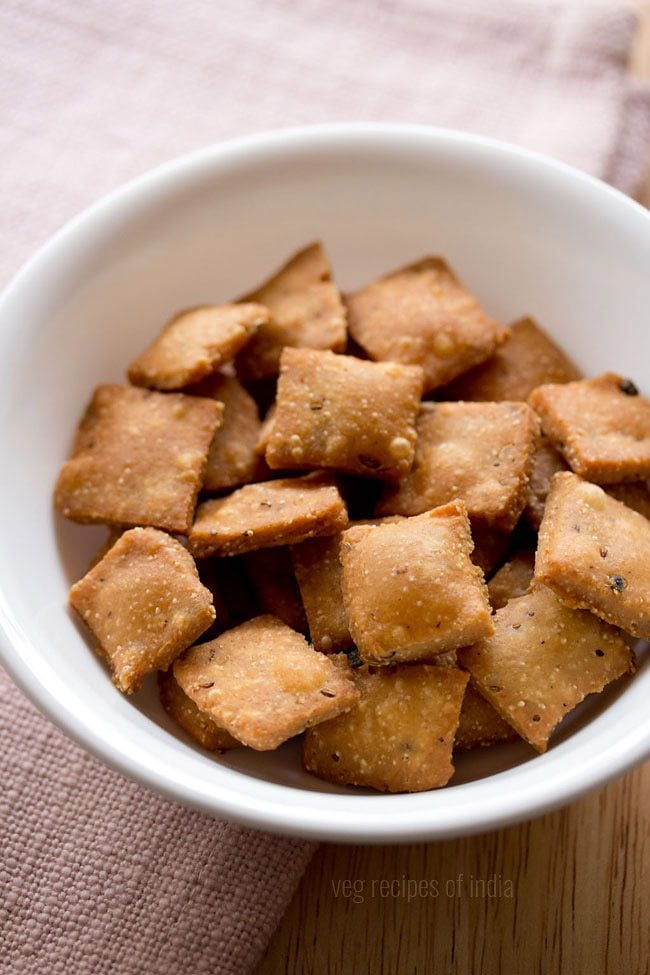
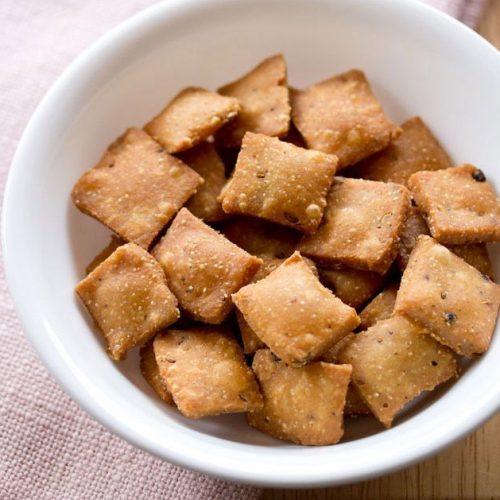
Salted Shankarpali (also known as Khare Shankarpali) are crispy and made with spices such as carom seeds, cumin, crushed black pepper, salt and do not include sugar. For this savory and salty shankarpali recipe, I included whole wheat flour, all-purpose flour and semolina to make the dough. If you want to intensify the flavors of the carom seeds then add more and omit the cumin. If you’d like to make jeera shankarpali then swap the carom seeds with cumin. The great thing about this recipe is that you can alter the spices to suit your desired taste. You can make them spicy if you like by adding red chilli powder. Once the salted shankarpali are done, allow them to cool down and serve them as an evening snack. They will keep for a couple of weeks in an airtight box or jar. Both of these recipes are my Mom’s and she always makes them during festive occasions.
How to Make Shankarpali (Sweet)
Make Sweet Dough
- First powder ½ cup of sugar in a mixer-grinder or spice grinder. Make a fine powder of the sugar granules.
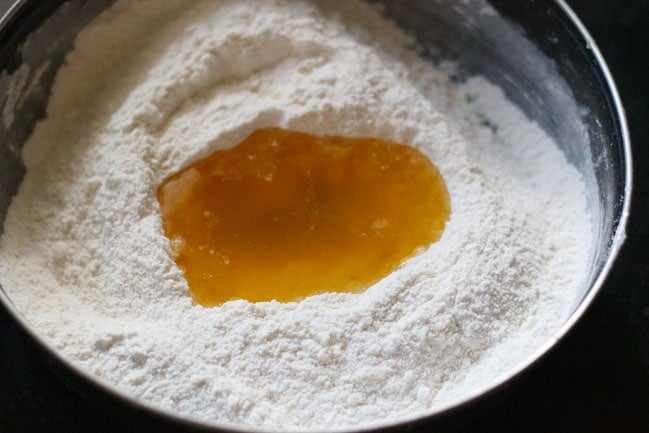
- Sieve 1.5 cups of all-purpose flour (maida), a pinch of salt and powdered sugar in a bowl. Then mix in ⅓ cup of fine rava (sooji or semolina). Add 2 tablespoons of warm melted ghee or warm oil. Tip: Use 2 tablespoons of melted ghee or oil to make fried shankarpali and 3 tablespoons of melted ghee or oil to make baked shankarpali.
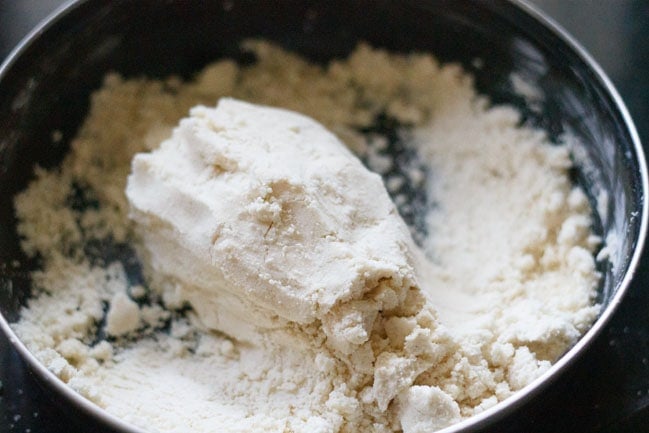
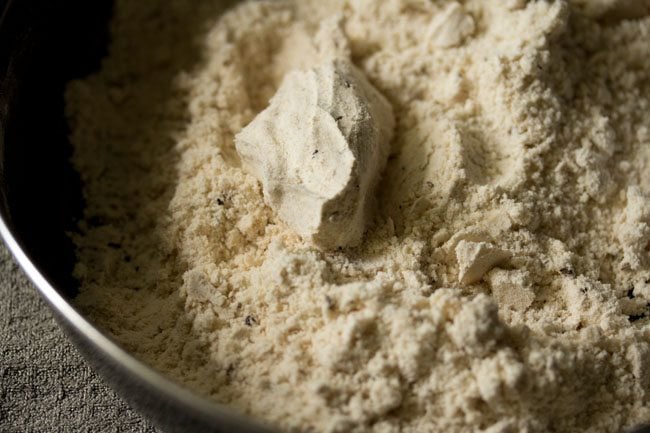
- Firstly mix the warm oil or ghee with a spoon with the rest of the flour mixture. Then using your fingertips rub or mix the ghee or oil and the flour mixture together to get a breadcrumb-like consistency. After this, the whole mixture should stick together and gather to form a ball when you press it in your palms (see image below).
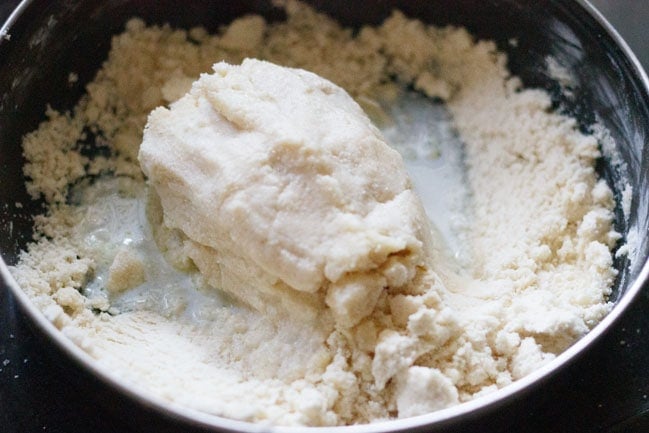
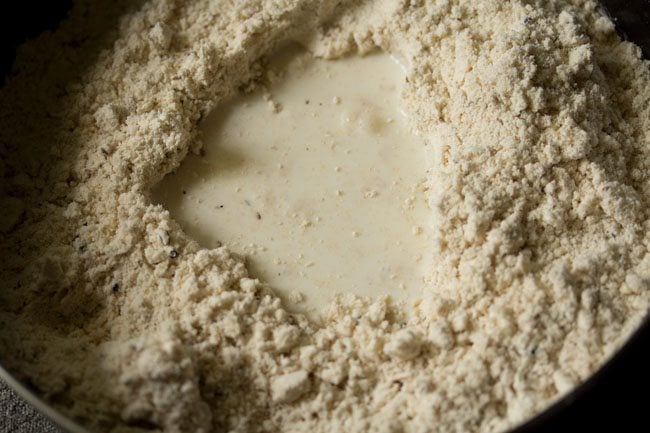
- Drizzle or sprinkle 3 to 4 tablespoons of warm milk gradually while kneading. Add the milk 1 tablespoon at a time and gently mix. The amount of milk you need to add will depend on the quality of all-purpose flour and rava. So add as required to make a stiff and firm dough.
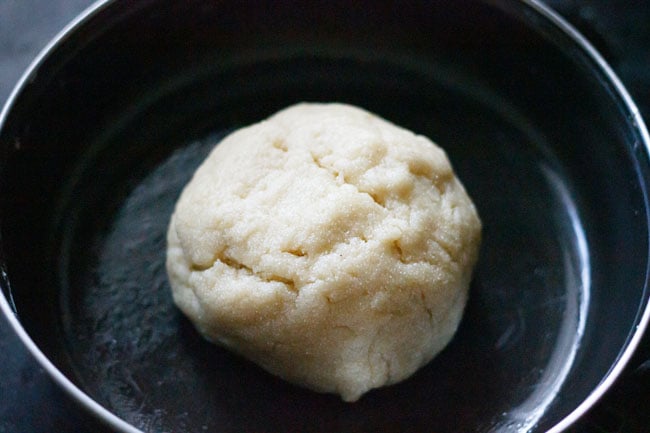
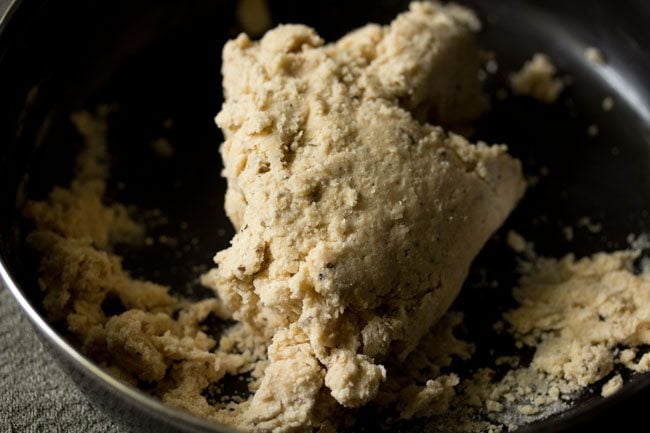
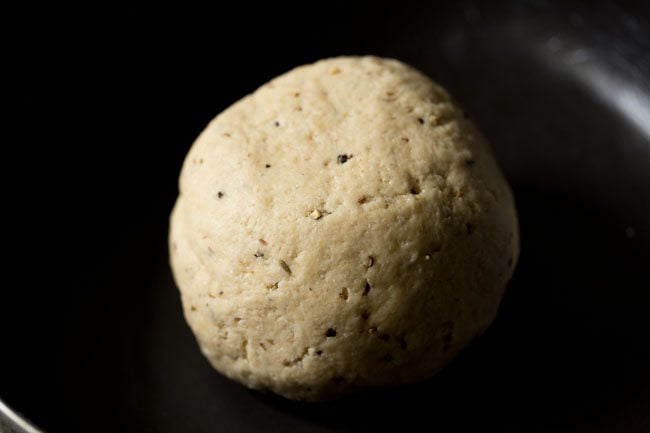
- Knead the mixture until you get a firm and stiff dough. Set aside and cover for 20 to 30 minutes at room temperature for the dough to rest. Keep in mind that the dough must not be soft or sticky. Also do not knead the dough for too long as this can result in a chewy, doughy denser texture.
Assemble and Cut Shankarpali
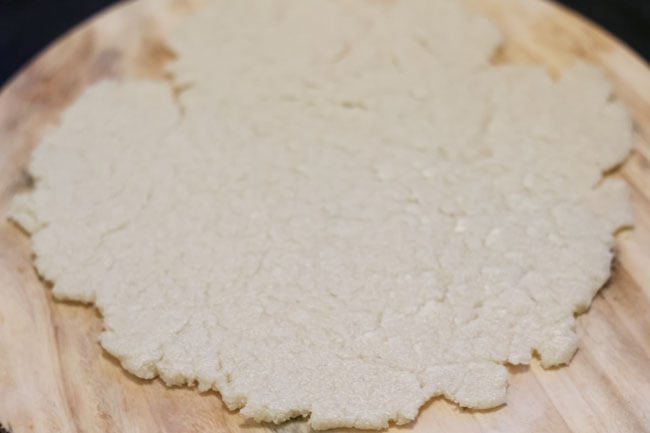
- Divide the dough into two or three parts. Make a neat ball of each part by rolling with your palms. Then with a rolling pin roll each dough ball into a circle having 5 to 7 mm thickness as shown in the below photo. Keep these dough balls covered with a kitchen napkin as you work on rolling and cutting the dough.
- Use a knife or pizza cutter and make diamond shapes in the dough. Discard the edges and join them together using other pieces of dough. Keep any pieces of these shankarpali dough covered with a kitchen towel so that they don’t dry out.
Fry Shankarpali
- Heat oil for deep frying in a frying pan or kadai (wok). Let the oil become medium hot. To check the temperature of oil, add one piece of shankarpali. If it comes up gradually the oil is ready. It should not come up too quickly or stay at the bottom of the oil. Carefully and gently add the diamond-shaped shankarpali to medium hot oil. Do not add too much in one go. Fry in batches.
- When you see that one side is golden, then using a slotted spoon turn over the shankarpali and continue to fry the second side until golden. This way turn again a few times if needed and fry the shankarpali until evenly golden.
- Use a slotted spoon to remove the fried shankarpali and drain on paper towels to remove excess oil.
Bake Shankarpali
- For baking, preheat the oven at 180 Celsius (356 degrees Fahrenheit). Place the shankarpali in a baking tray and make sure there is some space between each shankarpali. Bake for 20 to 25 minutes or until they look crispy and golden. Half way through baking turn them with a spatula if needed. Below is an image of the baked shankarpali. Once they are baked remove them from the oven and leave them to cool on a wire rack.
- Once cooled, store the shankarpali – whether you have fried or baked them, in an air-tight container or jar.
How to make Khare Shankarpali
Form Dough
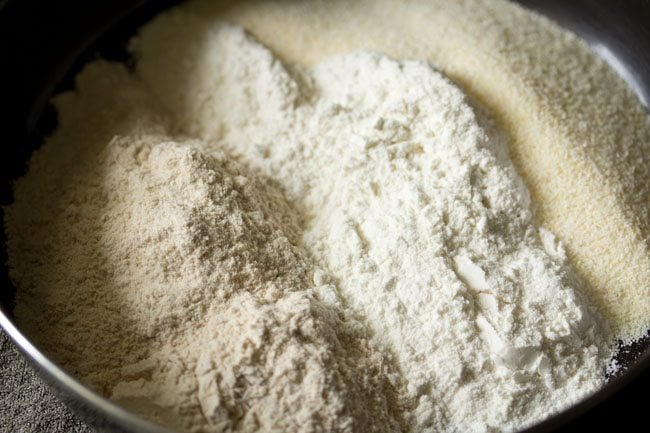
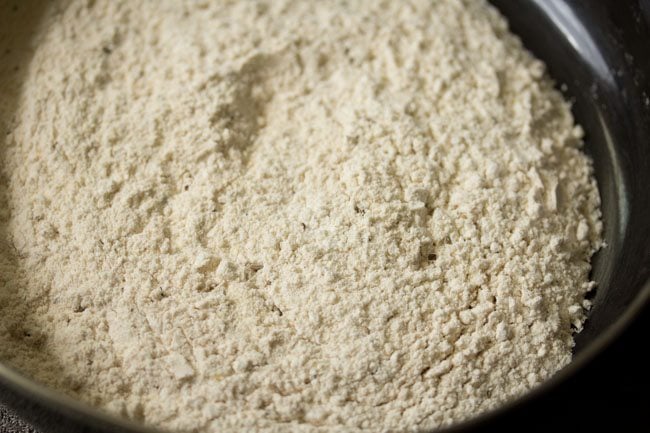
- Take ½ cup of whole wheat flour, ½ cup of all purpose flour and ¼ cup of fine rava (sooji) in a mixing bowl or plate.
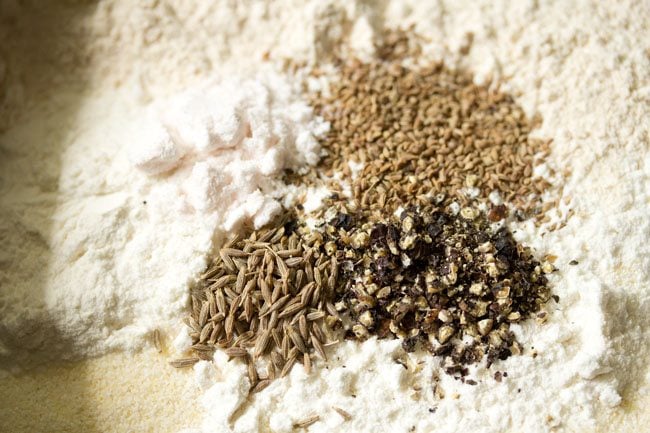
- Add the following spices and seasonings:
½ teaspoon of carom seeds (ajwain) ½ teaspoon of cumin seeds (jeera)½ to ⅔ teaspoon of crushed black pepper ½ teaspoon of salt or according to taste
- Mix very well with a spoon.
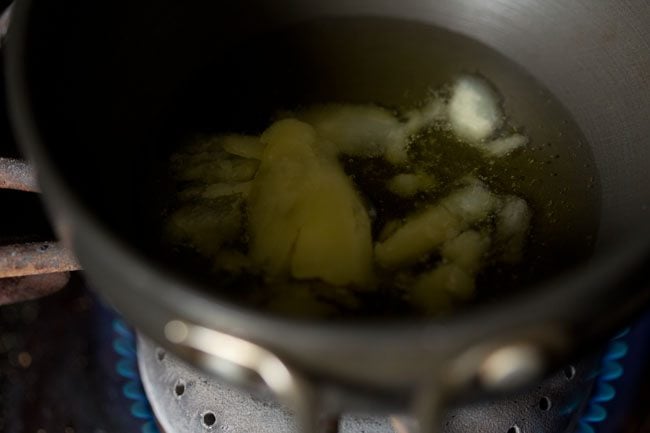
- In a small pan, heat 2 tablespoons of ghee or oil until warm.
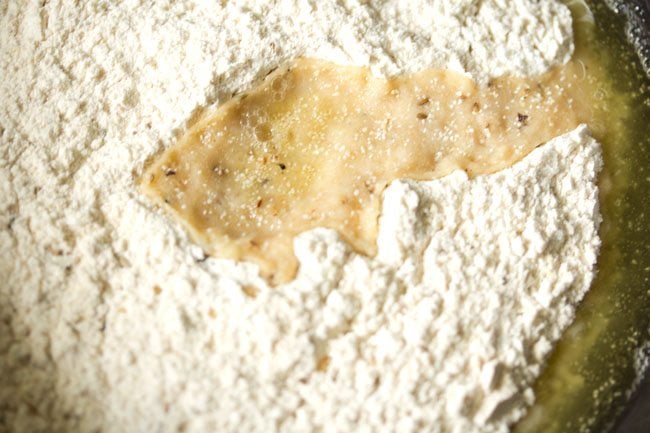
- Add the warm melted ghee or warm oil to the flour mixture.
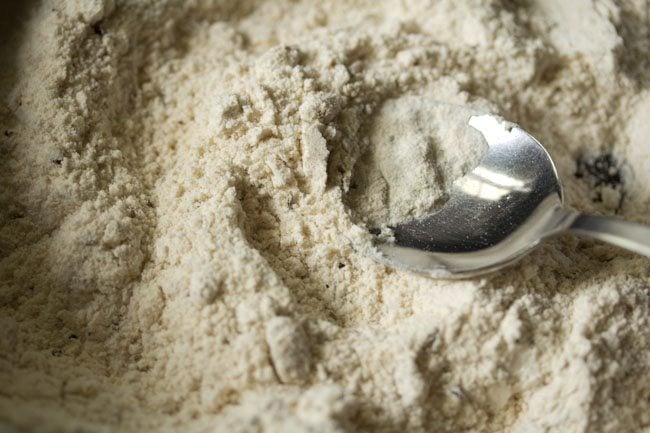
- First mix with a spoon. Then use your fingertips to rub or mix the ghee or oil in the flour to create a breadcrumb-like consistency mixture.
- Take a portion of a mixture and press it in your palm. It should gather and hold itself like the image below.
- Add ½ cup of milk in portions to the dough and mix first. Then begin to knead. The milk should be at room temperature. You can also use water instead of milk. Add as necessary in parts.
- Start to knead.
- Knead until you get a firm dough. Make sure the dough is not too soft.
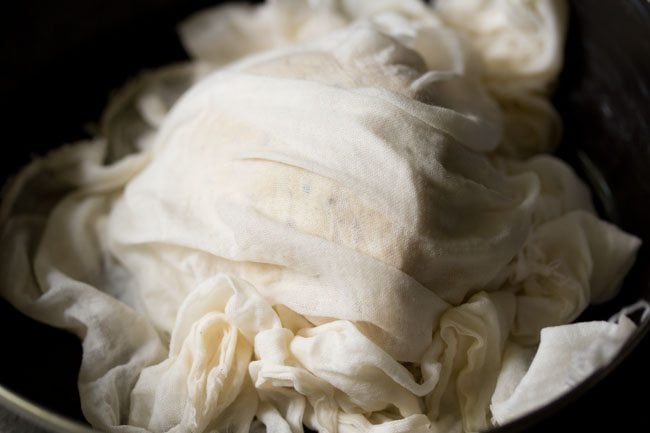
- Cover the dough with a moist muslin or cotton and let it rest for 20 to 30 minutes at room temperature.
- Then knead again.
Roll and Slice
- Roll into a log.
- Then divide the dough into three parts and roll each into balls in the palm of your hands. Cover with a moist muslin cloth.
- Now take one part and begin to roll it into a disc or circle.
- The circle should be 6 to 7 inches in diameter having 5 to 7 mm thickness. Ensure that it is not too thick or thin in thickness.
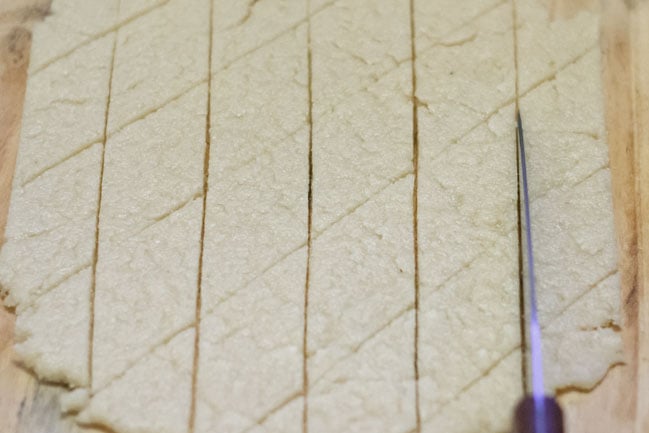
- Now with a knife or pizza cutter, cut the dough into diagonal strips.
- Then cut again to make diamond shapes or square shapes in the dough.
- Separate the diamonds. Cover with a clean kitchen napkin and set aside once you begin to heat the oil.
Fry Khare Shankarpali
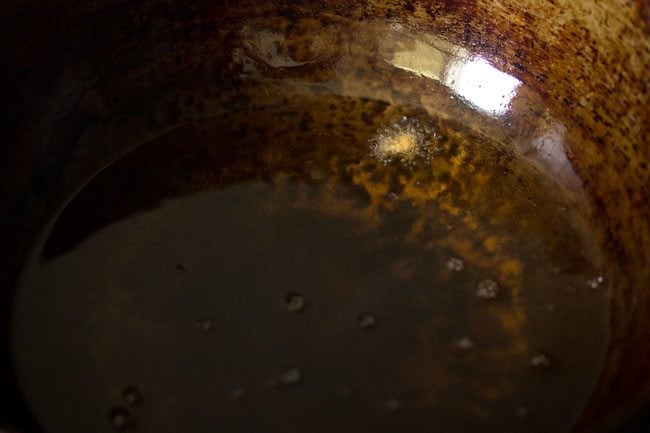
- Heat oil in a kadai or pan.
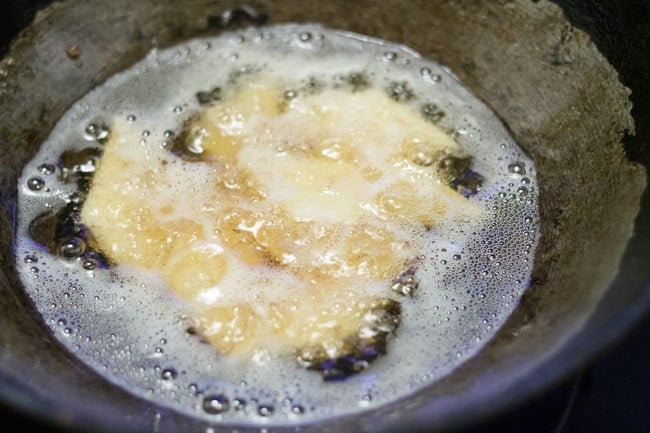
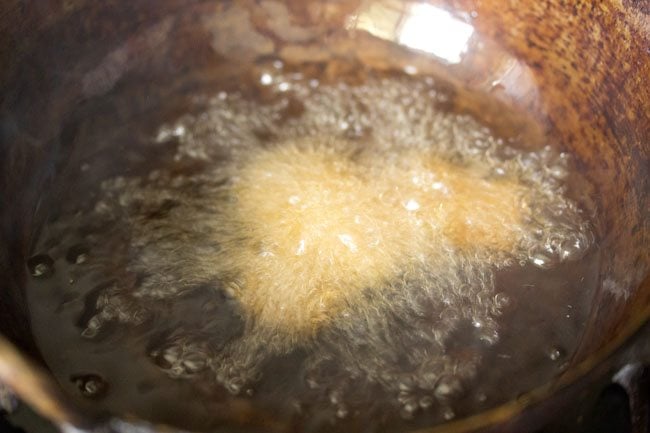
- Before you begin to fry, add a small piece from the dough to check that the oil is at the right temperature. It should be medium hot. If the small piece of dough floats to the top and comes up gradually, then the dough is ready to be fried. However, if it comes to the top too quickly, then the oil is too hot, so reduce the heat. When the oil is too hot, the shankarpali will cook on the outside and be raw in the center. If it floats to the top slowly or stays at the bottom, the oil needs to be hotter. A warmer temperature in the oil will result in an oily shankarpali.
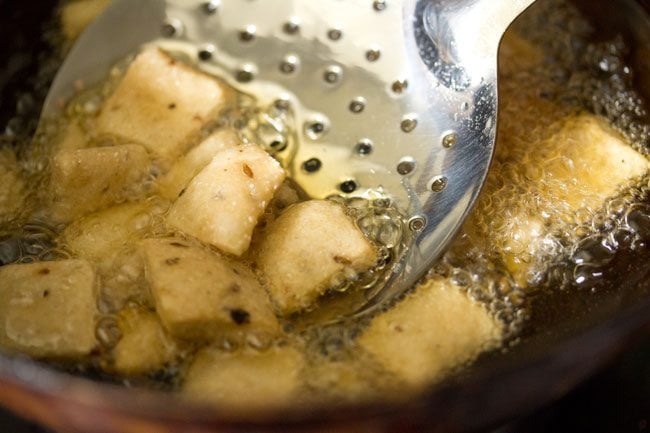
- When the oil is medium hot, add the shankarpali pieces and do not overcrowd the kadai or pan. Add a few pieces at a time and fry in batches.
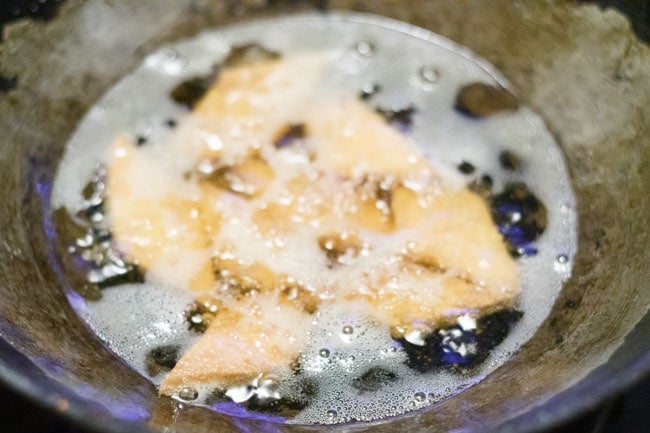
- Use a slotted spoon to turn over and fry one side of the shankarpali until it becomes golden.
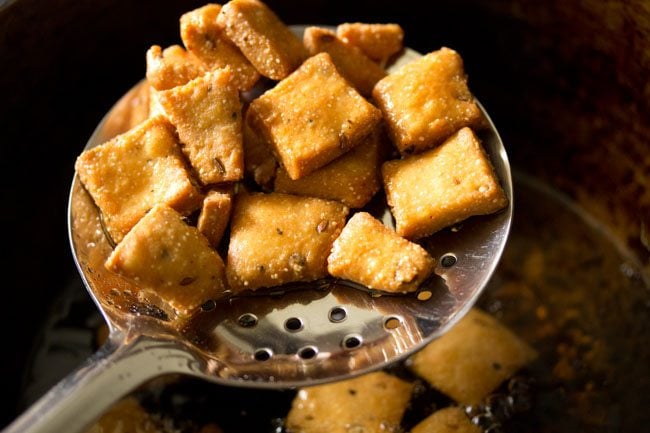
- Flip a couple of times and fry to get an even golden color. Once golden, remove using a slotted spoon.
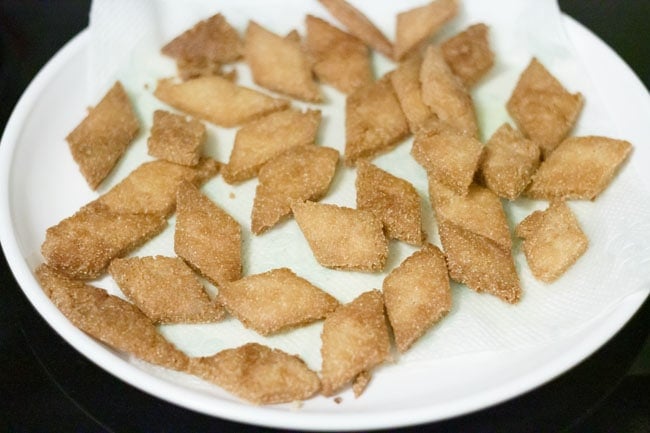
- Drain them on a kitchen paper towels to remove excess oil and once cooled, store them in an air-tight container or jar.
- Serve savory shankarpali as a tea time snack.
Expert Tips
Dough: The dough must be stiff, tight and firm to achieve the best texture for both the shankarpali recipes. Make sure it is not too dry as this may cause the dough to crack when rolling. If the dough is too wet then the shankarpali may become soft and not crispy. Remember to cover the dough with a clean kitchen towel or moist kitchen napkin when not using it.Oil: When frying shankarpali the oil must be at a medium temperature. That is not too hot or cool. To test the oil rip a small section of dough and gently drop it into the oil. The dough should gradually float to the top of the oil. If it floats slowly then it is too warm and if it floats to the top too quickly then it is too hot. For the perfect temperature adjust the heat accordingly.Frying: Make sure you don’t add too much of the dough pieces to the oil when frying. This may cause the oil to cool down and slow down the frying. To avoid this fry the shankarpali in batches. Add the numbers according to the size of the pan or kadai.Variations: Bake or fry the shankarpali depending on your preference. You can also make these snacks sweet or savory.
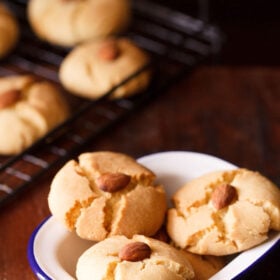
Please be sure to rate the recipe in the recipe card or leave a comment below if you have made it. For more vegetarian inspirations, Sign Up for my emails or follow me on Instagram, Youtube, Facebook, Pinterest or Twitter. Karanji Recipe Chakli Recipe (Instant & Easy) Murukku Recipe | Murukulu Recipe (Crunchy Rice Flour Spirals) Nankhatai Recipe | Nankhatai Biscuit This Shankarpali recipe post from the archives first published in October 2013 has been updated and republished on 21 October 2022.


title: “Shankarpali Recipe Sweet Savory Shankarpali” ShowToc: true date: “2024-10-19” author: “Lisa Boucher”
About Sweet Shankarpali
Shankarpali is also known as Diamond Cuts in South India. However the proportion of ingredients for diamond cuts is different. This results in a crispy and puffy texture in the diamond cuts unlike shankarpali that has a cookie like texture. Shakkar Pare is very similar to shankarpali and is made in North India. There are some differences in the preparation of these snacks. The sweet variation of shankarpali recipe is made with either sugar or jaggery. It is crispy and includes all-purpose flour, rava (semolina) and ghee. For this shankarpali recipe, I have used sugar. My recipe gives you a crispy and crunchy sweet shankarpali that you will like. Shankarpali can be fried or baked. Fried shankarpali is darker in color while baked shankarpali is usually lighter. Both taste amazing but have a slightly different texture. The image below shows baked shankarpali. Fried shankarpali tends to puffs up more than baked ones and they also have a more crumbly texture. In contrast, baked shankarpali are softer and have a similar taste to baked cookies. You can use the frying method or the healthy baking method. Shankarpali is typically served with other Diwali Snacks for the Diwali festival.
About Khare Shankarpali
Salted Shankarpali (also known as Khare Shankarpali) are crispy and made with spices such as carom seeds, cumin, crushed black pepper, salt and do not include sugar. For this savory and salty shankarpali recipe, I included whole wheat flour, all-purpose flour and semolina to make the dough. If you want to intensify the flavors of the carom seeds then add more and omit the cumin. If you’d like to make jeera shankarpali then swap the carom seeds with cumin. The great thing about this recipe is that you can alter the spices to suit your desired taste. You can make them spicy if you like by adding red chilli powder. Once the salted shankarpali are done, allow them to cool down and serve them as an evening snack. They will keep for a couple of weeks in an airtight box or jar. Both of these recipes are my Mom’s and she always makes them during festive occasions.
How to Make Shankarpali (Sweet)
Make Sweet Dough
- First powder ½ cup of sugar in a mixer-grinder or spice grinder. Make a fine powder of the sugar granules.
- Sieve 1.5 cups of all-purpose flour (maida), a pinch of salt and powdered sugar in a bowl. Then mix in ⅓ cup of fine rava (sooji or semolina). Add 2 tablespoons of warm melted ghee or warm oil. Tip: Use 2 tablespoons of melted ghee or oil to make fried shankarpali and 3 tablespoons of melted ghee or oil to make baked shankarpali.
- Firstly mix the warm oil or ghee with a spoon with the rest of the flour mixture. Then using your fingertips rub or mix the ghee or oil and the flour mixture together to get a breadcrumb-like consistency. After this, the whole mixture should stick together and gather to form a ball when you press it in your palms (see image below).
- Drizzle or sprinkle 3 to 4 tablespoons of warm milk gradually while kneading. Add the milk 1 tablespoon at a time and gently mix. The amount of milk you need to add will depend on the quality of all-purpose flour and rava. So add as required to make a stiff and firm dough.
- Knead the mixture until you get a firm and stiff dough. Set aside and cover for 20 to 30 minutes at room temperature for the dough to rest. Keep in mind that the dough must not be soft or sticky. Also do not knead the dough for too long as this can result in a chewy, doughy denser texture.
Assemble and Cut Shankarpali
- Divide the dough into two or three parts. Make a neat ball of each part by rolling with your palms. Then with a rolling pin roll each dough ball into a circle having 5 to 7 mm thickness as shown in the below photo. Keep these dough balls covered with a kitchen napkin as you work on rolling and cutting the dough.
- Use a knife or pizza cutter and make diamond shapes in the dough. Discard the edges and join them together using other pieces of dough. Keep any pieces of these shankarpali dough covered with a kitchen towel so that they don’t dry out.
Fry Shankarpali
- Heat oil for deep frying in a frying pan or kadai (wok). Let the oil become medium hot. To check the temperature of oil, add one piece of shankarpali. If it comes up gradually the oil is ready. It should not come up too quickly or stay at the bottom of the oil. Carefully and gently add the diamond-shaped shankarpali to medium hot oil. Do not add too much in one go. Fry in batches.
- When you see that one side is golden, then using a slotted spoon turn over the shankarpali and continue to fry the second side until golden. This way turn again a few times if needed and fry the shankarpali until evenly golden.
- Use a slotted spoon to remove the fried shankarpali and drain on paper towels to remove excess oil.
Bake Shankarpali
- For baking, preheat the oven at 180 Celsius (356 degrees Fahrenheit). Place the shankarpali in a baking tray and make sure there is some space between each shankarpali. Bake for 20 to 25 minutes or until they look crispy and golden. Half way through baking turn them with a spatula if needed. Below is an image of the baked shankarpali. Once they are baked remove them from the oven and leave them to cool on a wire rack.
- Once cooled, store the shankarpali – whether you have fried or baked them, in an air-tight container or jar.
How to make Khare Shankarpali
Form Dough
- Take ½ cup of whole wheat flour, ½ cup of all purpose flour and ¼ cup of fine rava (sooji) in a mixing bowl or plate.
- Add the following spices and seasonings:
½ teaspoon of carom seeds (ajwain) ½ teaspoon of cumin seeds (jeera)½ to ⅔ teaspoon of crushed black pepper ½ teaspoon of salt or according to taste
- Mix very well with a spoon.
- In a small pan, heat 2 tablespoons of ghee or oil until warm.
- Add the warm melted ghee or warm oil to the flour mixture.
- First mix with a spoon. Then use your fingertips to rub or mix the ghee or oil in the flour to create a breadcrumb-like consistency mixture.
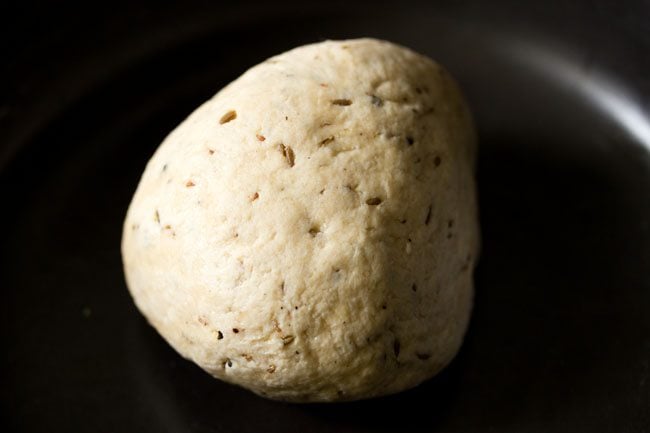
- Take a portion of a mixture and press it in your palm. It should gather and hold itself like the image below.
- Add ½ cup of milk in portions to the dough and mix first. Then begin to knead. The milk should be at room temperature. You can also use water instead of milk. Add as necessary in parts.
- Start to knead.
- Knead until you get a firm dough. Make sure the dough is not too soft.
- Cover the dough with a moist muslin or cotton and let it rest for 20 to 30 minutes at room temperature.
- Then knead again.
Roll and Slice
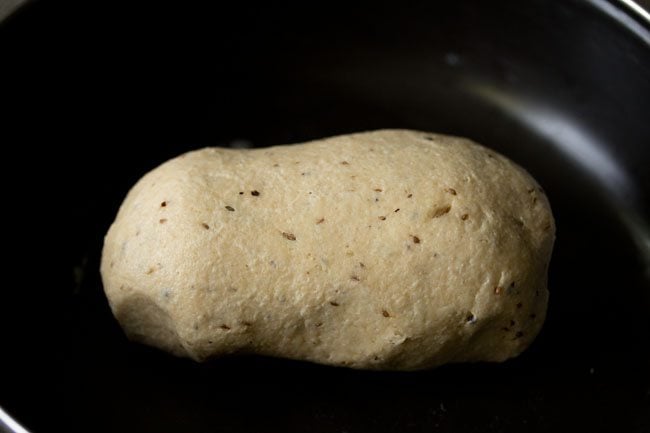
- Roll into a log.
- Then divide the dough into three parts and roll each into balls in the palm of your hands. Cover with a moist muslin cloth.
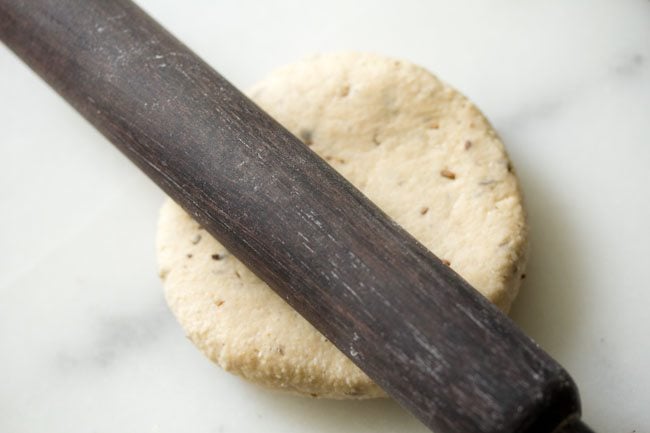
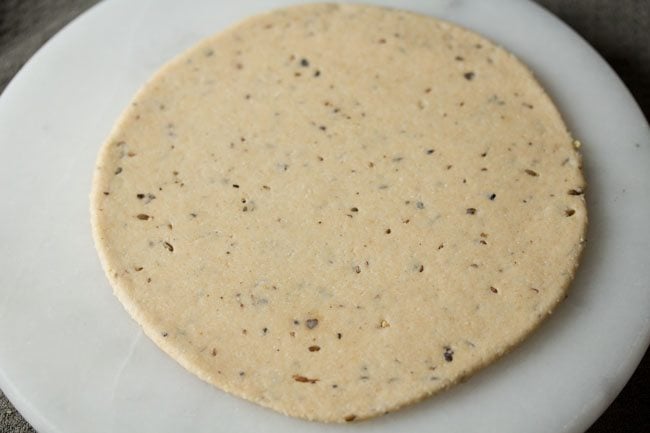
- Now take one part and begin to roll it into a disc or circle.
- The circle should be 6 to 7 inches in diameter having 5 to 7 mm thickness. Ensure that it is not too thick or thin in thickness.
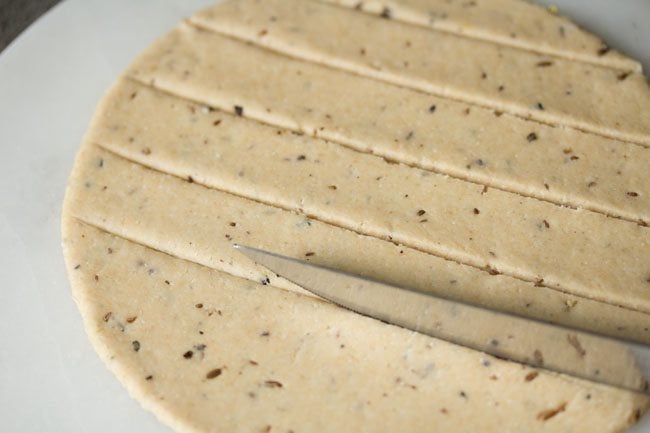
- Now with a knife or pizza cutter, cut the dough into diagonal strips.
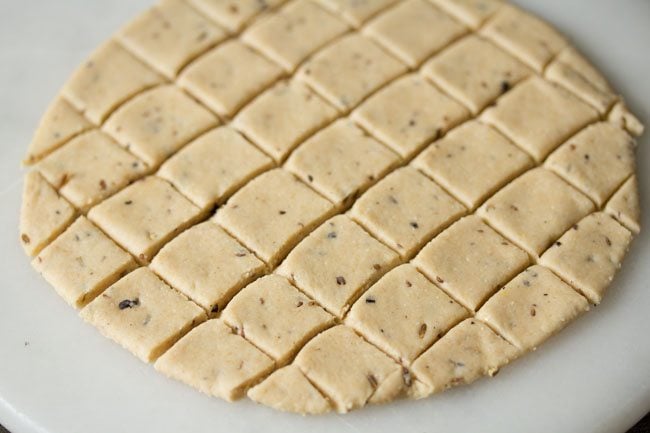
- Then cut again to make diamond shapes or square shapes in the dough.
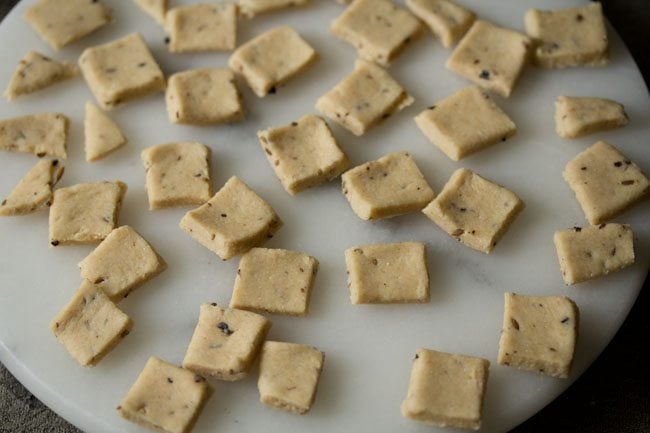
- Separate the diamonds. Cover with a clean kitchen napkin and set aside once you begin to heat the oil.
Fry Khare Shankarpali
- Heat oil in a kadai or pan.
- Before you begin to fry, add a small piece from the dough to check that the oil is at the right temperature. It should be medium hot. If the small piece of dough floats to the top and comes up gradually, then the dough is ready to be fried. However, if it comes to the top too quickly, then the oil is too hot, so reduce the heat. When the oil is too hot, the shankarpali will cook on the outside and be raw in the center. If it floats to the top slowly or stays at the bottom, the oil needs to be hotter. A warmer temperature in the oil will result in an oily shankarpali.
- When the oil is medium hot, add the shankarpali pieces and do not overcrowd the kadai or pan. Add a few pieces at a time and fry in batches.
- Use a slotted spoon to turn over and fry one side of the shankarpali until it becomes golden.
- Flip a couple of times and fry to get an even golden color. Once golden, remove using a slotted spoon.
- Drain them on a kitchen paper towels to remove excess oil and once cooled, store them in an air-tight container or jar.
- Serve savory shankarpali as a tea time snack.
Expert Tips
Dough: The dough must be stiff, tight and firm to achieve the best texture for both the shankarpali recipes. Make sure it is not too dry as this may cause the dough to crack when rolling. If the dough is too wet then the shankarpali may become soft and not crispy. Remember to cover the dough with a clean kitchen towel or moist kitchen napkin when not using it.Oil: When frying shankarpali the oil must be at a medium temperature. That is not too hot or cool. To test the oil rip a small section of dough and gently drop it into the oil. The dough should gradually float to the top of the oil. If it floats slowly then it is too warm and if it floats to the top too quickly then it is too hot. For the perfect temperature adjust the heat accordingly.Frying: Make sure you don’t add too much of the dough pieces to the oil when frying. This may cause the oil to cool down and slow down the frying. To avoid this fry the shankarpali in batches. Add the numbers according to the size of the pan or kadai.Variations: Bake or fry the shankarpali depending on your preference. You can also make these snacks sweet or savory.
Please be sure to rate the recipe in the recipe card or leave a comment below if you have made it. For more vegetarian inspirations, Sign Up for my emails or follow me on Instagram, Youtube, Facebook, Pinterest or Twitter. Karanji Recipe Chakli Recipe (Instant & Easy) Murukku Recipe | Murukulu Recipe (Crunchy Rice Flour Spirals) Nankhatai Recipe | Nankhatai Biscuit This Shankarpali recipe post from the archives first published in October 2013 has been updated and republished on 21 October 2022.
