About This Recipe
Since strawberry season is in full swing, I wanted to share this easy homemade strawberry jam recipe. If you are anything like me, you probably have multiple pints of fresh strawberries lining your refrigerator and countertops. If any of them are starting to turn a little soft, this is the perfect way to rescue them! This ridiculously easy strawberry jam comes in handy whenever we want to have a quick breakfast or brunch. All you need to do is chop the strawberries and then cook them in a pan with sugar, stirring intermittently. It is the perfect recipe for multitasking in the kitchen – it requires very little skill, but does need some babysitting. I added some fresh-squeezed lemon juice (the 3rd ingredient) to give the jam a bit of brightness, but you can feel free to skip it if you wish. On the other hand, if you love the blend of sweet and sour flavors, you can also add lemon zest to give it more piquancy. I have even made this jam earlier with powdered jaggery in place of sugar on occasions. You can feel free to use either cane sugar, brown sugar, raw sugar, or jaggery depending on your preferences. At the end of the day, this is not a recipe that needs to be strictly followed, but is more of a method of cooking strawberry jam. The proportions can easily be doubled or tripled. The amount of jaggery, lemon juice, and sugar can be adjusted based on the sweetness of the strawberries and your own personal taste.
How To Make Strawberry Jam
Prep
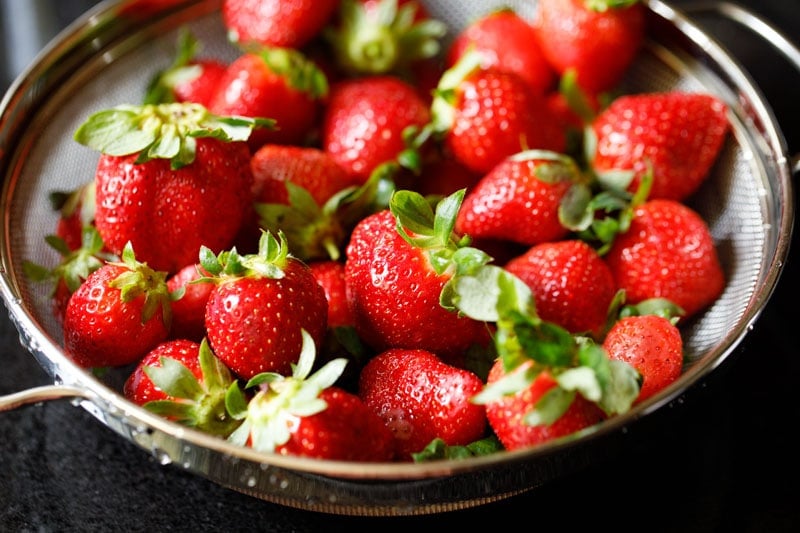
- Rinse 600 grams organic strawberries in a colander or strainer a few times. Drain all the water and let them dry naturally or wipe them dry with a clean kitchen towel. For organic strawberries, you can simply rinse them in water a couple of times. But for the strawberries that are not organically farmed or produced, soak them in water mixed with about 1 to 2 tablespoons of vinegar and a bit of baking soda for about 5 minutes. Later drain the water and soak them again in fresh water for a few minutes. Rinse again thoroughly in running water. Drain all the water. Spread them on kitchen towels or in a colander/strainer and let them dry naturally.
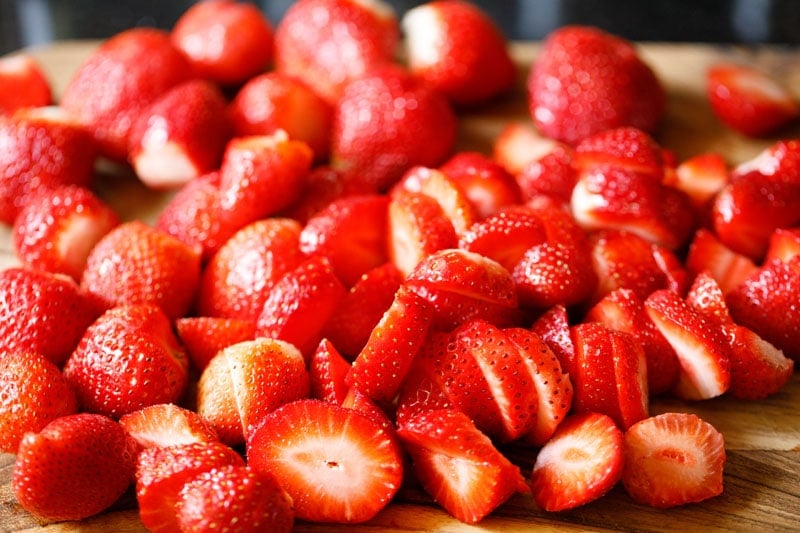
- Remove the stem tips and leaves of the strawberries and slice or chop them. After chopping, you should get approximately 5 cups of chopped strawberries.
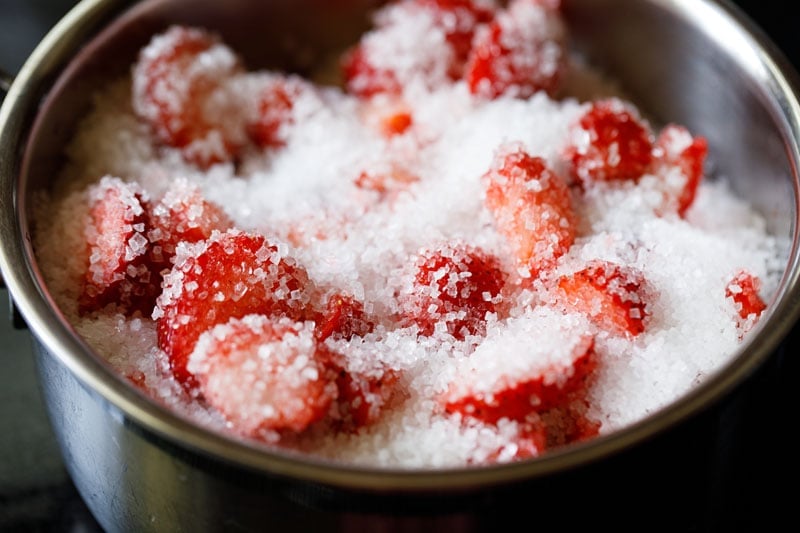
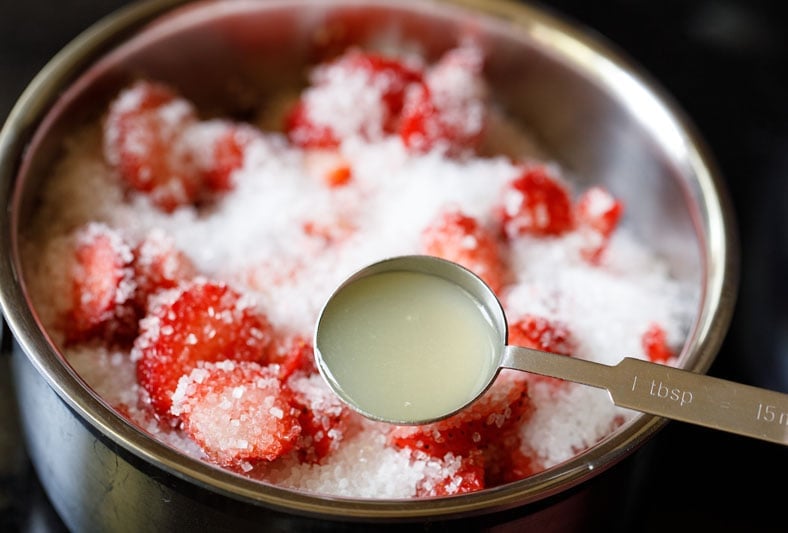
- Add the strawberries and 2 cups (400 grams) of white sugar or raw sugar to a heavy-bottomed saucepan. Jaggery (Indian unrefined cane sugar) can be used in place of the sugar if you prefer.
- Add 2 tablespoons lemon juice.
Cook
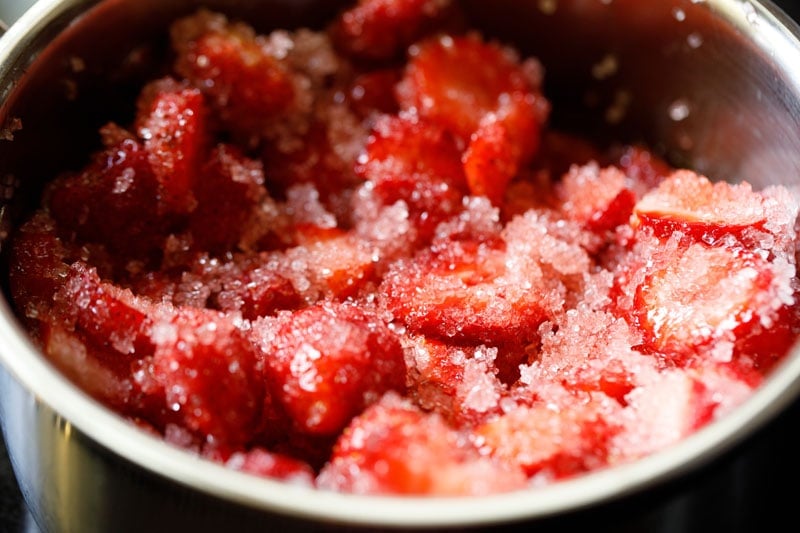
- Mix thoroughly and keep the pan over low to medium-low heat.
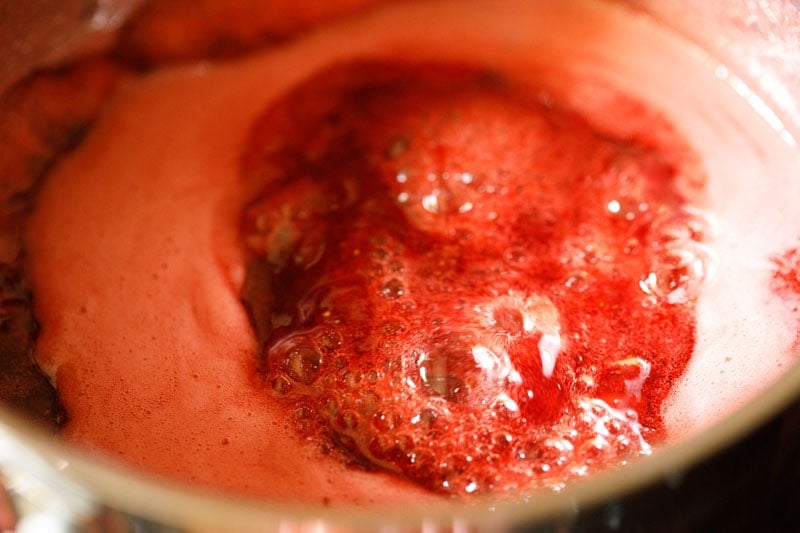
- As the strawberries simmer, you will see them begin to leave their juices.
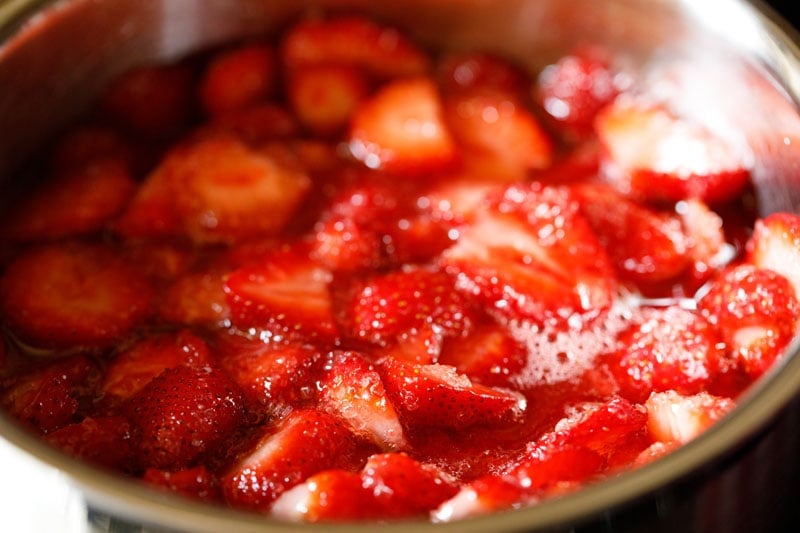
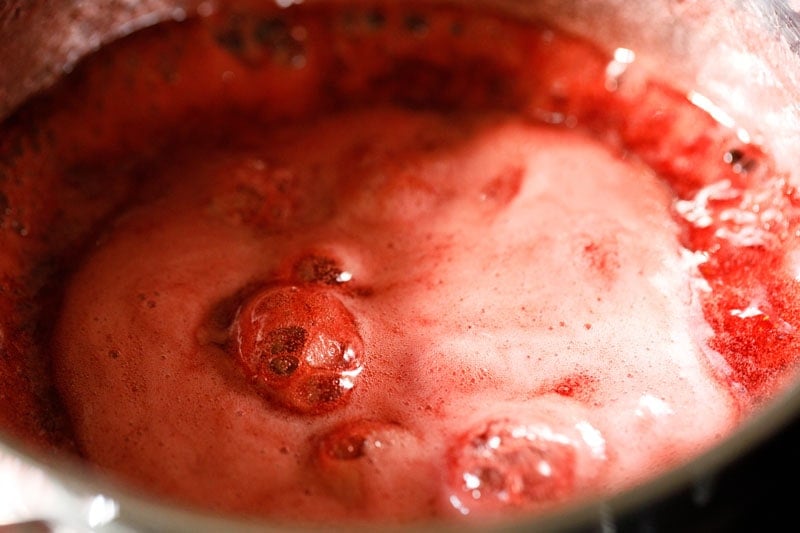
- Stir at intervals till the strawberries soften and are cooked. You will see the strawberries floating in their juices.
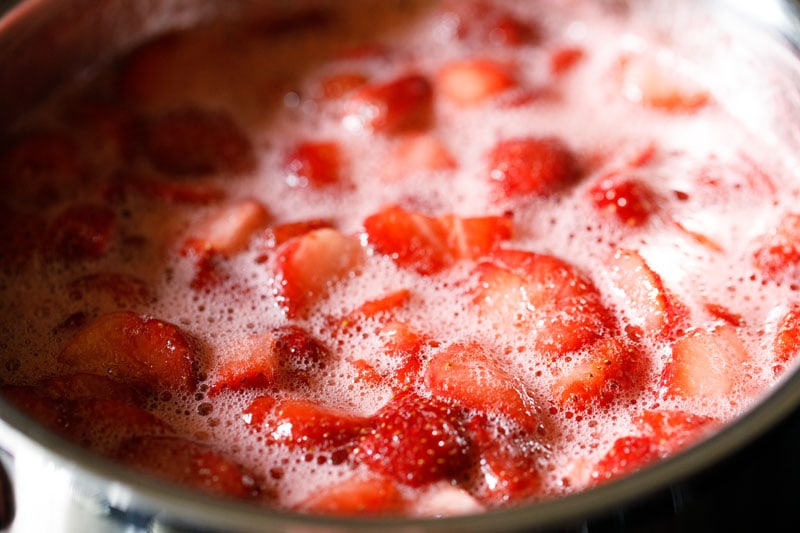
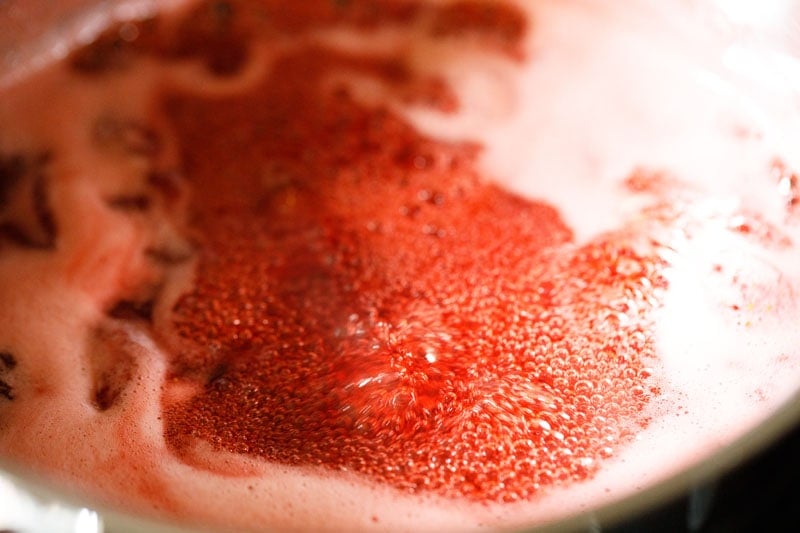
- Continue to simmer as the juice and strawberries bubble and reduce slowly.
- Keep on stirring often as the jam mixture is reducing. The juice will thicken slightly and the strawberries themselves will soften and become mushy.
- Reduce the flame to low or medium-low and continue to simmer and reduce the jam mixture.
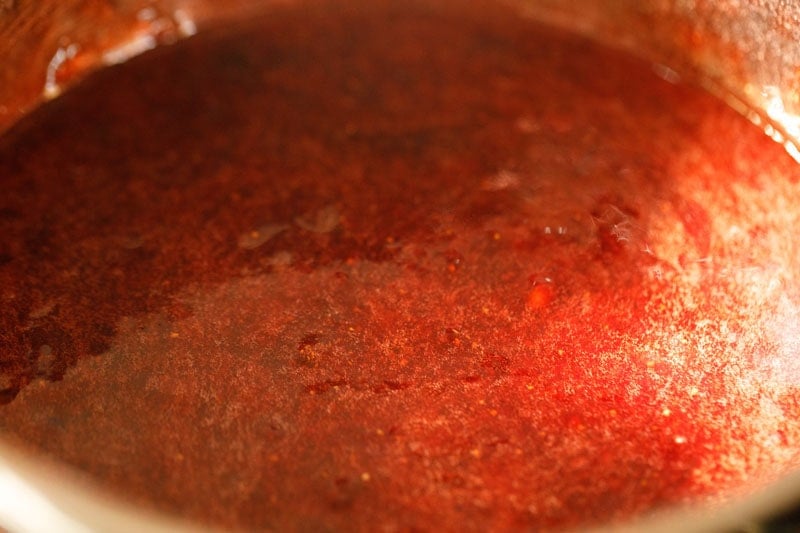
- The juice will thicken considerably as you go on simmering. Do remember to stir regularly.
- It will look translucent and gelatinous and should start leaving the sides of the pan. It took me about 50 minutes – start to finish – to cook the jam. When the mixture starts to leave the sides of the pan, it means it’s done. Note that the timing will vary with the heaviness, volume and size of the pan and the intensity of heat.
Test for Doneness
- There are two other ways to check the consistency and doneness:
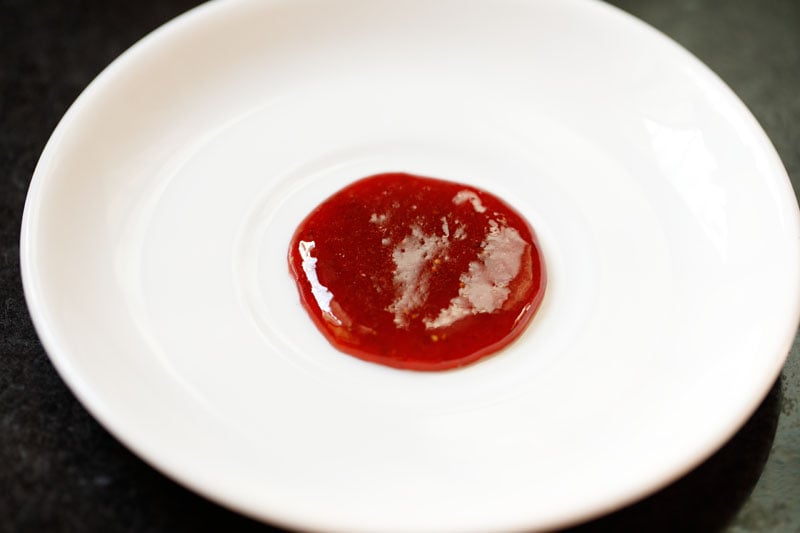
- Plate Test: Take a spoonful of the strawberry jam on a glass plate or steel plate and let it cool (you can pop it in the freezer to speed up the process). If it sets on cooling and there is no water separation, this means the jam is done and is at its setting point.
- This is another easy test that you can do.
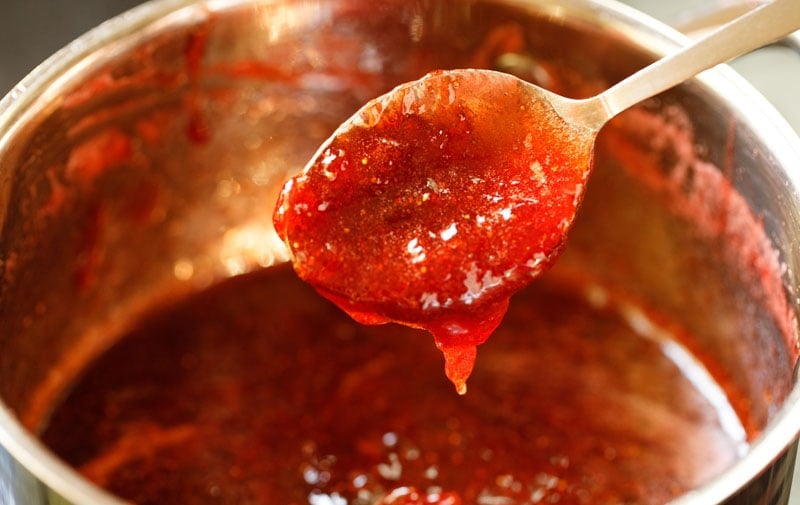
- Sheet Test or Spoon Test: Take the jam in a spoon and allow it to fall. If the jam falls in the form of a sheet, it is done and ready to be bottled.
Bottle and Store
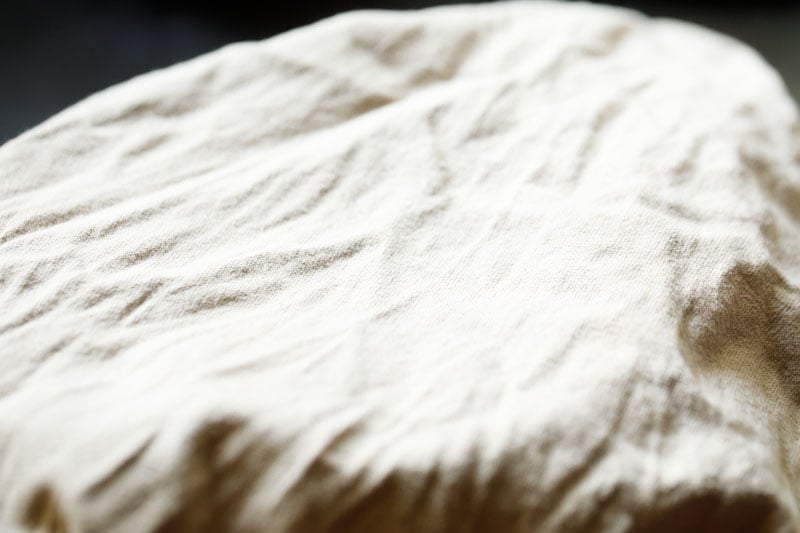
- Cover the pan with a clean kitchen towel and let the jam cool at room temperature.
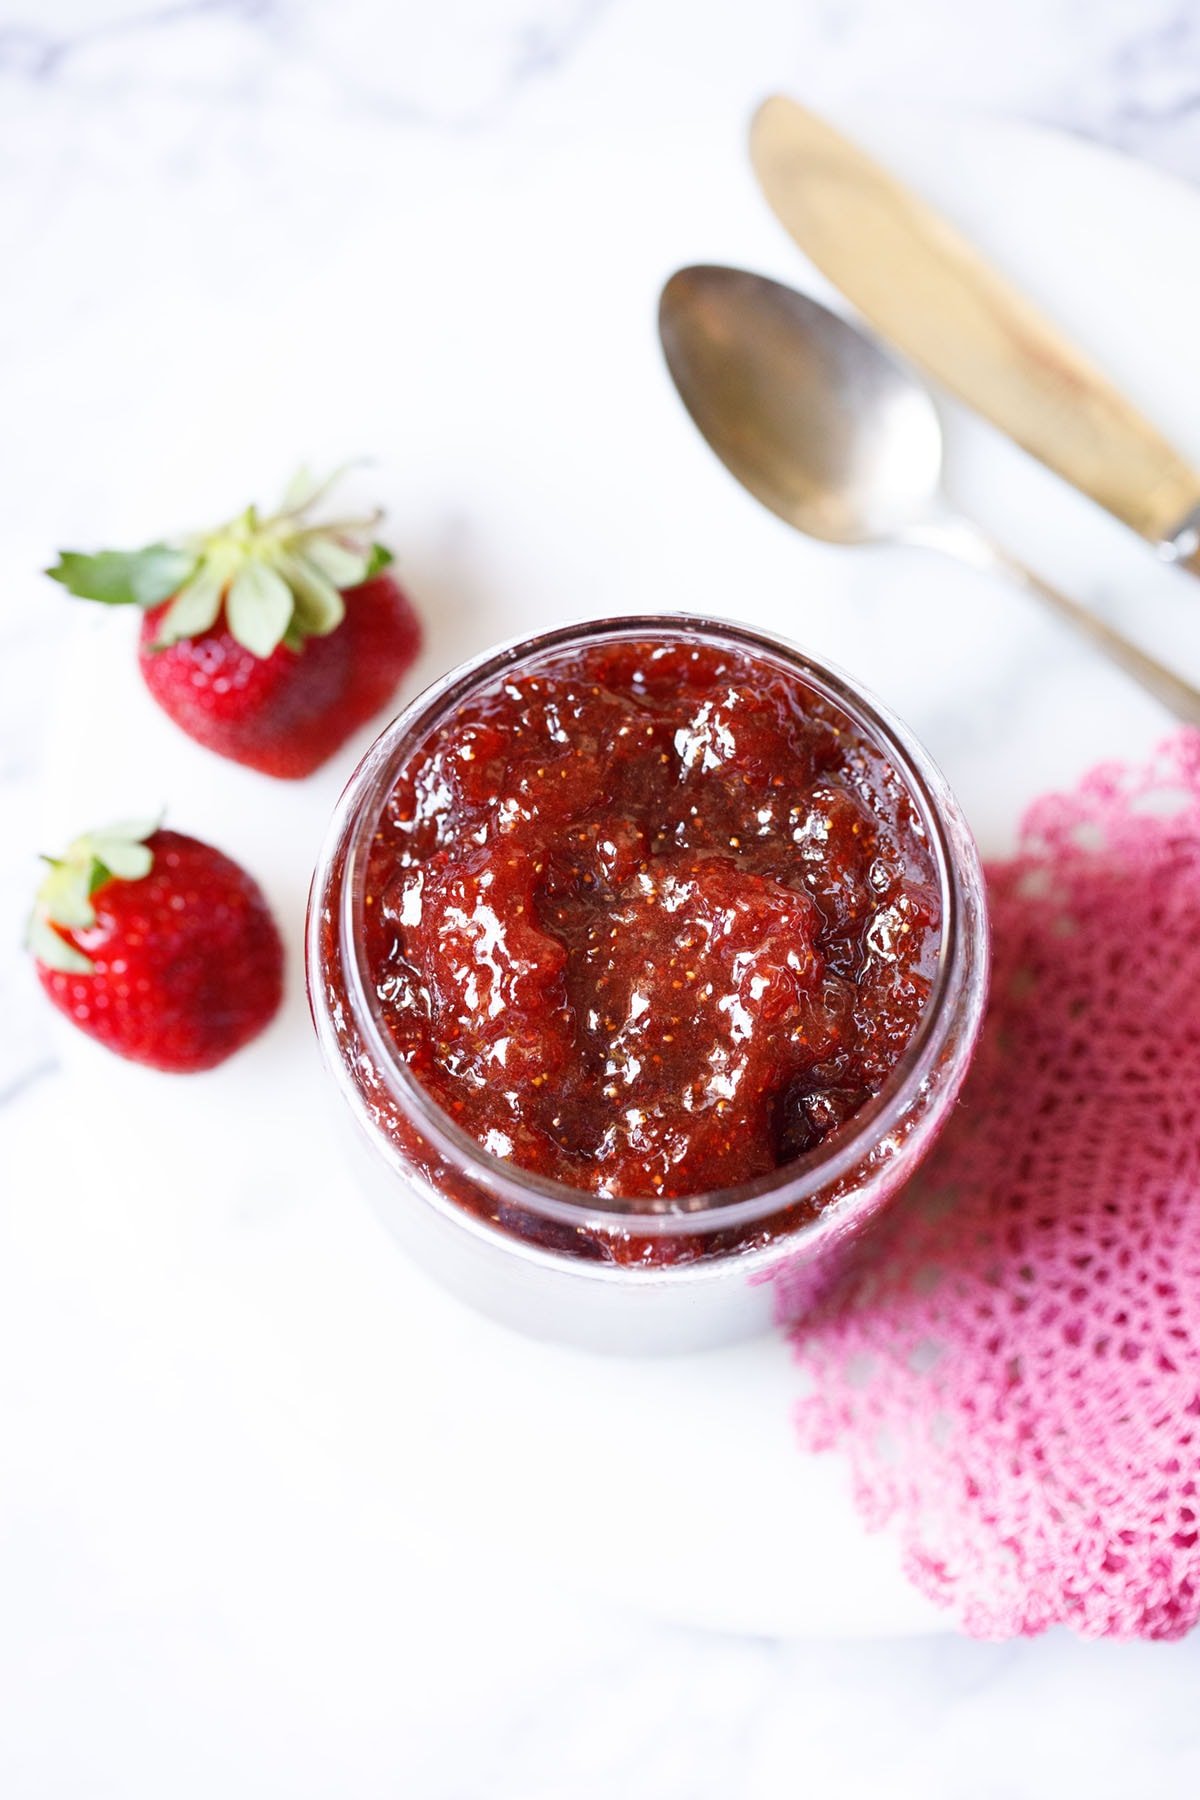
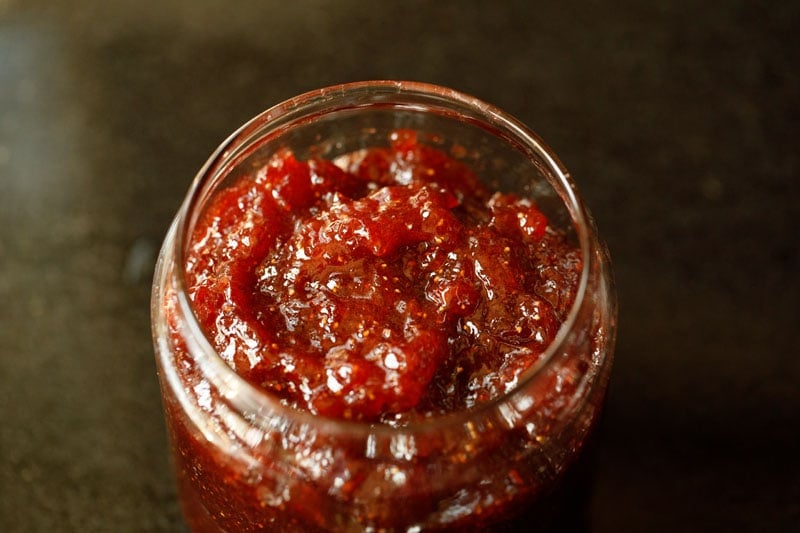
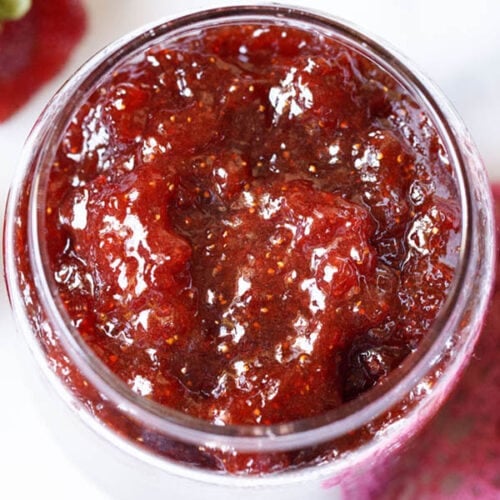
- Then spoon it in a medium-sized sterilized glass jar or glass bottle. This recipe yields about 1 medium jar of jam which is enough for a couple of weeks. Keep the jam bottle in the fridge and use it within 2 months, or freeze it and use it within 6 months.
Serving Suggestions
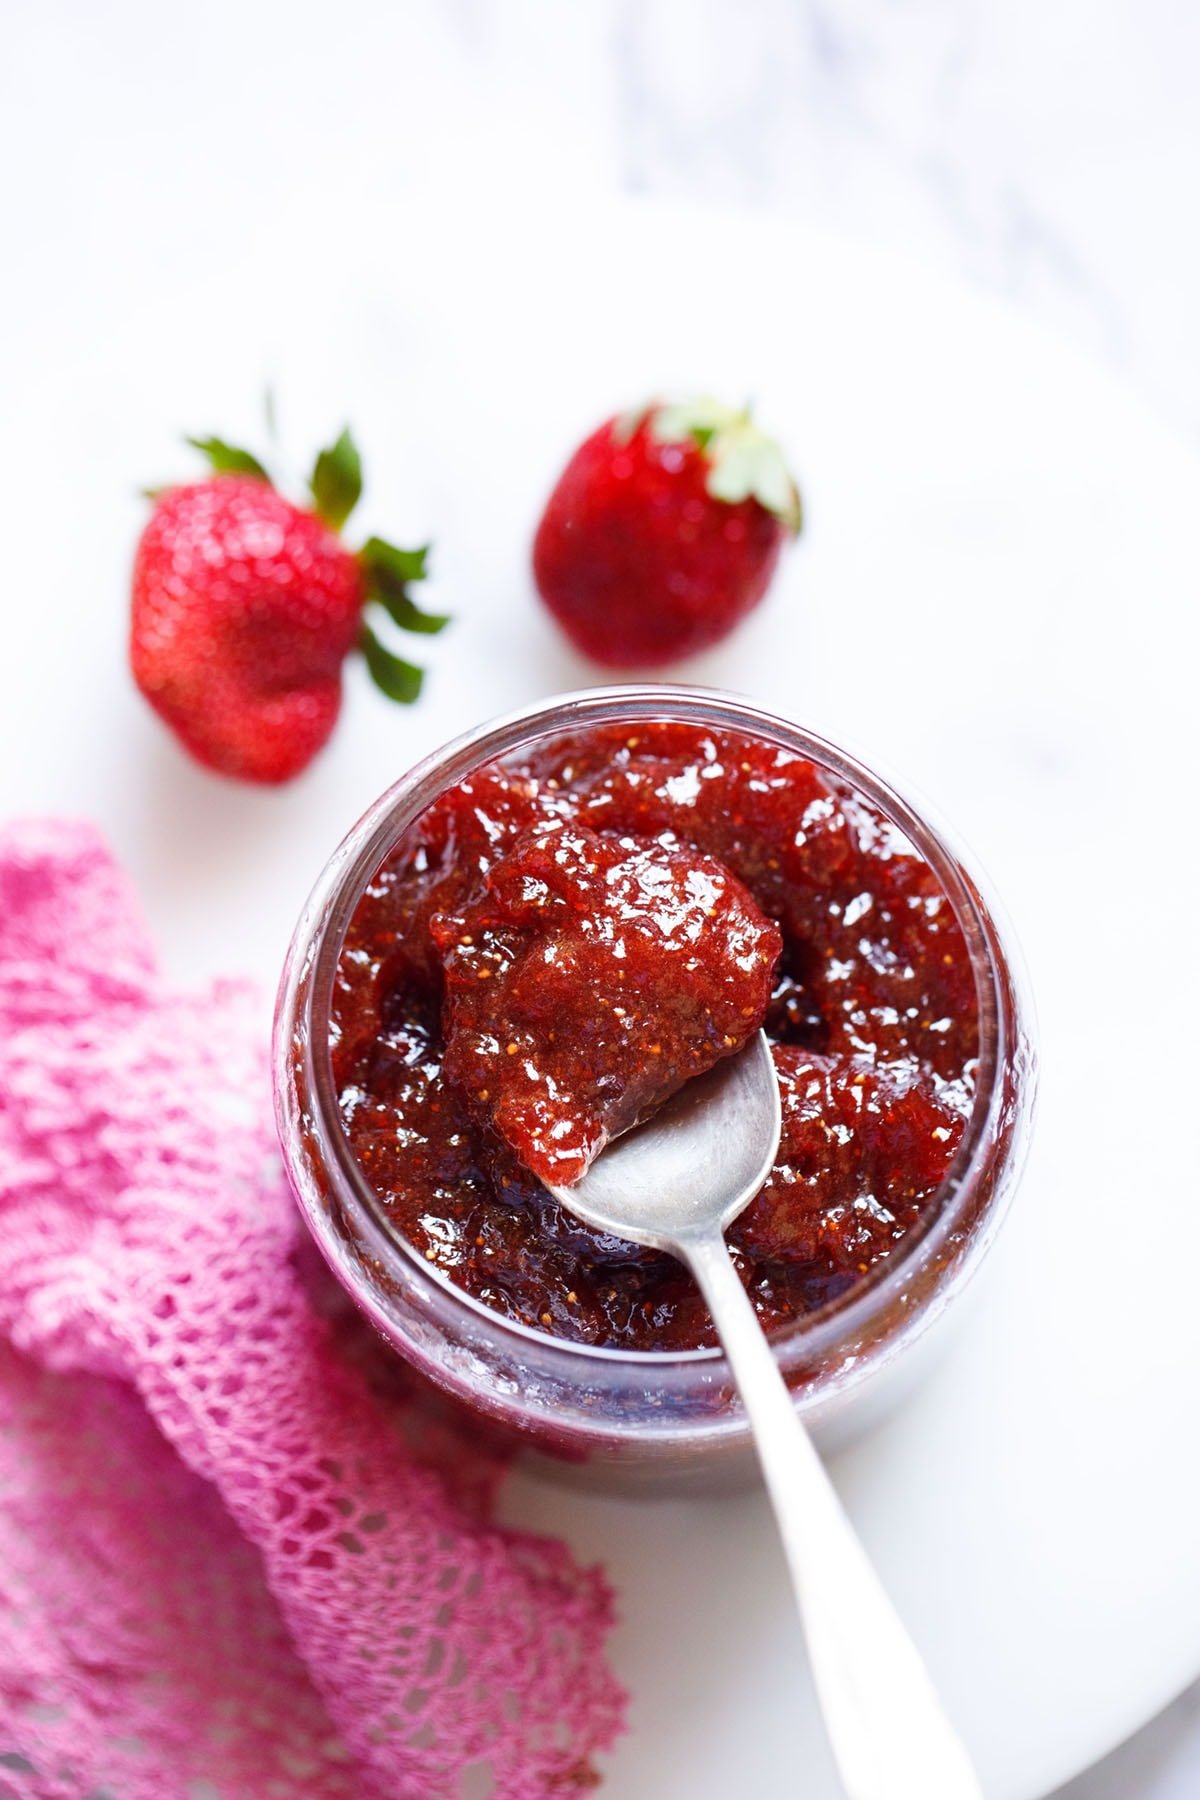
This homemade strawberry jam is so bright and tasty that I’ll sometimes eat it by the spoonful. But, there are plenty more ways to use this delightful fruit spread! Here are a few ideas to get you started:
Spread over toast, english muffins, bagels, loaf cakes, graham crackers, Pancakes, or Waffles. Feel free to add peanut butter, too!Dolloped on your morning Porridge.Layered into Trifles or parfaits.Swirled into plain yogurt or Curd (extra points if you top the bowl with some granola and/or fresh cut fruit).Mixed with Butter or cream cheese for compound spreads.Mixed into buttercream for strawberry flavored frosting.As a filling for thumbprint cookies.Spread between layers of Cake.Warmed and poured over Vanilla Ice Cream.Dolloped and swirled into Brownie or Cheesecake batter before baking.
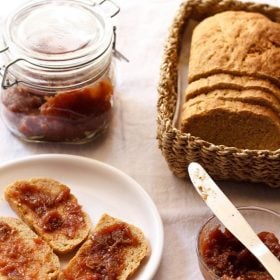
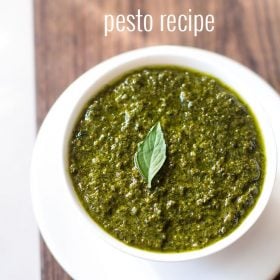
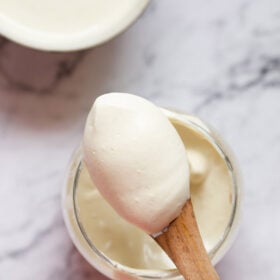
No matter how you enjoy this tasty homemade strawberry jam, I’m pretty sure you’re going to love it. If you come up with a winning combination that the world should know about, please let us know in the comments below! Please be sure to rate the recipe in the recipe card or leave a comment below if you have made it. For more vegetarian inspirations, Sign Up for my emails or follow me on Instagram, Youtube, Facebook, Pinterest or Twitter. Fig Jam Recipe Pesto Recipe | Basil Pesto Sauce Easy Hummus Recipe (With Sesame Seeds) Veg Mayonnaise (Eggless & Vegan) This strawberry jam recipe from the blog archives first published in March 2014 has been republished and updated on 15 January 2022.


title: “Strawberry Jam Recipe Without Pectin " ShowToc: true date: “2024-09-20” author: “Jordan Pender”
About This Recipe
Since strawberry season is in full swing, I wanted to share this easy homemade strawberry jam recipe. If you are anything like me, you probably have multiple pints of fresh strawberries lining your refrigerator and countertops. If any of them are starting to turn a little soft, this is the perfect way to rescue them! This ridiculously easy strawberry jam comes in handy whenever we want to have a quick breakfast or brunch. All you need to do is chop the strawberries and then cook them in a pan with sugar, stirring intermittently. It is the perfect recipe for multitasking in the kitchen – it requires very little skill, but does need some babysitting. I added some fresh-squeezed lemon juice (the 3rd ingredient) to give the jam a bit of brightness, but you can feel free to skip it if you wish. On the other hand, if you love the blend of sweet and sour flavors, you can also add lemon zest to give it more piquancy. I have even made this jam earlier with powdered jaggery in place of sugar on occasions. You can feel free to use either cane sugar, brown sugar, raw sugar, or jaggery depending on your preferences. At the end of the day, this is not a recipe that needs to be strictly followed, but is more of a method of cooking strawberry jam. The proportions can easily be doubled or tripled. The amount of jaggery, lemon juice, and sugar can be adjusted based on the sweetness of the strawberries and your own personal taste.
How To Make Strawberry Jam
Prep
- Rinse 600 grams organic strawberries in a colander or strainer a few times. Drain all the water and let them dry naturally or wipe them dry with a clean kitchen towel. For organic strawberries, you can simply rinse them in water a couple of times. But for the strawberries that are not organically farmed or produced, soak them in water mixed with about 1 to 2 tablespoons of vinegar and a bit of baking soda for about 5 minutes. Later drain the water and soak them again in fresh water for a few minutes. Rinse again thoroughly in running water. Drain all the water. Spread them on kitchen towels or in a colander/strainer and let them dry naturally.
- Remove the stem tips and leaves of the strawberries and slice or chop them. After chopping, you should get approximately 5 cups of chopped strawberries.
- Add the strawberries and 2 cups (400 grams) of white sugar or raw sugar to a heavy-bottomed saucepan. Jaggery (Indian unrefined cane sugar) can be used in place of the sugar if you prefer.
- Add 2 tablespoons lemon juice.
Cook
- Mix thoroughly and keep the pan over low to medium-low heat.
- As the strawberries simmer, you will see them begin to leave their juices.
- Stir at intervals till the strawberries soften and are cooked. You will see the strawberries floating in their juices.
- Continue to simmer as the juice and strawberries bubble and reduce slowly.
- Keep on stirring often as the jam mixture is reducing. The juice will thicken slightly and the strawberries themselves will soften and become mushy.
- Reduce the flame to low or medium-low and continue to simmer and reduce the jam mixture.
- The juice will thicken considerably as you go on simmering. Do remember to stir regularly.
- It will look translucent and gelatinous and should start leaving the sides of the pan. It took me about 50 minutes – start to finish – to cook the jam. When the mixture starts to leave the sides of the pan, it means it’s done. Note that the timing will vary with the heaviness, volume and size of the pan and the intensity of heat.
Test for Doneness
- There are two other ways to check the consistency and doneness:
- Plate Test: Take a spoonful of the strawberry jam on a glass plate or steel plate and let it cool (you can pop it in the freezer to speed up the process). If it sets on cooling and there is no water separation, this means the jam is done and is at its setting point.
- This is another easy test that you can do.
- Sheet Test or Spoon Test: Take the jam in a spoon and allow it to fall. If the jam falls in the form of a sheet, it is done and ready to be bottled.
Bottle and Store
- Cover the pan with a clean kitchen towel and let the jam cool at room temperature.
- Then spoon it in a medium-sized sterilized glass jar or glass bottle. This recipe yields about 1 medium jar of jam which is enough for a couple of weeks. Keep the jam bottle in the fridge and use it within 2 months, or freeze it and use it within 6 months.
Serving Suggestions
This homemade strawberry jam is so bright and tasty that I’ll sometimes eat it by the spoonful. But, there are plenty more ways to use this delightful fruit spread! Here are a few ideas to get you started:
Spread over toast, english muffins, bagels, loaf cakes, graham crackers, Pancakes, or Waffles. Feel free to add peanut butter, too!Dolloped on your morning Porridge.Layered into Trifles or parfaits.Swirled into plain yogurt or Curd (extra points if you top the bowl with some granola and/or fresh cut fruit).Mixed with Butter or cream cheese for compound spreads.Mixed into buttercream for strawberry flavored frosting.As a filling for thumbprint cookies.Spread between layers of Cake.Warmed and poured over Vanilla Ice Cream.Dolloped and swirled into Brownie or Cheesecake batter before baking.
No matter how you enjoy this tasty homemade strawberry jam, I’m pretty sure you’re going to love it. If you come up with a winning combination that the world should know about, please let us know in the comments below! Please be sure to rate the recipe in the recipe card or leave a comment below if you have made it. For more vegetarian inspirations, Sign Up for my emails or follow me on Instagram, Youtube, Facebook, Pinterest or Twitter. Fig Jam Recipe Pesto Recipe | Basil Pesto Sauce Easy Hummus Recipe (With Sesame Seeds) Veg Mayonnaise (Eggless & Vegan) This strawberry jam recipe from the blog archives first published in March 2014 has been republished and updated on 15 January 2022.
