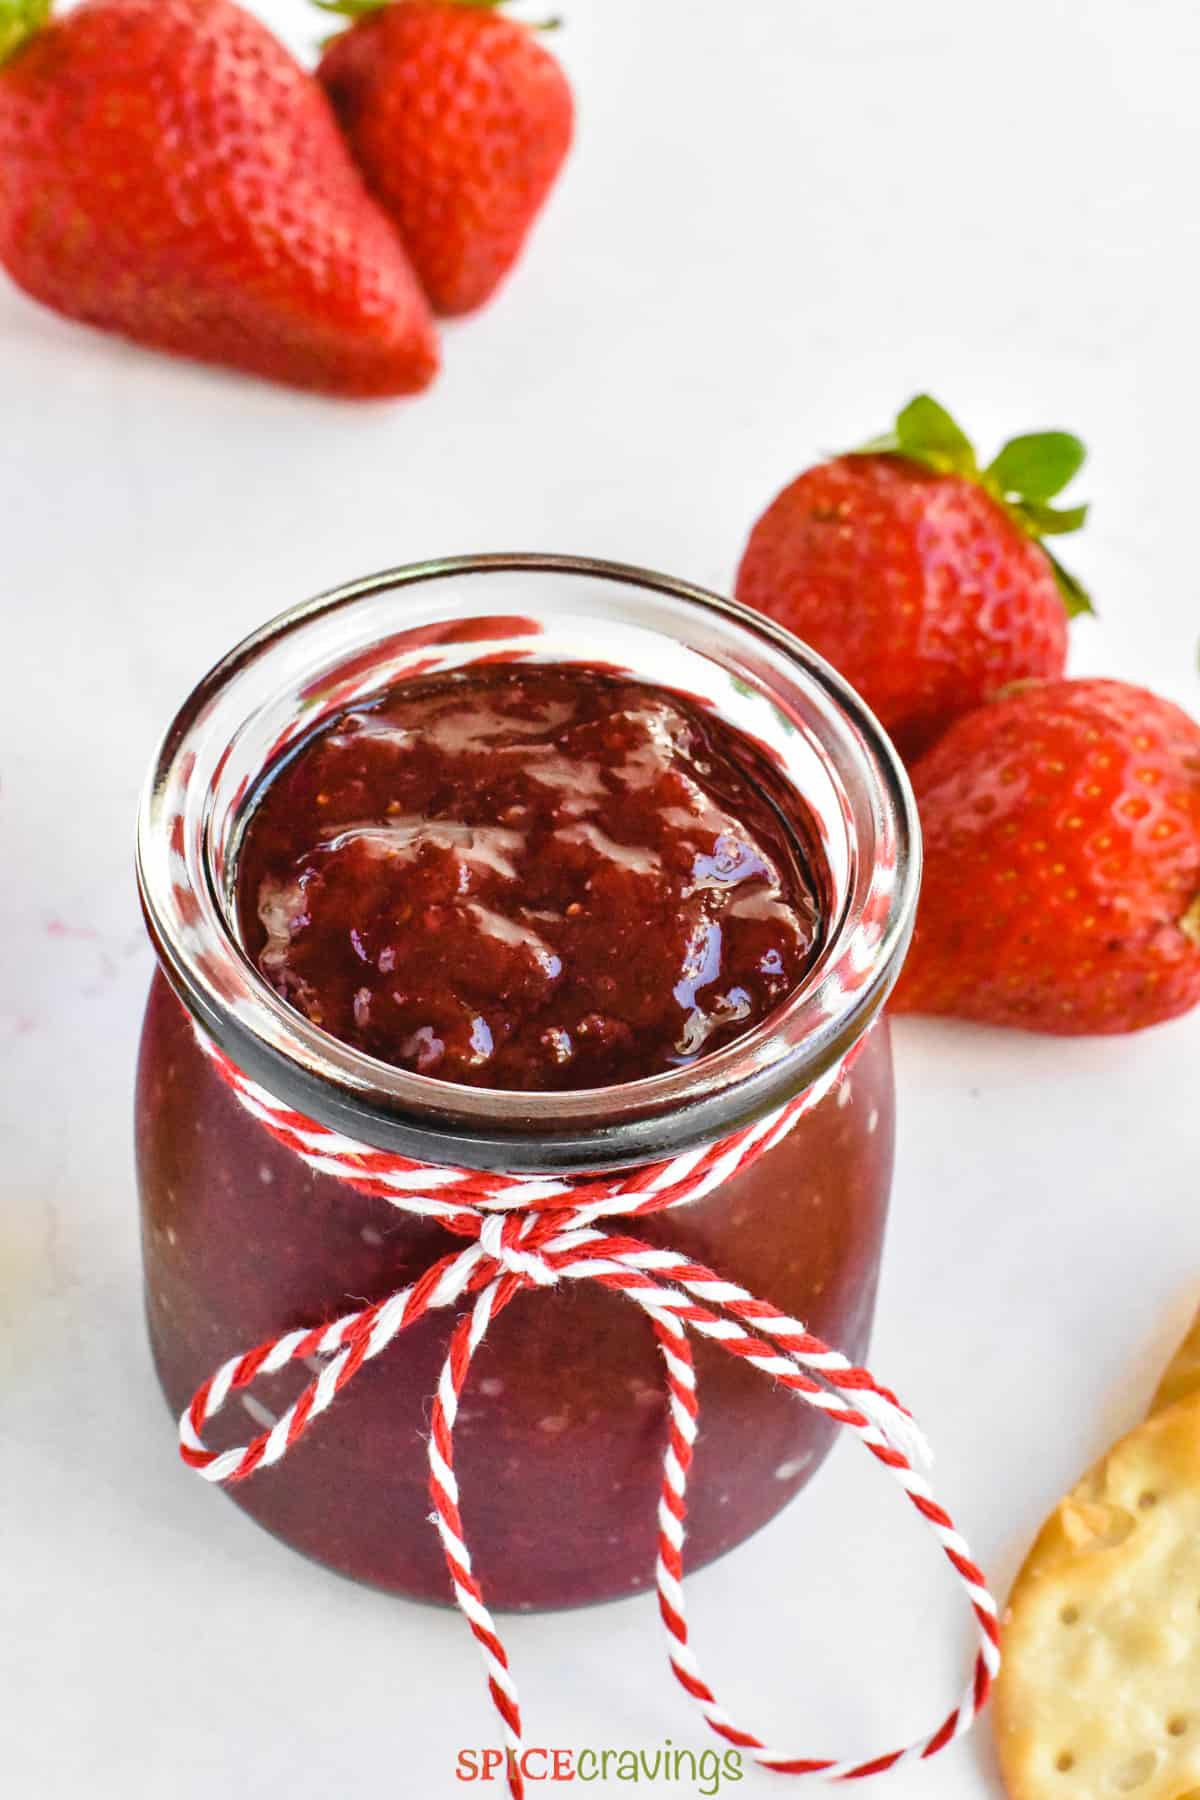
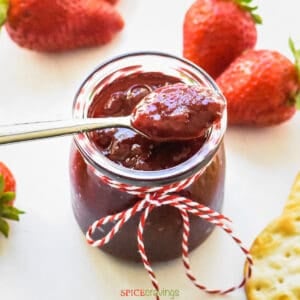
Every year spring brings us super-sweet, bright red strawberries and they become a staple in my home through the season. My family enjoys them as a snack and we love adding them to salads, oatmeal, and even cheesecake. But one of our favorite way to enjoy them is by making fresh strawberry jam.
This no-pectin strawberry jam recipe is the easiest fruit preserve I’ve ever made. All you need is three simple ingredients - strawberries, sugar, and lemon juice, no pectin needed! Pectin is a natural fiber found in plant cell walls that binds with sugar and fruit acid to form a gel. Since strawberries do not contain a high amount of pectin, we need to add an acid component (lemon) to cook and evaporate the natural fruit juice. After a bit of cooling time, the homemade jam thickens beautifully! Another Recipe for Strawberry Lovers: Chocolate-Covered Strawberries
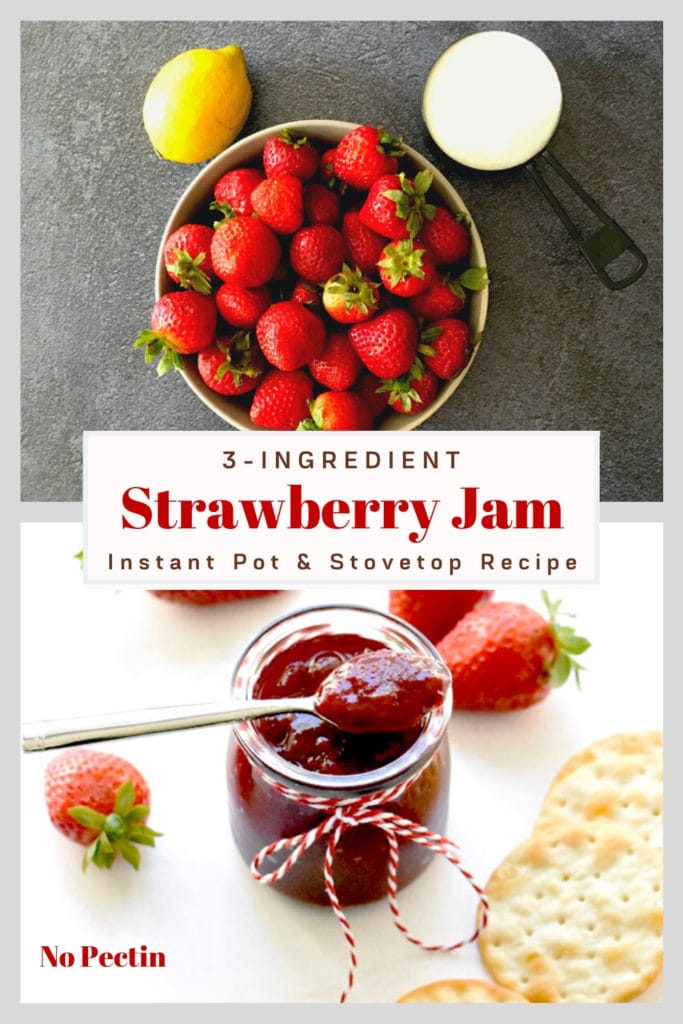
Ingredients - Notes & Substitutions
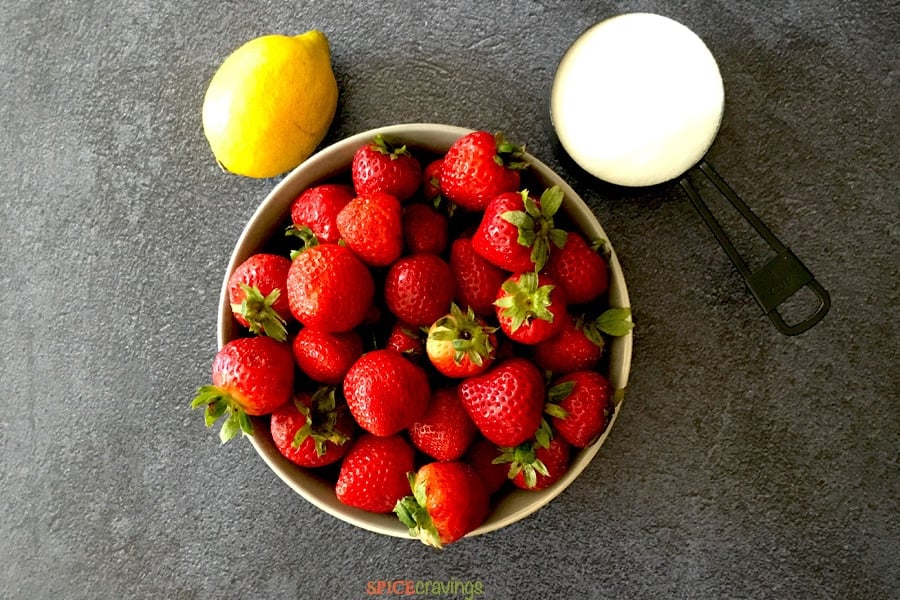
Here’s what you need for making this easy strawberry jam without pectin:
Strawberries: For the best flavor, pick bright red, ripe strawberries with no signs of mold. Grab three pints from your nearest Farmer’s Market or two one-pound packages from your local grocery store. A pint contains 12 ounces of strawberries, so you need an extra pint to reach the 2-lb. total needed for this recipe. Once hulled, the strawberries will weigh about 24-28 ounces. Sugar: Regular granulated sugar is all you need. We are only using 1 cup of sugar in the whole recipe which is far less than the typical 3 cups (!) of sugar found in many other homemade jam recipes. (We’re taking advantage of the natural sugars from ripe strawberries here. ) Lemon Juice: Use freshly squeezed lemon juice rather than the store-bought bottled variety. Although there is some debate about using bottled lemon juice to control the amount of acidity, I found that fresh lemon juice produces the best flavor overall.
Scroll to the recipe card for a detailed list of ingredients and quantities.
How To Make Strawberry Jam Without Pectin
This recipe for Instant Pot Strawberry Jam can be prepared in less than 1 hour in the Instant Pot. You’ll also find the stovetop directions below, so pick whichever method is most convenient. Here are the step-by-step directions with photos:
Step 1: Clean and Cut Strawberries
Rinse and dry strawberries. Remove the green crowns (tops) and cut them in half.
Step 2: Macerate Strawberries
In a large mixing bowl or the steel pot of Instant Pot, add strawberries and sugar. Toss to combine and leave aside for 10 minutes (Pics 1-3). The strawberries will start releasing their juices (Pic 4).
Step 3: Cook Strawberries
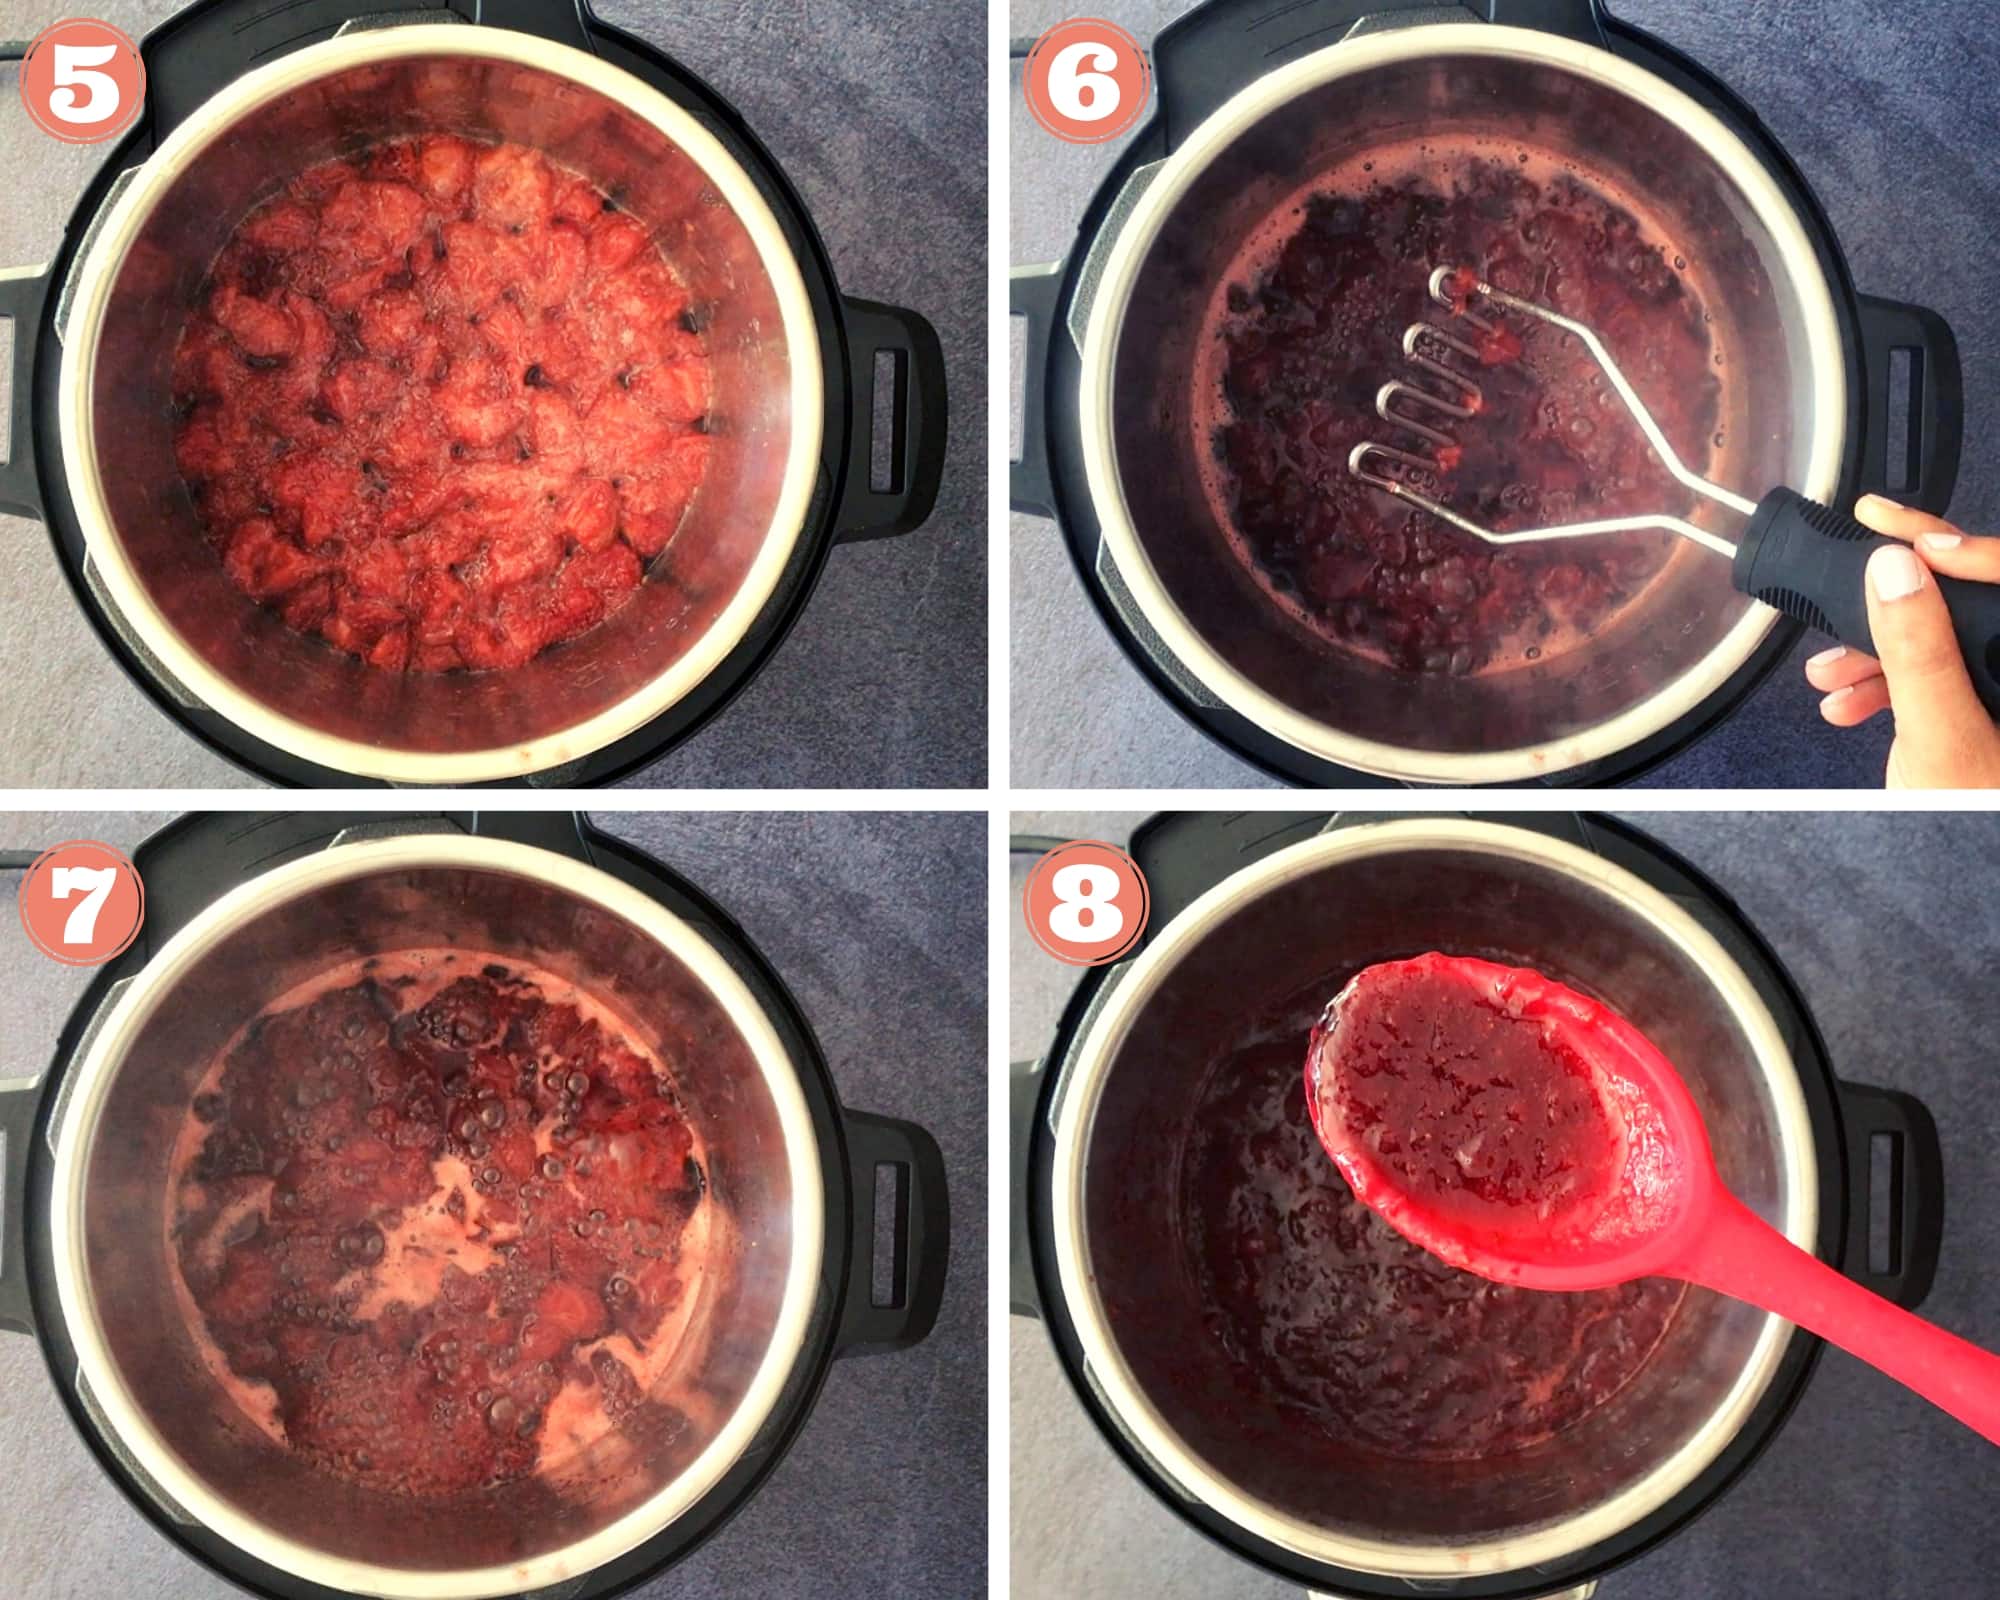
Close the lid and select pressure cook for 1 minute at high pressure. Wait for natural pressure release, then open the lid after the pin drops (Pic 5).
Stir in lemon juice and turn on Saute mode. Using a potato masher, mash the strawberries to break them down, leaving some chunks (Pic 6).
Simmer to thicken the jam, while stirring in between. It takes about 15-20 minutes, depending on the quantity (Pics 7 & 8). If you like the texture really smooth, puree it using an immersion blender.
Step 4: Cool & Store
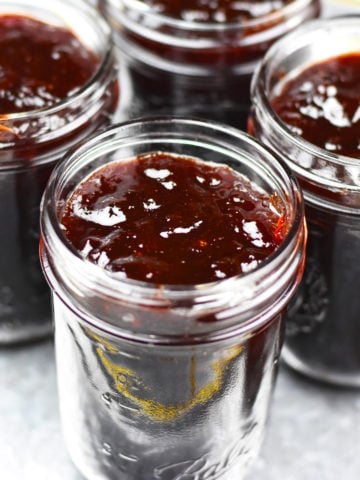
Let the jam cool completely. Transfer to a few airtight containers. Place in the fridge for up to 4 weeks or freeze for up to 2 months. If you’re not sure if your jam has set, follow these tips below: How To Know If Your Jam Has Set? Here is a quick tip to know your strawberry jam has cooked to the right consistency:
Place a small plate in the freezer to chill. When it is very cold, spoon a few drops of the strawberry jam onto it and allow it to chill in the fridge for 5 minutes. Give it a slight nudge with your finger. If you see wrinkles forming on the surface, then your jam has reduced enough to be thick (and not runny) when cooled.
Alternate Cooking Method: Stovetop
In a food processor, pulse strawberries until coarsely chopped. Transfer to a wide Dutch oven or pasta pot. Tip: Using a wide and tall pot keeps the hot sugar bubbles from flying out of the pan. Stir in sugar and lemon juice. Cook over medium-high, stirring frequently until the jam bubbles and thickens about 15-20 minutes. Note: Keep stirring in between to prevent the sugars from burning at the bottom.
Serving Suggestions
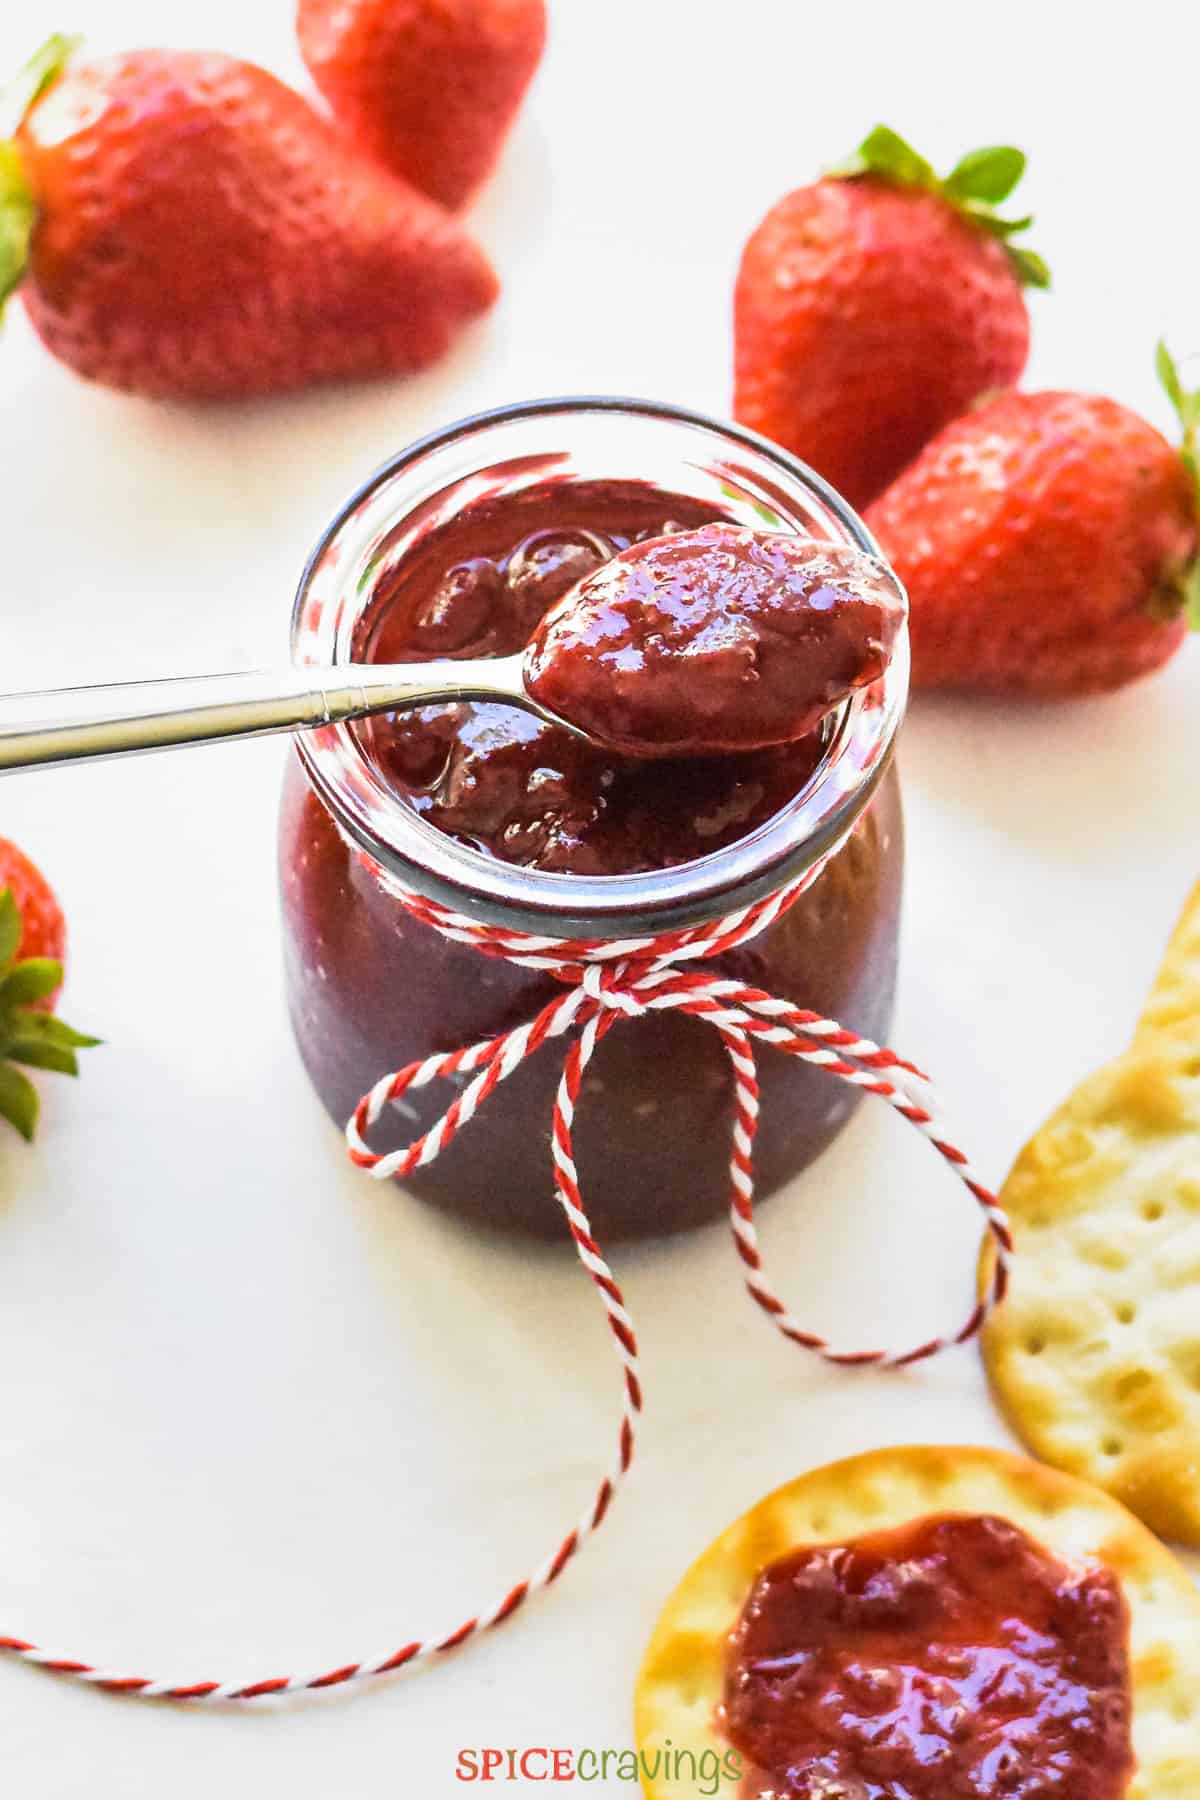
Here are some ways we like to enjoy strawberry jam:
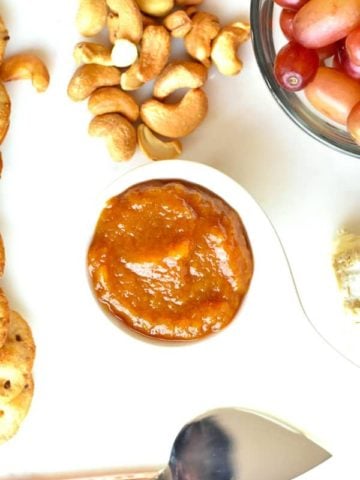
Slather it on toasted bread, biscuits, or English muffins Warm it slightly and drizzle over pancakes, waffles, or ice cream! Dollop a spoonful into your morning oatmeal or yogurt Stir a couple of teaspoons in cream cheese frosting and pipe it into homemade cupcakes Enjoy with cheese and crackers Gift it to all your friends and family! (they will love you even more after that)
How to Store & Freeze
Strawberry jam can last for weeks or months depending on how you store it. If you are skilled in canning jams and jellies, you can certainly do so to get a longer shelf life. To store properly:
Wash jars or containers in hot, soapy water and thoroughly rinse and dry before filling. Unless you are canning, it is not necessary to sterilize the jars. Transfer the cooled jam to individual airtight containers, leaving a bit of space at the top (this helps if planning to freeze the jam as it will expand a bit in the freezer), seal tight, label, and date. Now you can either refrigerate or freeze it as per the following directions.
Refrigerate: Store the canned strawberry jam in your fridge for up to 4 weeks. To keep it as long as possible, don’t let it stand at room temperature for an extended period of time. Use it and return it to the refrigerator right away. Check for signs of spoilage (i.e. mold) after a few weeks. Freezing Strawberry Jam Without Pectin: Store the strawberry jam jar in your freezer for up to 2 months. To use, defrost in the fridge overnight.
Recipe Tips & Notes
Purchase strawberries during their peak season for the best strawberry jam. This gives you a sweeter jam without having to add excess sugar. The season will vary depending on where you live, but the peak season for strawberries is typically late winter - early spring (March-May). If your strawberries are small (typically ones from the farm are smaller), simply cut off the green tops and leave them whole. If using the stovetop method, use a wide and tall pot to keep the hot sugar bubbles from flying out of the pan (a splatter screen comes in handy, too!). Also, make sure to keep stirring in between to prevent the sugars from burning at the bottom. If you prefer the texture of your strawberry jam really smooth, puree it using an immersion blender.
More Fruit Preserves Recipes
📖 Recipe
This recipe has been updated with better photos and clearer instructions.