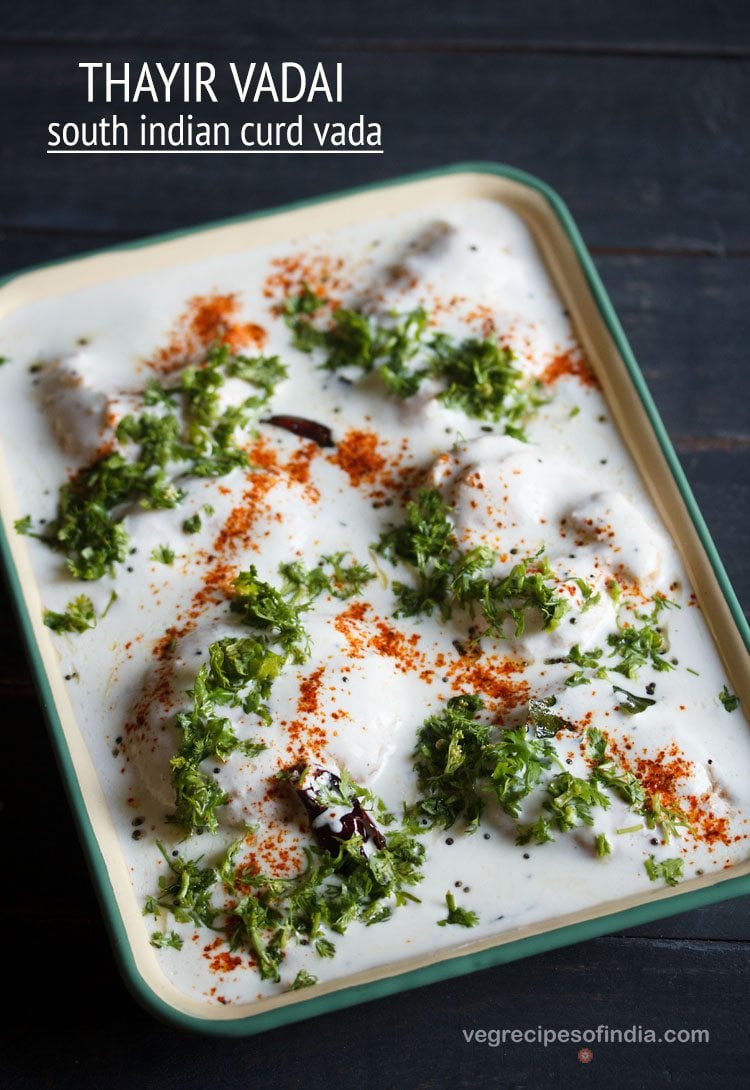
A classic Thayir Vadai has the vadas or vadai of black gram or urad dal topped with a curd-spiced coconut paste mixture, which is tempered with mustard seeds, curry leaves and dried red chili. Making thayir vadai does take some time as the vadas have to be fried before assembling. The rest of the method is easy. For making vadas, do use fresh urad dal and not old or aged urad dal. With fresh urad dal the vadas have soft texture. Whereas aged urad dal will give a hard to dense texture in the vadas. The dahi vada we have here in the Udupi restaurants has sugar in the dahi (curd). I will try to add this restaurant style recipe of thayir vadai too. The thayir vadai shared here is more of a Tamilian style preparation and does not use sugar. But if you like some sweetness in the curd, then you can add sugar. Thayir vadai can be served as snack or as a starter before a South Indian meal.
How to make Thayir Vadai
Soaking and grinding urad dal vada:
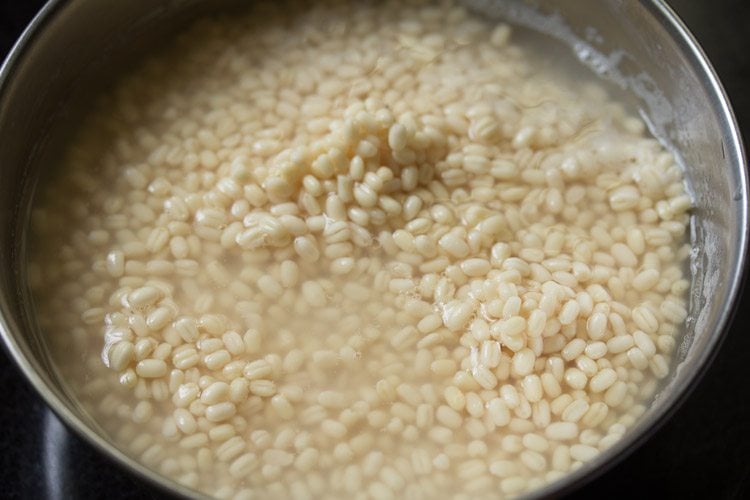
- Rinse 1 cup of urad dal a couple of times in fresh water. Then soak the urad dal in 2 cups water overnight or for at least 4 to 5 hours.
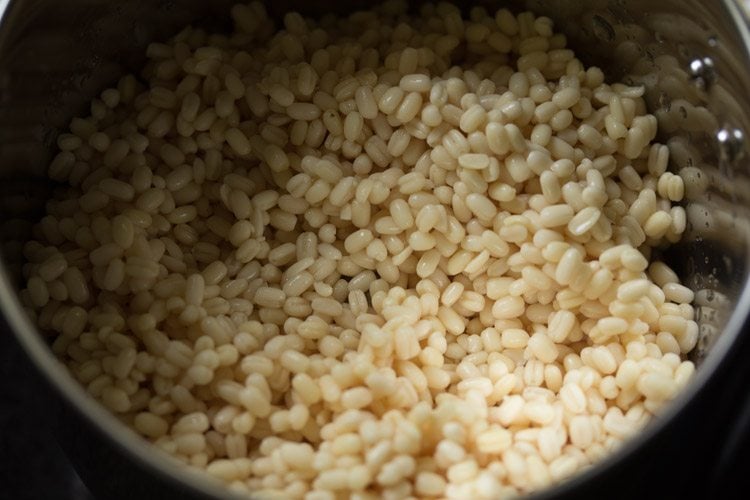
- Later drain all the soaked water.
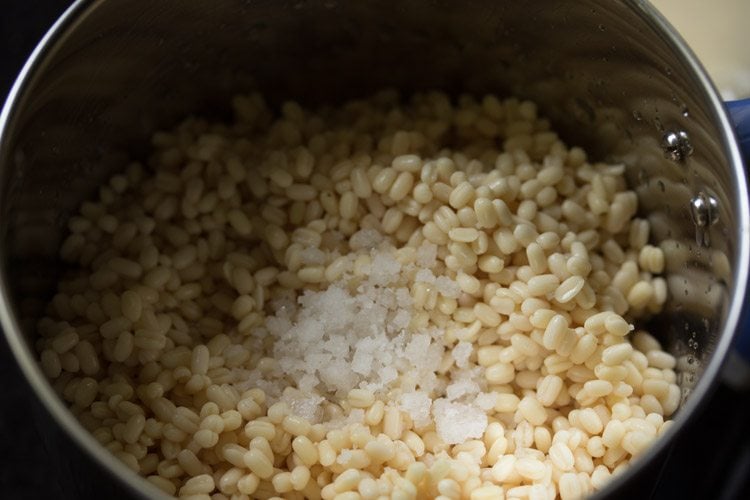
- Add the urad dal in a grinder jar. Add salt as required.
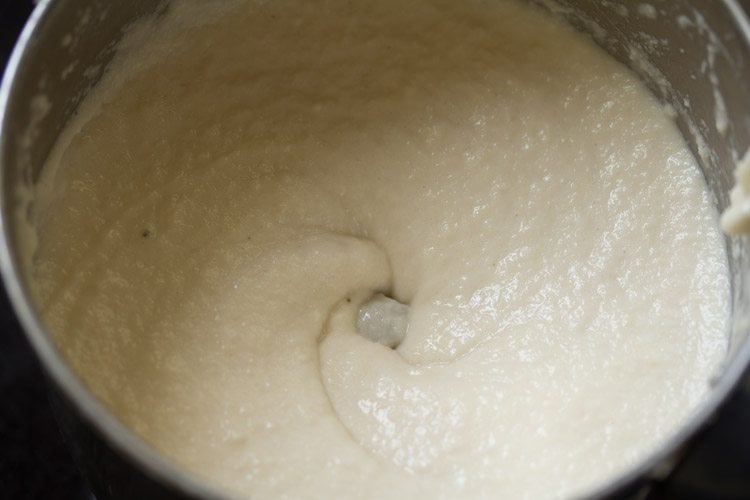
- Grind to a smooth fluffy batter. If possible, then do not add any water while grinding. if not able to grind, then add 2 to 3 tablespoons water. if the batter has a medium consistency, then its difficult to shape the vadas. So the batter has to be thick.
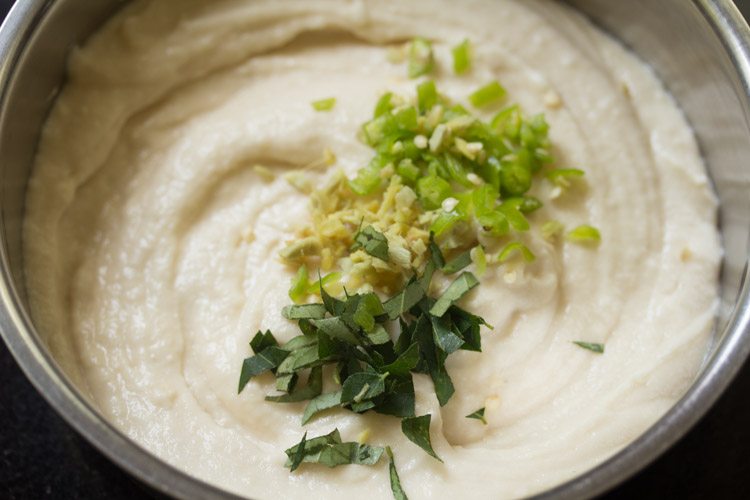
- Take the ground batter in a bowl. Add 1 green chili (finely chopped), 2 teaspoons of chopped curry leaves and 1 teaspoon of finely chopped ginger.
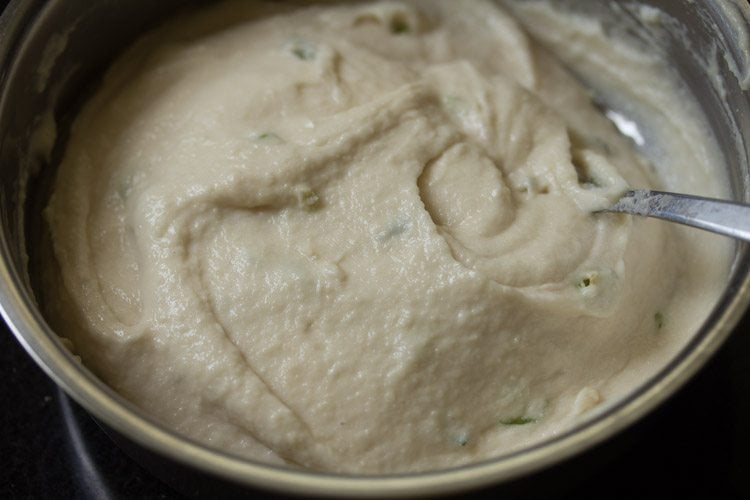
- Briskly and vigorously stir the batter for a minute or two with a spoon or spatula. This makes the batter fluffy and light. As a result you get softer and porous vadas. However the vadas should not be very light or fluffy as then they break in curd.
Frying medu vada for thayir vadai
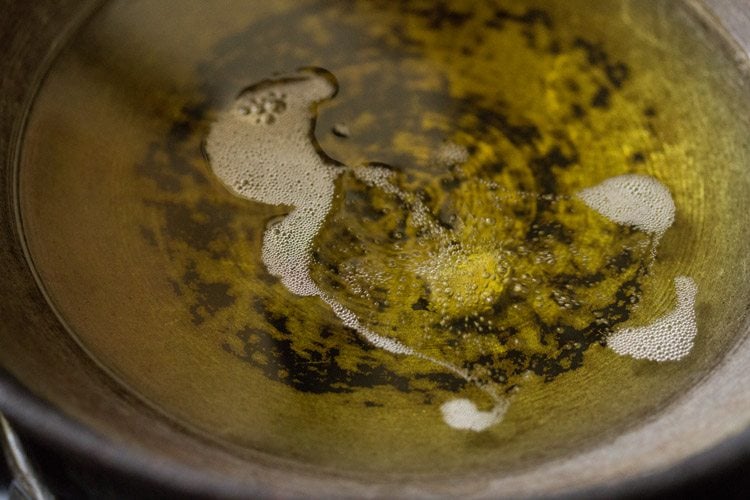
- Heat oil for deep frying in a kadai or pan. Check a small portion of the batter and if it comes gradually and steadily, the vadas can be fried.
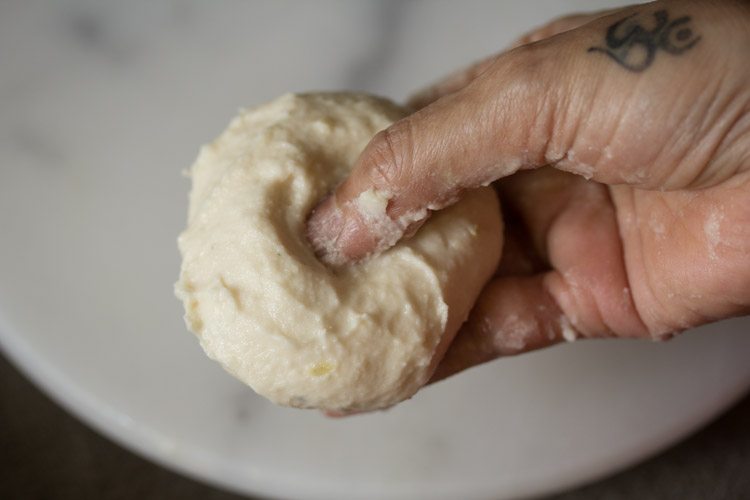
- Now wet your palms with water and take some batter in your right palm. With the help of the left hand, shape the batter first.
- Then make a hole in the center with a thumb.
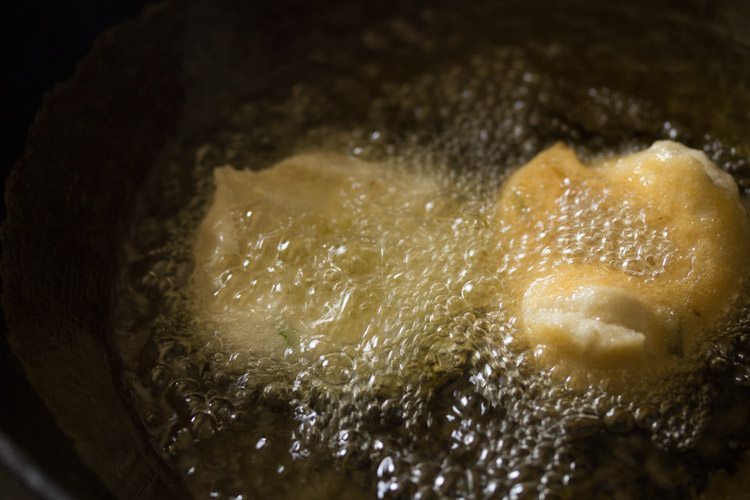
- Gently slid the doughnut shaped vadai into medium hot oil. If you are unable to make the doughnut shaped vadas, then use a spoon and drop the batter in medium hot oil.
- Make other vadas this way and then add them to the kadai. You can fry the number of vadas depending on the size of your kadai.
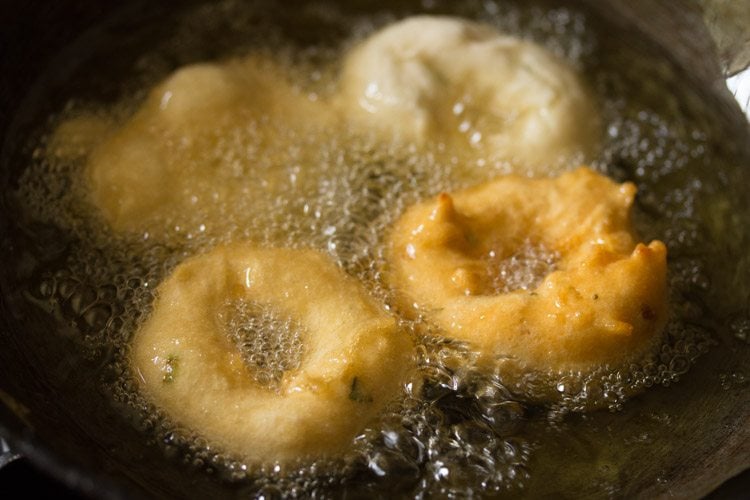
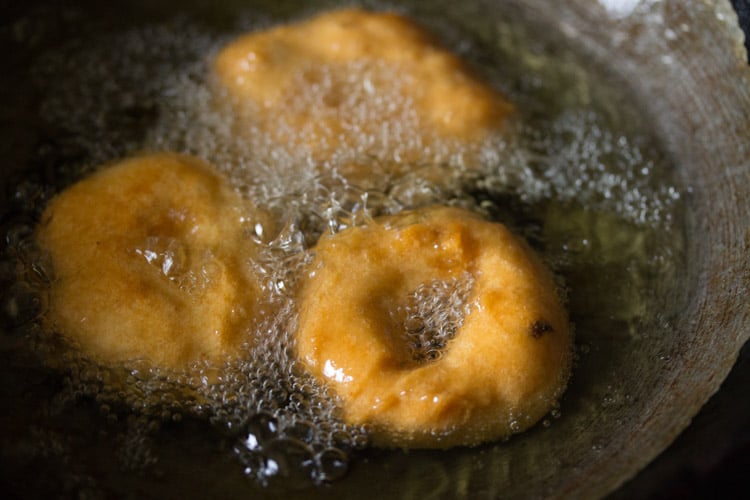
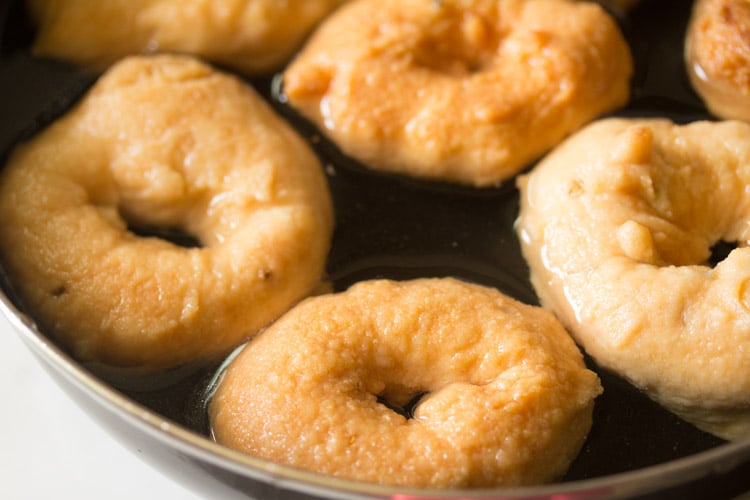
- When the base is light golden, turn them over with a slotted spoon and continue to fry the vadas.
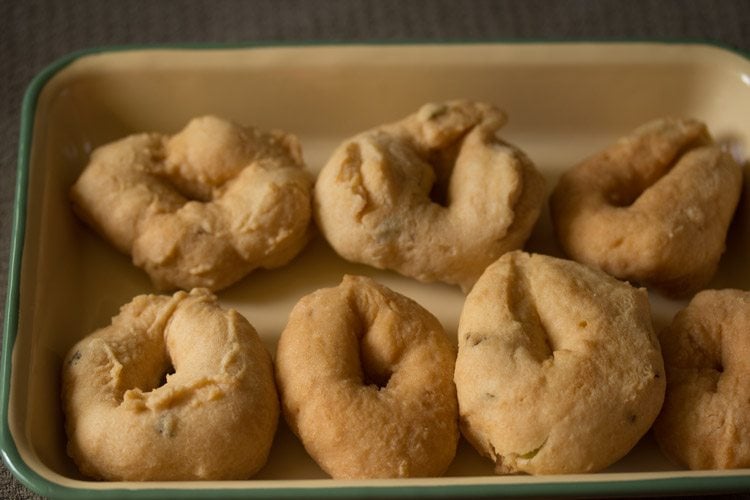
- Turn over a couple of times and fry the vadas till they are crisp and golden. Continue to fry the vadas in batches till crisp and golden. Drain the medu vadas on kitchen paper tissues to remove excess oil.
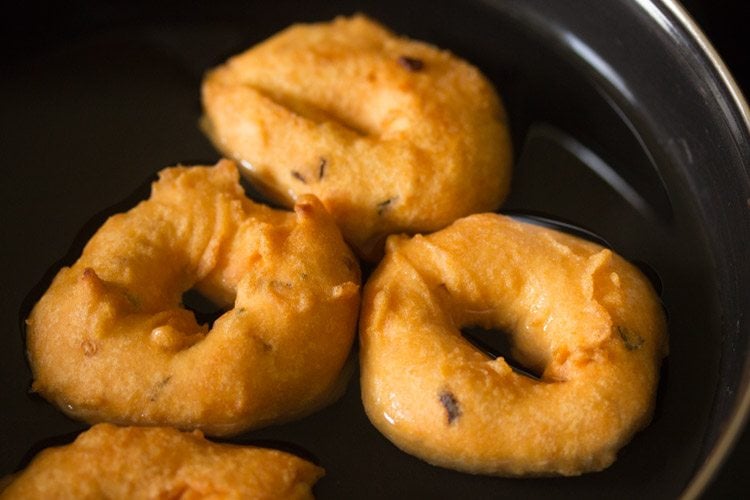
- When they are still hot, add the vadas in warm water and let them soak for 15 to 20 minutes. You can even soak the vadas in a thin buttermilk solution. Making coconut paste:
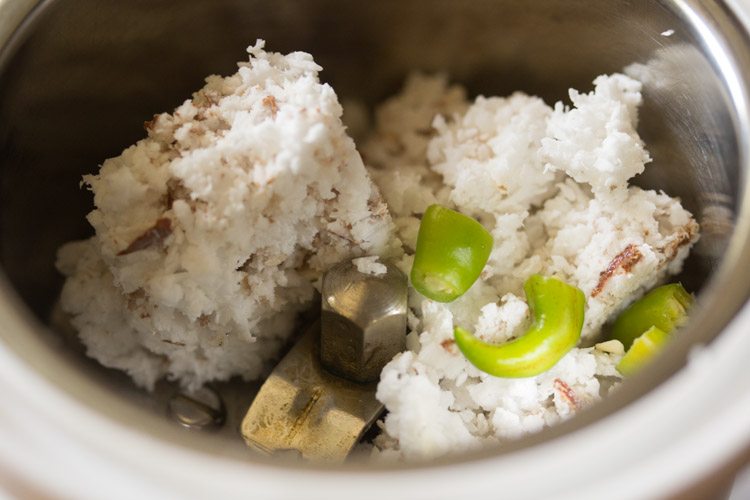
- In a small chutney grinder jar, add ¼ cup fresh grated coconut and 1 green chili, roughly chopped.
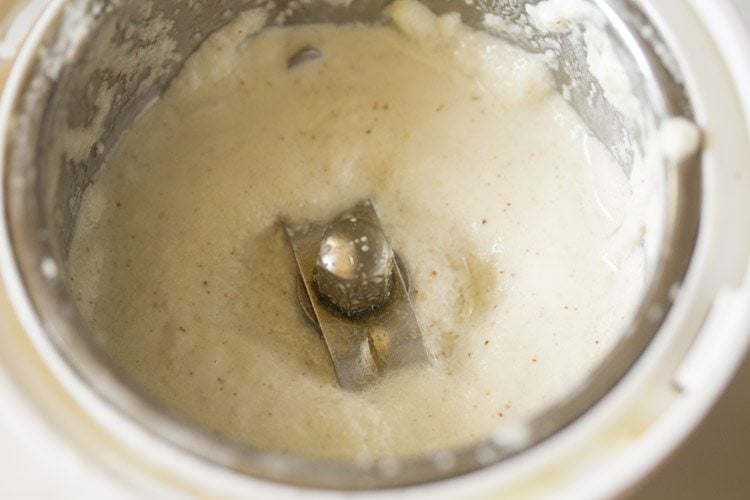
- Add 2 to 3 tablespoons of water and grind to a smooth paste. Keep aside.
Making curd (thayir) mixture
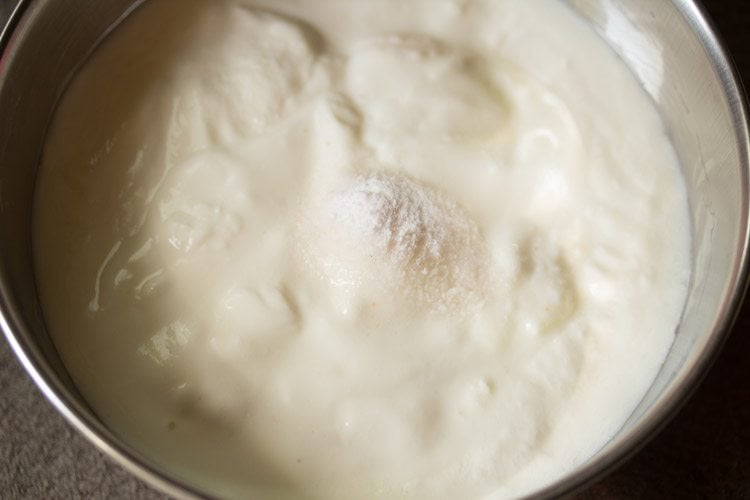
- In another bowl, take 2 cups of curd. Add salt as per taste.
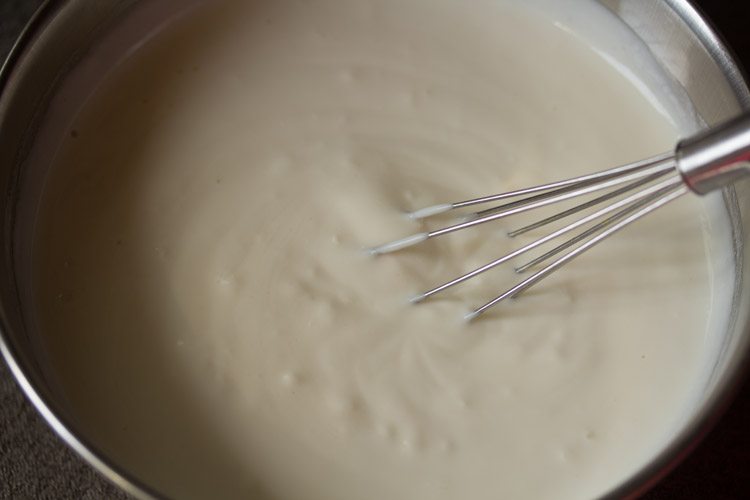
- With a wired whisk mix and whip the curd till smooth.
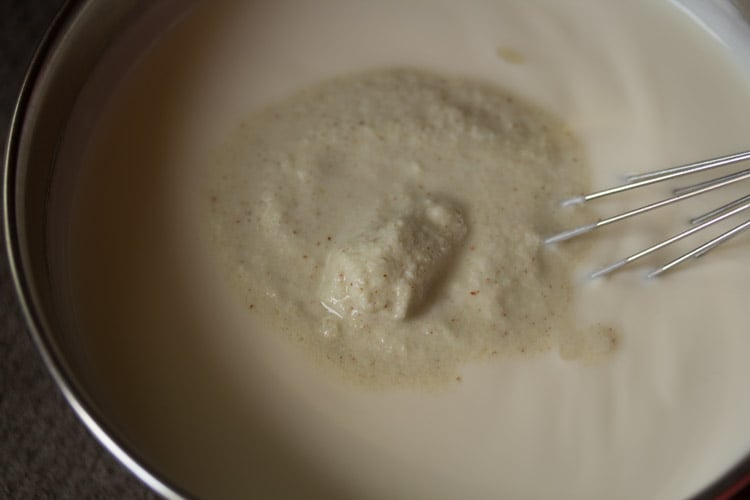
- Now add the ground coconut+green chilli paste.
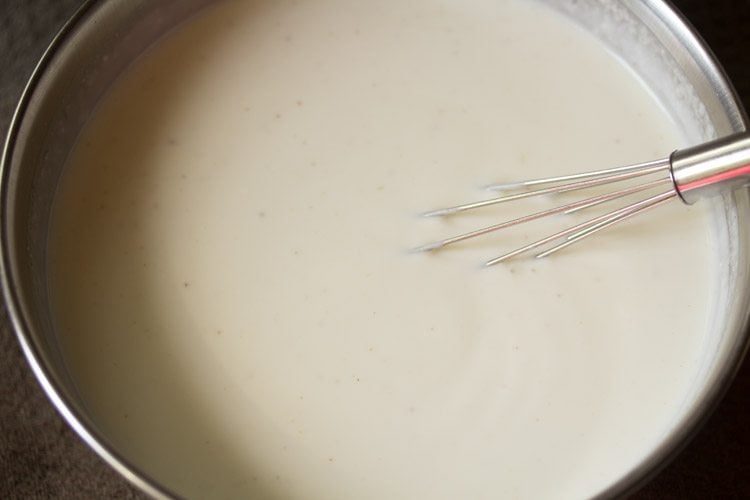
- Mix again very well. Check the taste and add more salt if required.
Tempering curd mixture for thayir vadai
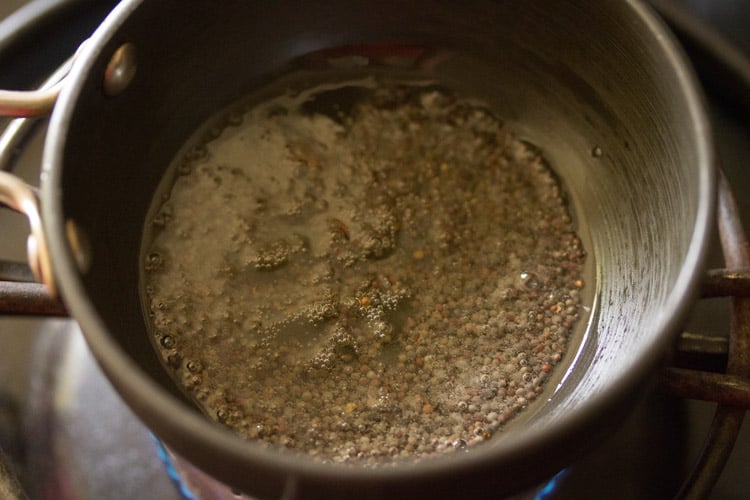
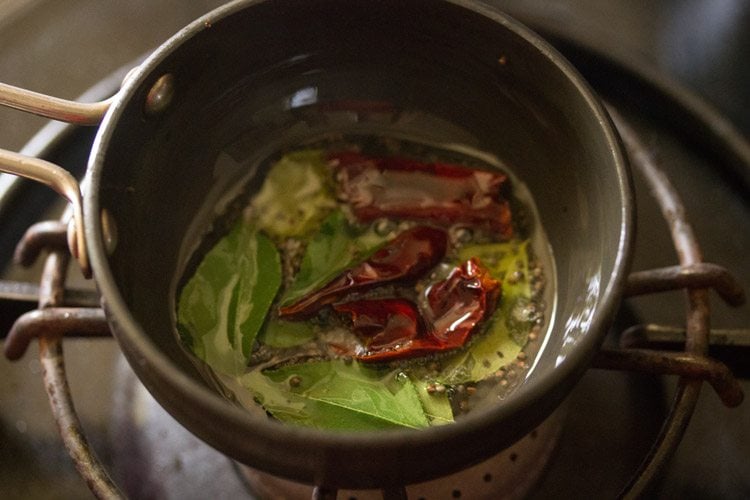
- Heat 1 tablespoon oil in a small pan or tadka pan. Then add ½ teaspoon mustard seeds and let them crackle. 22. When the mustard seeds finish crackling, then add 6 to 7 curry leaves (chopped or whole) and 1 dry red chili (broken and seeds removed). Mix well and fry for a few seconds till the red chilies change color. Do ensure that the red chilies do not burn.
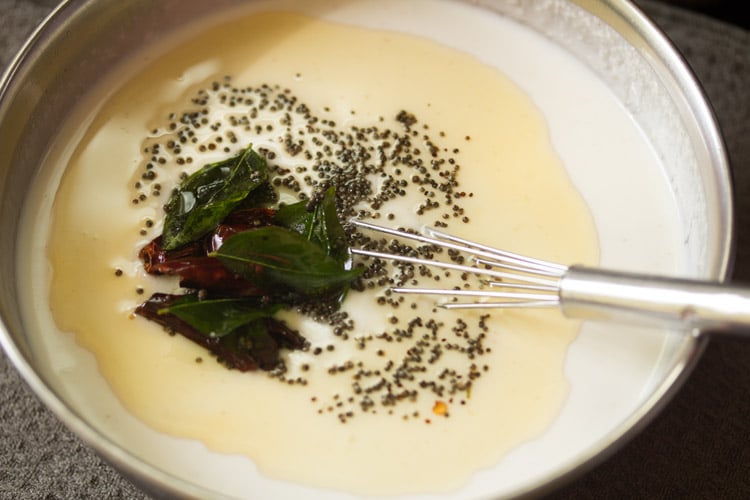
- Now add the tempering mixture in the curd.
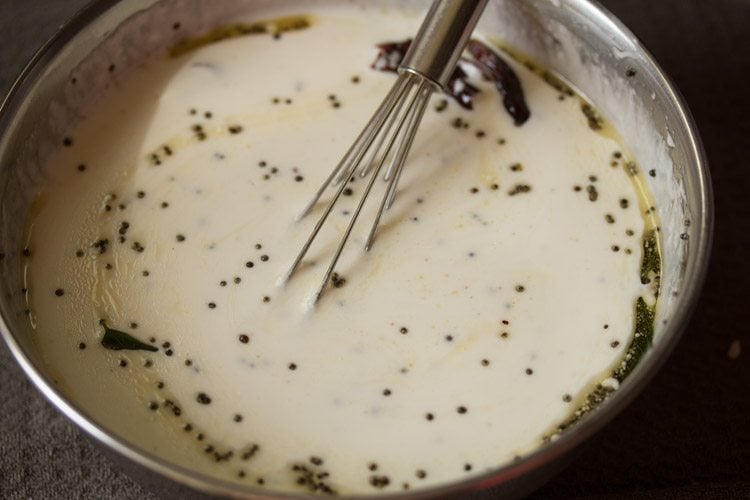
- Mix very well.
Assembling thayir vadai
- After soaking the vadas will soften, increase a bit in size as well as their color will change.
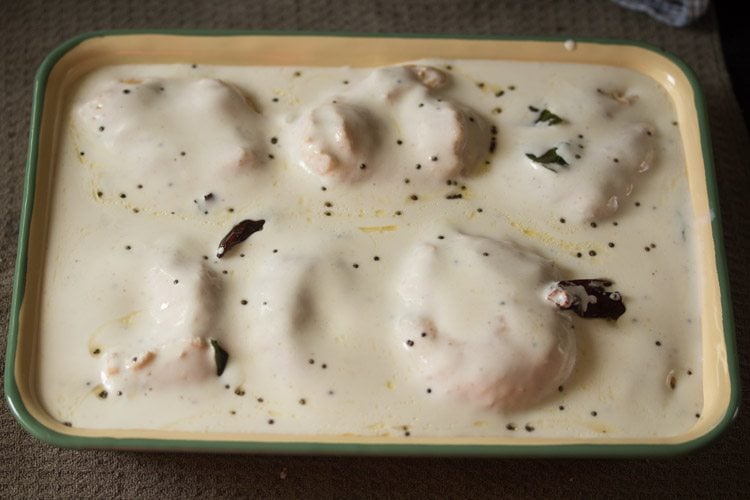
- Press each soaked vada between your palms to remove water. Gently press or else you might end up breaking them. press all the soaked vadas this way and arrange them in a platter, tray or bowl. 27. Pour the tempered curd (thayir) on the vadas. Allow the vadas to absorb the curd for a minimum of 30 minutes or for a few hours. If keeping for 3 to 4 hours, then cover and refrigerate. You can also serve immediately if you want.
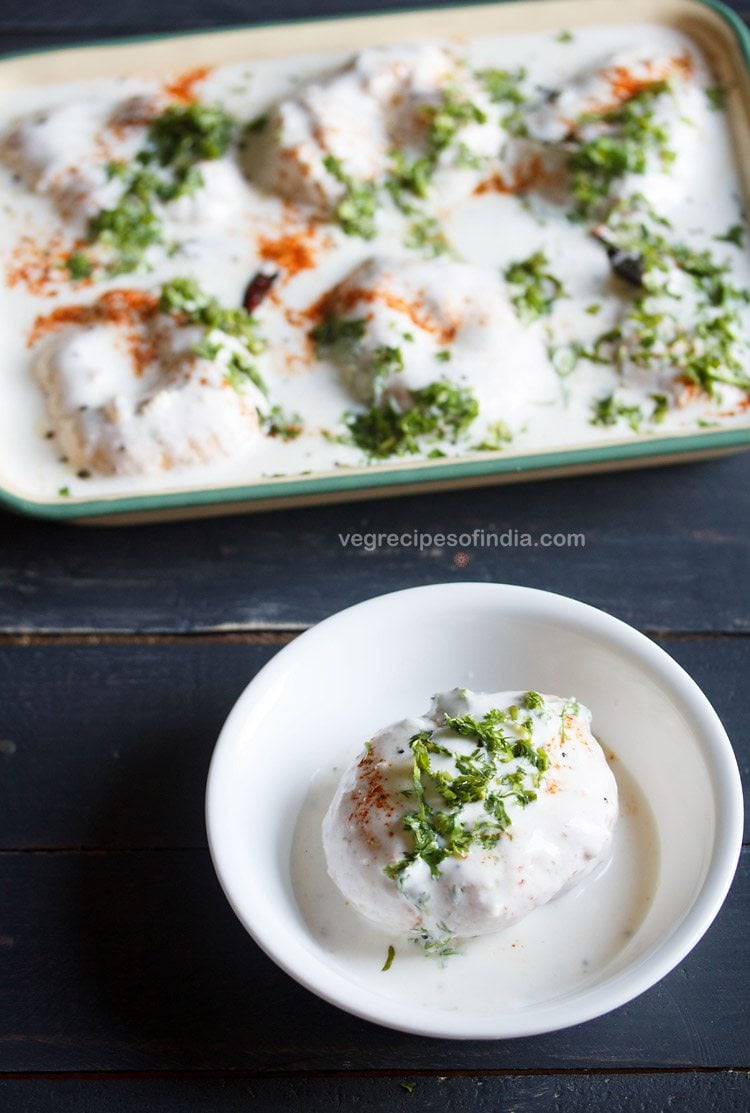
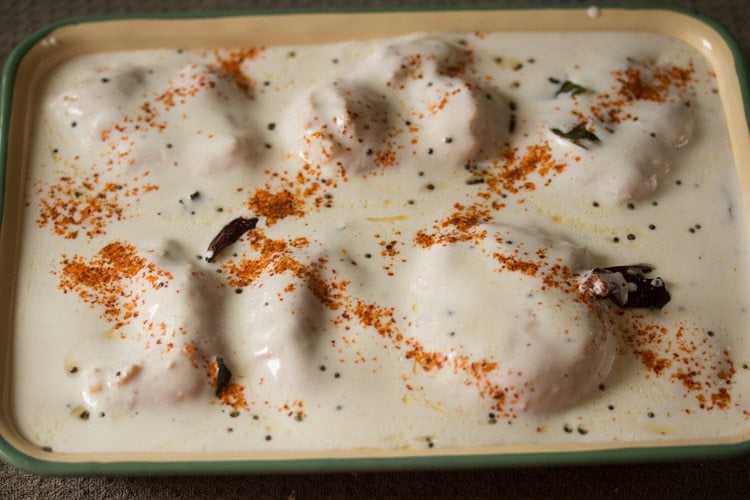
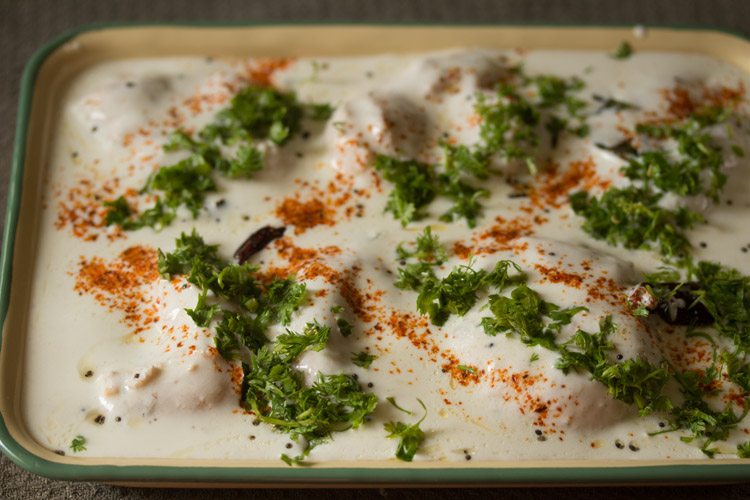
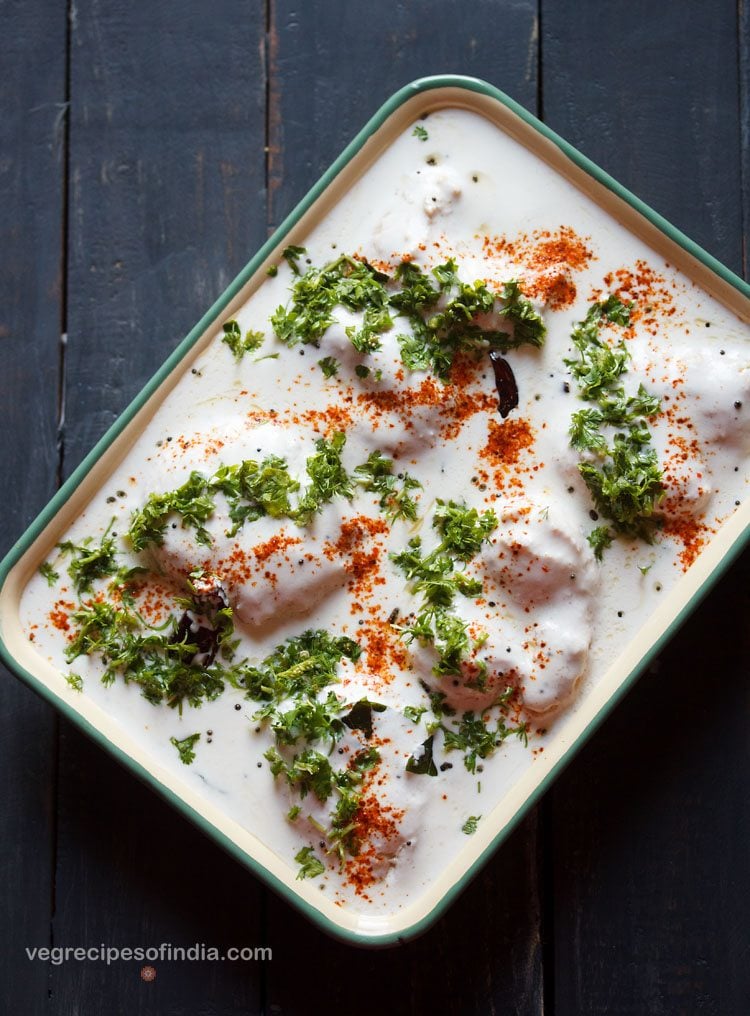
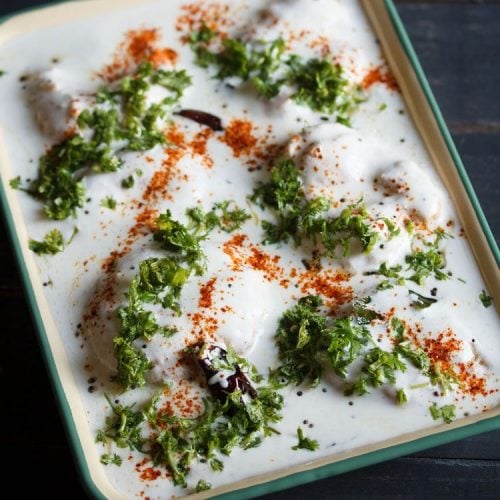
- Before serving, sprinkle some red chili powder on top.
- Then sprinkle some finely chopped coriander leaves. You can also add some masala boondi on top. Grated carrots and roasted cumin powder can also be added.
- Serve thayir vadai as a snack or as a starter before any South Indian meal. The leftovers can be refrigerated. If you are looking for more Snacks recipes then do check:
Medu VadaDahi ke kababUnniyappam recipeBanana flower vada
Please be sure to rate the recipe in the recipe card or leave a comment below if you have made it. For more vegetarian inspirations, Sign Up for my emails or follow me on Instagram, Youtube, Facebook, Pinterest or Twitter. This Thayir Vadai post from the archives first published in September 2017 has been republished and updated on January 2023.


title: “Thayir Vadai Curd Vada " ShowToc: true date: “2024-10-11” author: “Esmeralda Arfman”
A classic Thayir Vadai has the vadas or vadai of black gram or urad dal topped with a curd-spiced coconut paste mixture, which is tempered with mustard seeds, curry leaves and dried red chili. Making thayir vadai does take some time as the vadas have to be fried before assembling. The rest of the method is easy. For making vadas, do use fresh urad dal and not old or aged urad dal. With fresh urad dal the vadas have soft texture. Whereas aged urad dal will give a hard to dense texture in the vadas. The dahi vada we have here in the Udupi restaurants has sugar in the dahi (curd). I will try to add this restaurant style recipe of thayir vadai too. The thayir vadai shared here is more of a Tamilian style preparation and does not use sugar. But if you like some sweetness in the curd, then you can add sugar. Thayir vadai can be served as snack or as a starter before a South Indian meal.
How to make Thayir Vadai
Soaking and grinding urad dal vada:
- Rinse 1 cup of urad dal a couple of times in fresh water. Then soak the urad dal in 2 cups water overnight or for at least 4 to 5 hours.
- Later drain all the soaked water.
- Add the urad dal in a grinder jar. Add salt as required.
- Grind to a smooth fluffy batter. If possible, then do not add any water while grinding. if not able to grind, then add 2 to 3 tablespoons water. if the batter has a medium consistency, then its difficult to shape the vadas. So the batter has to be thick.
- Take the ground batter in a bowl. Add 1 green chili (finely chopped), 2 teaspoons of chopped curry leaves and 1 teaspoon of finely chopped ginger.
- Briskly and vigorously stir the batter for a minute or two with a spoon or spatula. This makes the batter fluffy and light. As a result you get softer and porous vadas. However the vadas should not be very light or fluffy as then they break in curd.
Frying medu vada for thayir vadai
- Heat oil for deep frying in a kadai or pan. Check a small portion of the batter and if it comes gradually and steadily, the vadas can be fried.
- Now wet your palms with water and take some batter in your right palm. With the help of the left hand, shape the batter first.
- Then make a hole in the center with a thumb.
- Gently slid the doughnut shaped vadai into medium hot oil. If you are unable to make the doughnut shaped vadas, then use a spoon and drop the batter in medium hot oil.
- Make other vadas this way and then add them to the kadai. You can fry the number of vadas depending on the size of your kadai.
- When the base is light golden, turn them over with a slotted spoon and continue to fry the vadas.
- Turn over a couple of times and fry the vadas till they are crisp and golden. Continue to fry the vadas in batches till crisp and golden. Drain the medu vadas on kitchen paper tissues to remove excess oil.
- When they are still hot, add the vadas in warm water and let them soak for 15 to 20 minutes. You can even soak the vadas in a thin buttermilk solution. Making coconut paste:
- In a small chutney grinder jar, add ¼ cup fresh grated coconut and 1 green chili, roughly chopped.
- Add 2 to 3 tablespoons of water and grind to a smooth paste. Keep aside.
Making curd (thayir) mixture
- In another bowl, take 2 cups of curd. Add salt as per taste.
- With a wired whisk mix and whip the curd till smooth.
- Now add the ground coconut+green chilli paste.
- Mix again very well. Check the taste and add more salt if required.
Tempering curd mixture for thayir vadai
- Heat 1 tablespoon oil in a small pan or tadka pan. Then add ½ teaspoon mustard seeds and let them crackle. 22. When the mustard seeds finish crackling, then add 6 to 7 curry leaves (chopped or whole) and 1 dry red chili (broken and seeds removed). Mix well and fry for a few seconds till the red chilies change color. Do ensure that the red chilies do not burn.
- Now add the tempering mixture in the curd.
- Mix very well.
Assembling thayir vadai
- After soaking the vadas will soften, increase a bit in size as well as their color will change.
- Press each soaked vada between your palms to remove water. Gently press or else you might end up breaking them. press all the soaked vadas this way and arrange them in a platter, tray or bowl. 27. Pour the tempered curd (thayir) on the vadas. Allow the vadas to absorb the curd for a minimum of 30 minutes or for a few hours. If keeping for 3 to 4 hours, then cover and refrigerate. You can also serve immediately if you want.
- Before serving, sprinkle some red chili powder on top.
- Then sprinkle some finely chopped coriander leaves. You can also add some masala boondi on top. Grated carrots and roasted cumin powder can also be added.
- Serve thayir vadai as a snack or as a starter before any South Indian meal. The leftovers can be refrigerated. If you are looking for more Snacks recipes then do check:
Medu VadaDahi ke kababUnniyappam recipeBanana flower vada
Please be sure to rate the recipe in the recipe card or leave a comment below if you have made it. For more vegetarian inspirations, Sign Up for my emails or follow me on Instagram, Youtube, Facebook, Pinterest or Twitter. This Thayir Vadai post from the archives first published in September 2017 has been republished and updated on January 2023.
